2.Rinse aid refill indicator light
This light illuminates when the rinse aid has run out, and requires refilling.
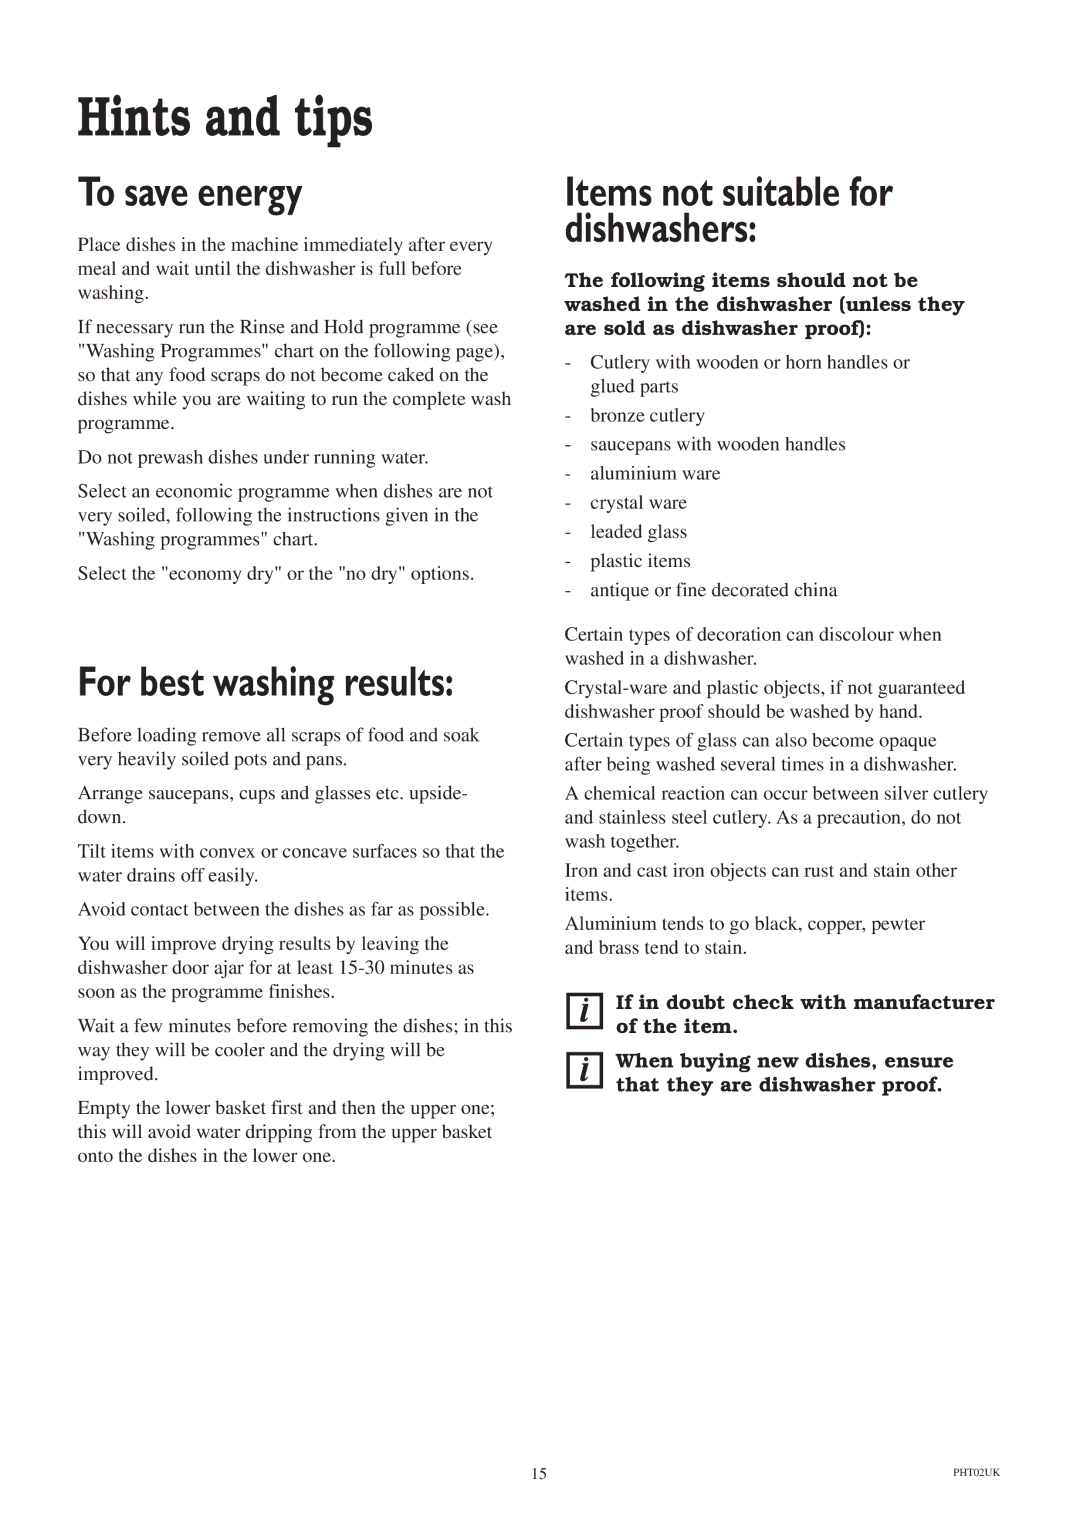
3. Salt refill indicator light
This light illuminates when the salt has run out, to remind you to refill the salt container.
4. "SID" indicator light
This light illuminates when you select a programme with prewash.
5. Digital display
Displays the programme number, the programme time or the time delay.
6."Programme selector" button
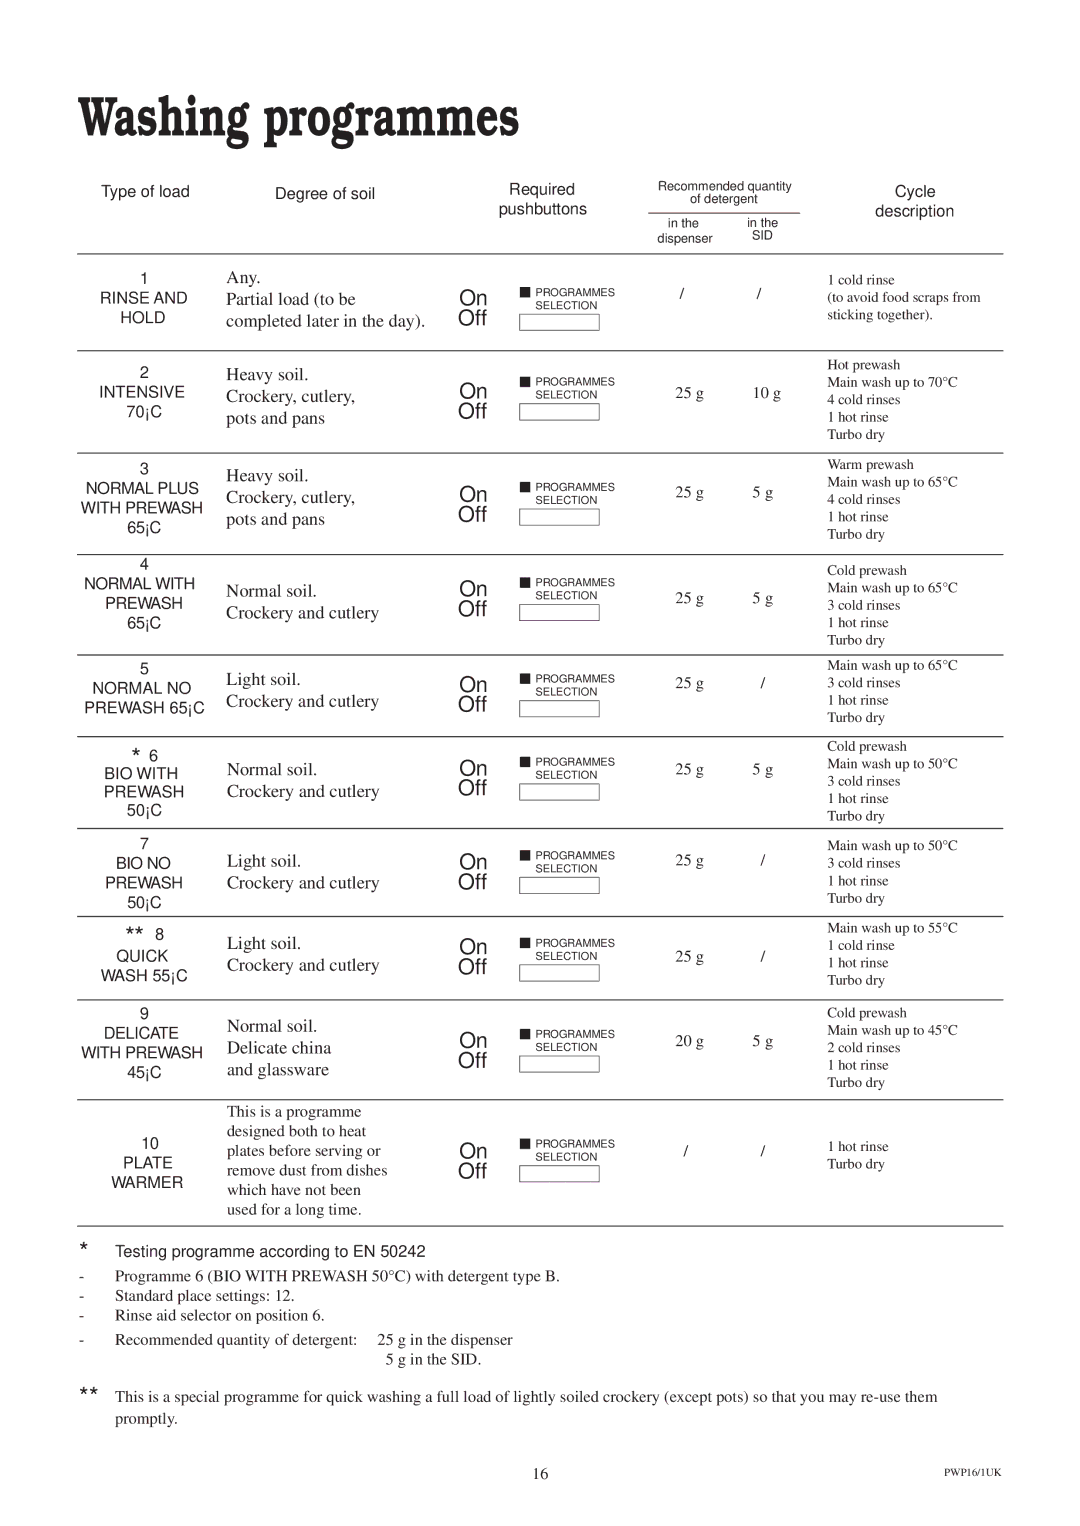
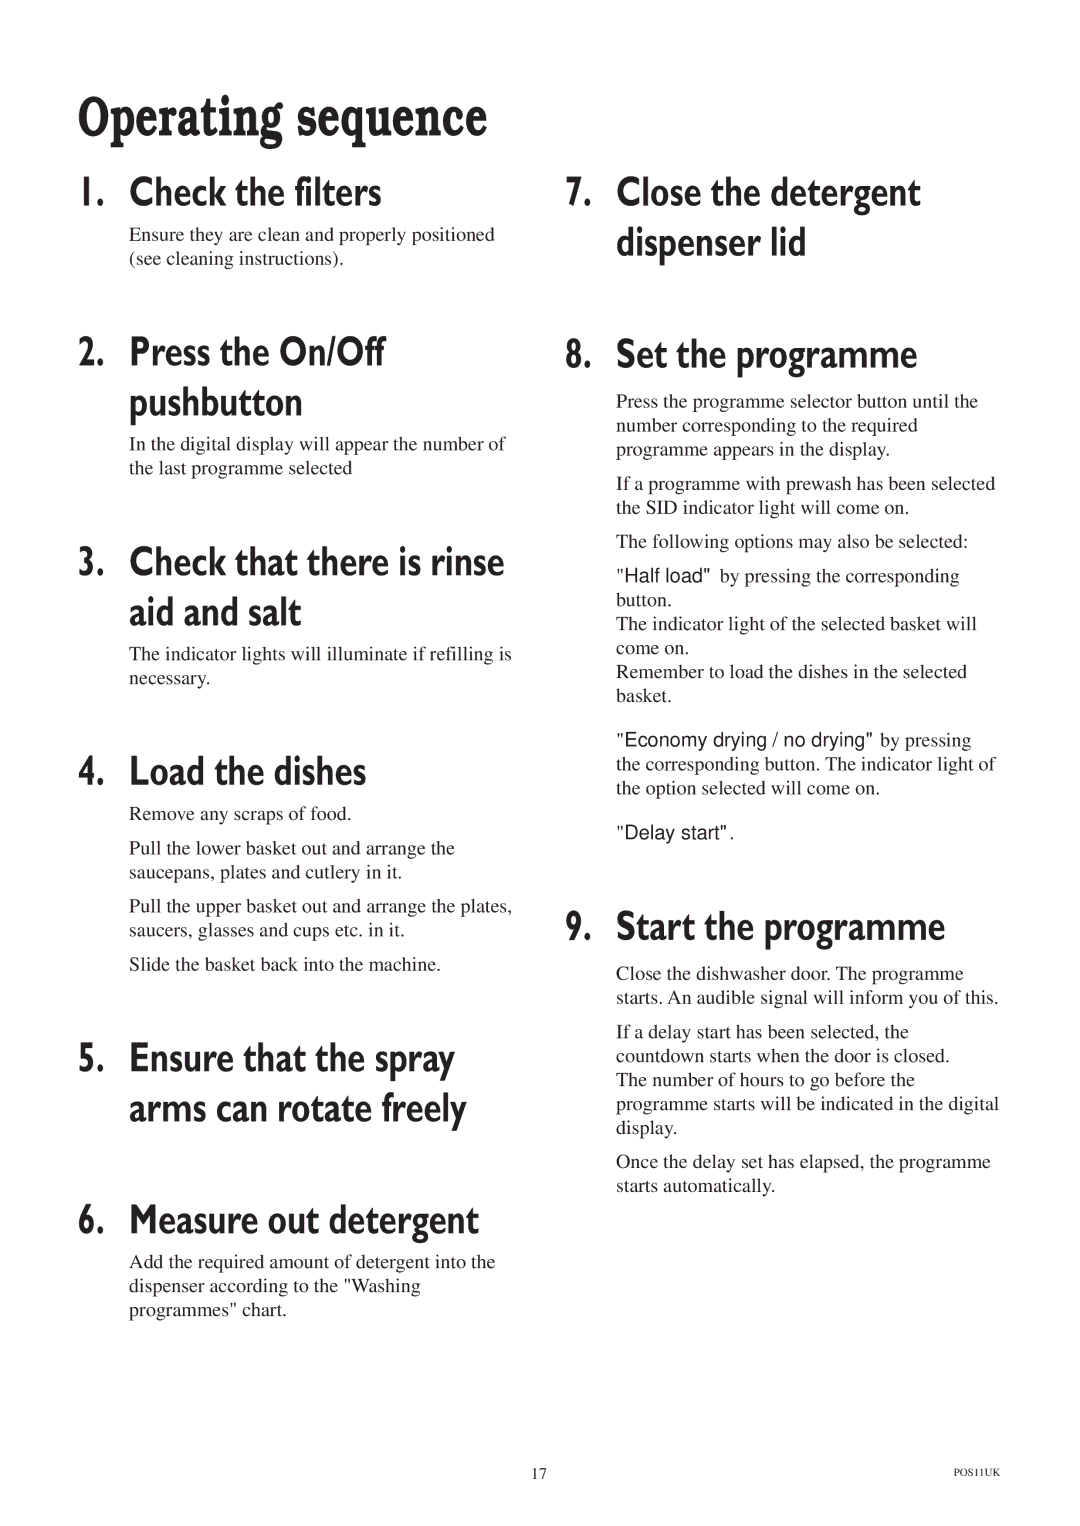
To select the required programme, press this button until the number corresponding to the required programme (e.g. P1 for Rinse and Hold) appears in the digital display (see "Washing programmes" chart).
7. "Half load" pushbutton
By pressing this button, washing can be concentrated to a single basket instead of both; the indicator light corresponding to the basket selected comes on.
This is very useful and economical when only a few dishes need washing.
Remember to load all the dishes into the basket selected.
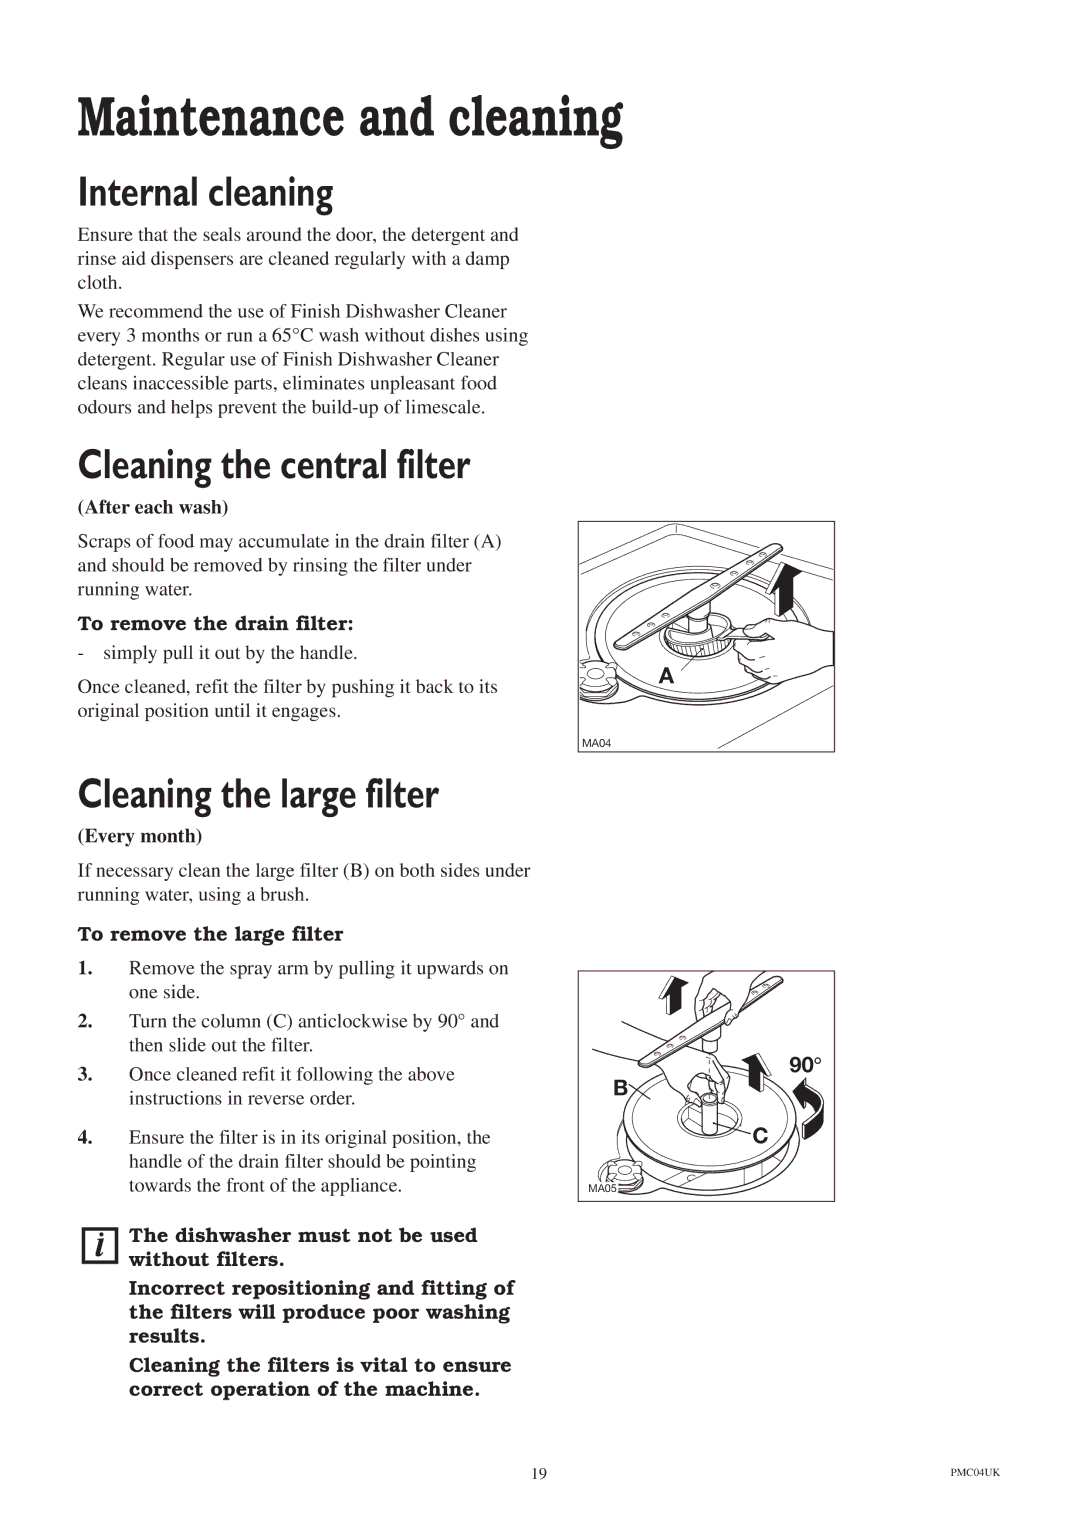
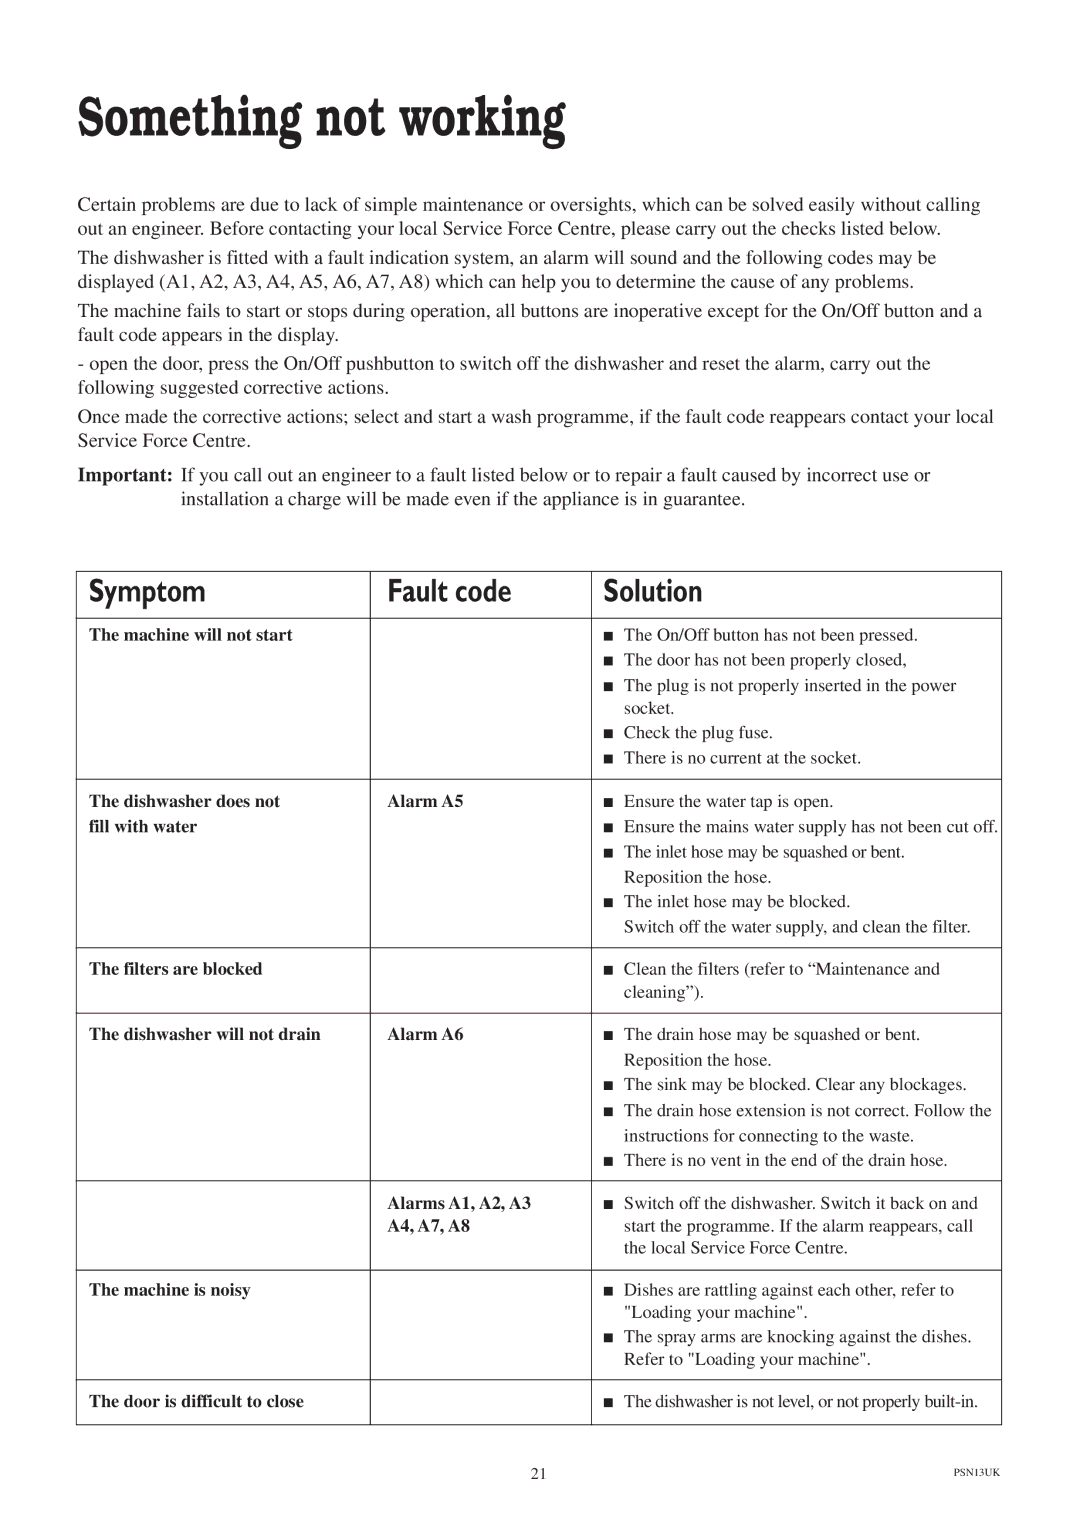
If both indicator lights are out, washing will be carried out in both baskets (default setting).
8."Economy drying" pushbutton
By pressing this button you can opt to shorten (ECO DRY) or completely omit the drying cycle (NO DRY).
The indicator light corresponding to the option selected will illuminate.
With programme 1 (rinse and hold) and programme 10 (Plate warmer) this pushbutton is automatically deactivated.
If both pilot lights are out, the full drying cycle will be carried out (default setting).
9. "Delay start" pushbutton
Allows the start of the programme to be delayed by a minimum of 1 hour, up to 12 hours.
How to set the "Delay start":
-When the button is pressed, in the display appears "h 00".
-Press the button again to select the number of hours which you wish to delay the programme start, up to a maximum of 12 hours.
The delay start will not affect the programme settings.
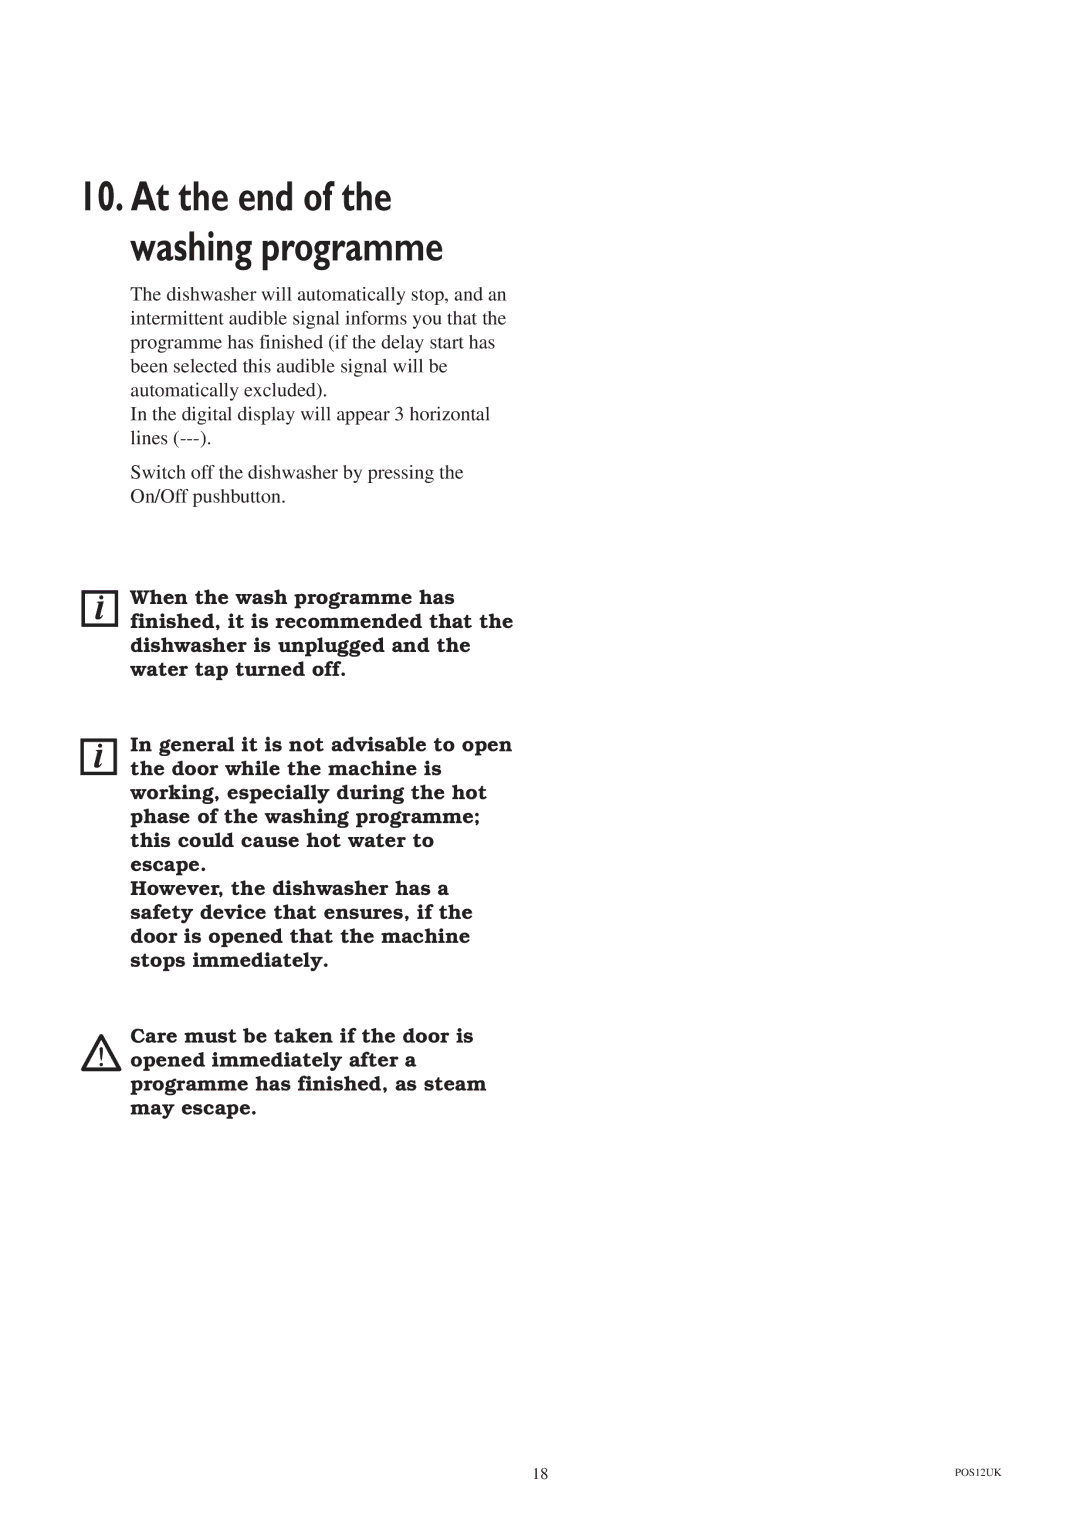
10. "Cancel" pushbutton
If you press this button for at least 3 seconds after the start of a programme (with open door) the selected programme will be cancelled. A short intermittent audible signal will be heard, and
In the digital display will appear the programme previously selected with relative options.
If this pushbutton is pressed for about 3 seconds during the countdown of the delay start; the countdown will be anulled but the other options are still active and in the digital display will appear the number of the programme selected.
At this point, the options can be changed and the washing programme start or a new delay start can be selected.
6 | PCP21UK |


