Setting the Printer’s IP Address
Dynamic Host Configuration Protocol
Dynamic Host Configuration Protocol (DHCP) is a system in which UNIX and
Windows NT servers can dynamically allocate IP addresses. The printer is a DHCP client; when the printer is reset, it receives an IP address from the DHCP server.
Enabling DHCP on the Printer
Make sure that the printer’s DHCP protocol is enabled. You can do this from the front panel; see page 32.
Supported DHCP Fields
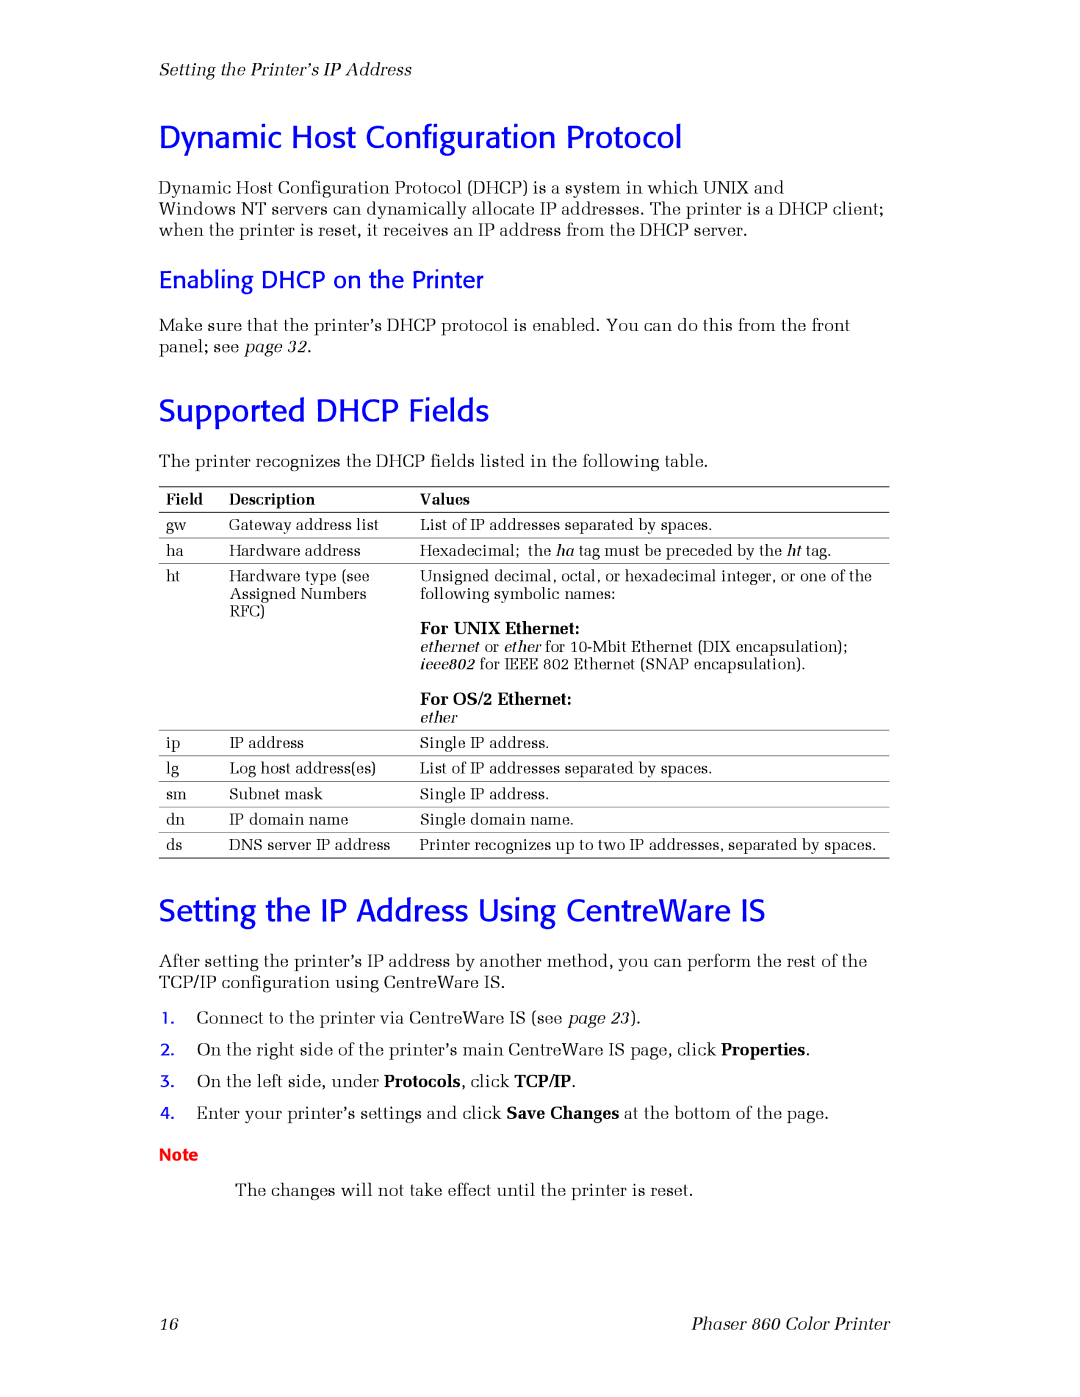
The printer recognizes the DHCP fields listed in the following table.
Field | Description | Values |
|
|
|
gw | Gateway address list | List of IP addresses separated by spaces. |
|
|
|
ha | Hardware address | Hexadecimal; the ha tag must be preceded by the ht tag. |
|
|
|
ht | Hardware type (see | Unsigned decimal, octal, or hexadecimal integer, or one of the |
| Assigned Numbers | following symbolic names: |
| RFC) | For UNIX Ethernet: |
|
| |
|
| ethernet or ether for |
|
| ieee802 for IEEE 802 Ethernet (SNAP encapsulation). |
|
| For OS/2 Ethernet: |
|
| ether |
|
|
|
ip | IP address | Single IP address. |
|
|
|
lg | Log host address(es) | List of IP addresses separated by spaces. |
|
|
|
sm | Subnet mask | Single IP address. |
|
|
|
dn | IP domain name | Single domain name. |
|
|
|
ds | DNS server IP address | Printer recognizes up to two IP addresses, separated by spaces. |
|
|
|
Setting the IP Address Using CentreWare IS
After setting the printer’s IP address by another method, you can perform the rest of the TCP/IP configuration using CentreWare IS.
1.Connect to the printer via CentreWare IS (see page 23).
2.On the right side of the printer’s main CentreWare IS page, click Properties.
3.On the left side, under Protocols, click TCP/IP.
4.Enter your printer’s settings and click Save Changes at the bottom of the page.
Note
The changes will not take effect until the printer is reset.
16 | Phaser 860 Color Printer |
