Section 4: Adjustments and Functions
4.1 Menu Navigation
STANDBY/ONMUTE | MENU |
BLANK |
|
+ + +
ZOOM FOCUS VOLUME
– – –
RGBTIMER VIDEO
FREEZE MENU MAGNIFY
DRAG
+–
L | R |
SELECT | LIGHT |
ENGLISH
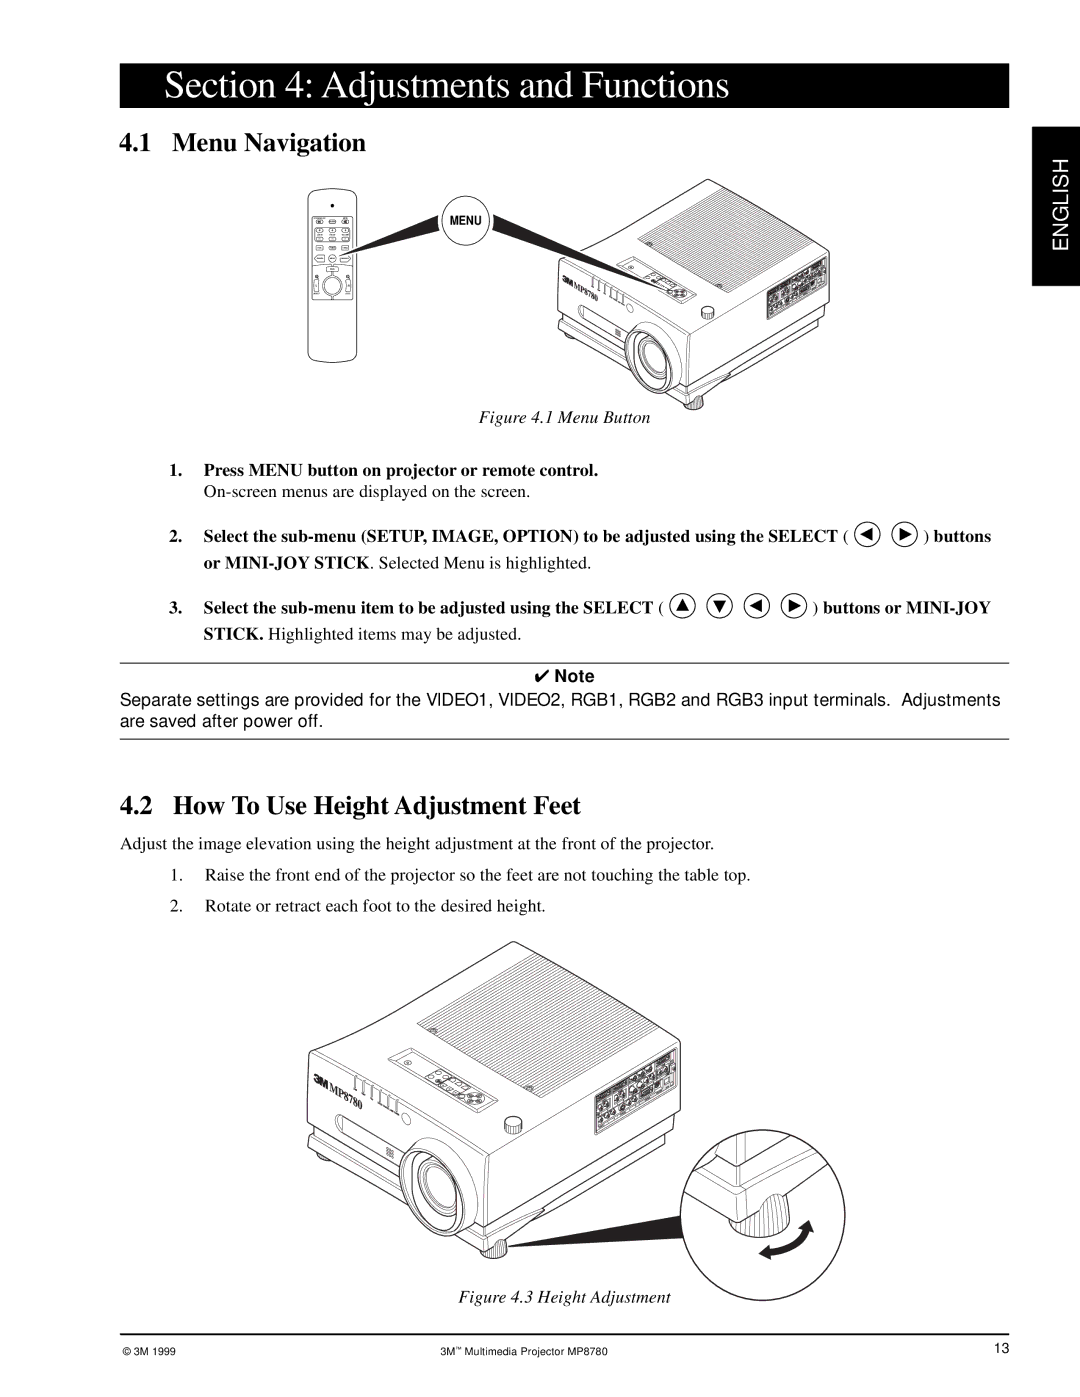
Figure 4.1 Menu Button
1.Press MENU button on projector or remote control.
2.Select the ![]()
![]() ) buttons or
) buttons or
3.Select the ![]()
![]()
![]()
![]() ) buttons or
) buttons or
✔Note
Separate settings are provided for the VIDEO1, VIDEO2, RGB1, RGB2 and RGB3 input terminals. Adjustments are saved after power off.
4.2 How To Use Height Adjustment Feet
Adjust the image elevation using the height adjustment at the front of the projector.
1.Raise the front end of the projector so the feet are not touching the table top.
2.Rotate or retract each foot to the desired height.
Figure 4.3 Height Adjustment
© 3M 1999 | 3M™ Multimedia Projector MP8780 | 13 |