RAID Setting Guide | |
|
|
Delete Spare:
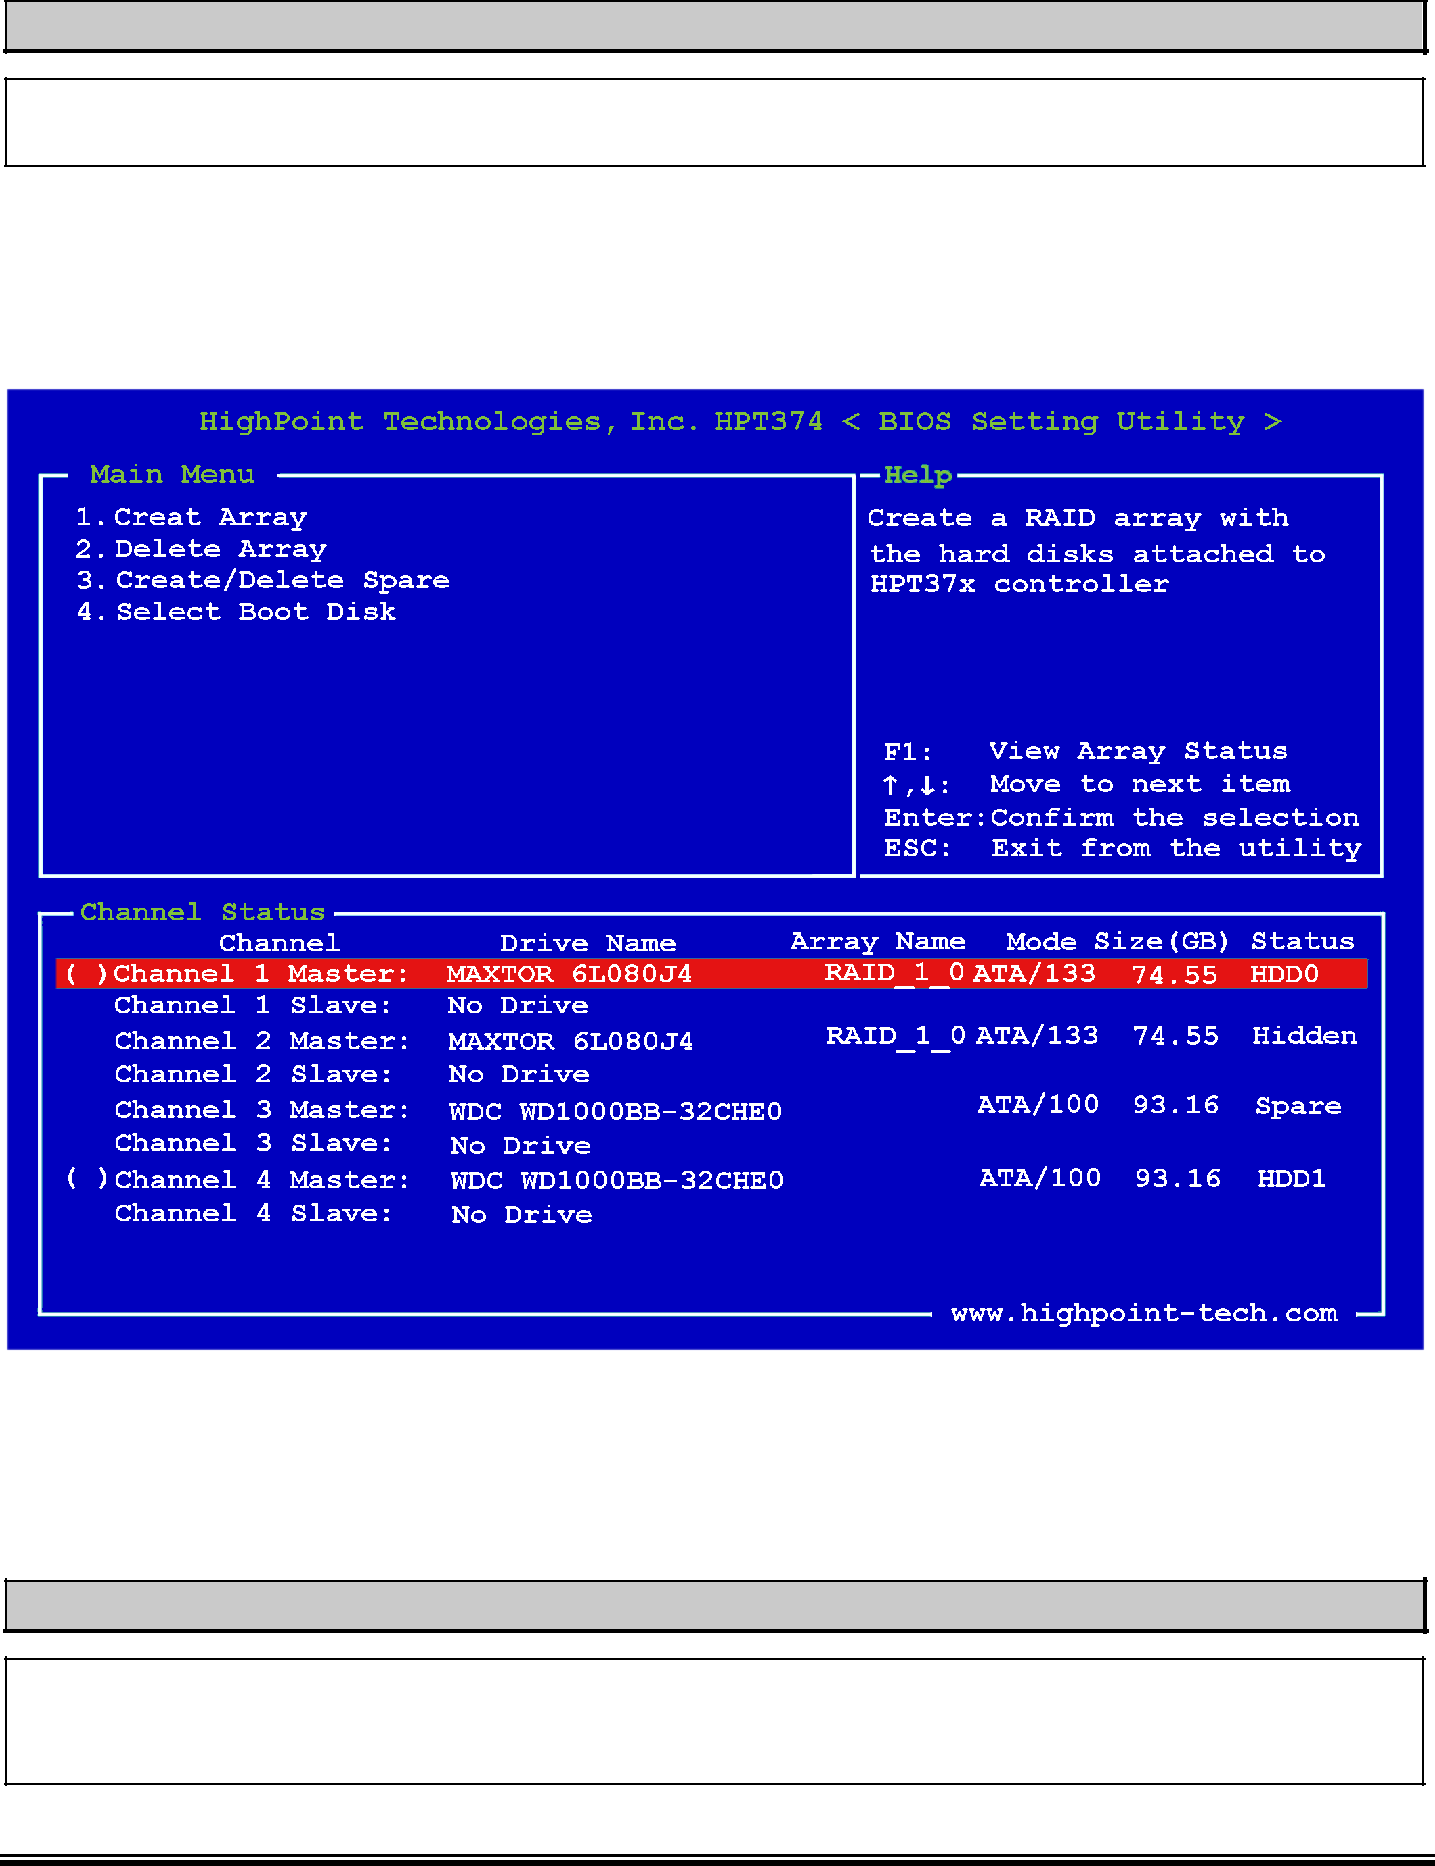
In the menu zone, select item “3. Create/Delete Spare” and press <Enter> to confirm.
In the validated channel status zone, select the spare disk to be removed and press <Enter> to confirm.
Note
You can creat more than one spare disk in the system, if you want to removed them, do the step mentioned in “Delete Spare” several times, then you can delete all the spare disks you created.
This item allows you to select the boot disk among the hard disk(s).
Use the up/down arrow to select the menu option to “Select Boot Disk” and press <Enter>. In the Channel Status, select the channel you would like to set as bootable disk and press <Enter>, an asterisk appears in the parentheses to indicate that the channel has been selected.
Tips
We suggestion you to set the RAID function use “RAID Management Software” provide on the product
User’s Manual