4.9 Intel SATA RAID Driver Disk Maker
This procedure is necessary if you want to install operating system to a RAID configuration connected among “SATA1~SATA4” connectors:
1.Prepare a 3.5” floppy disk drive and connect it to “FDC1” connector on this motherboard.
2.Start install operating system.
3.Insert this driver disk into floppy disk drive when the screen instruction prompts you to install a
4.Press <F6> key, and then follow the screen instruction to complete the installation.
To create a driver disk:
1.Click on the [Utility] tab in the installation menu screen.
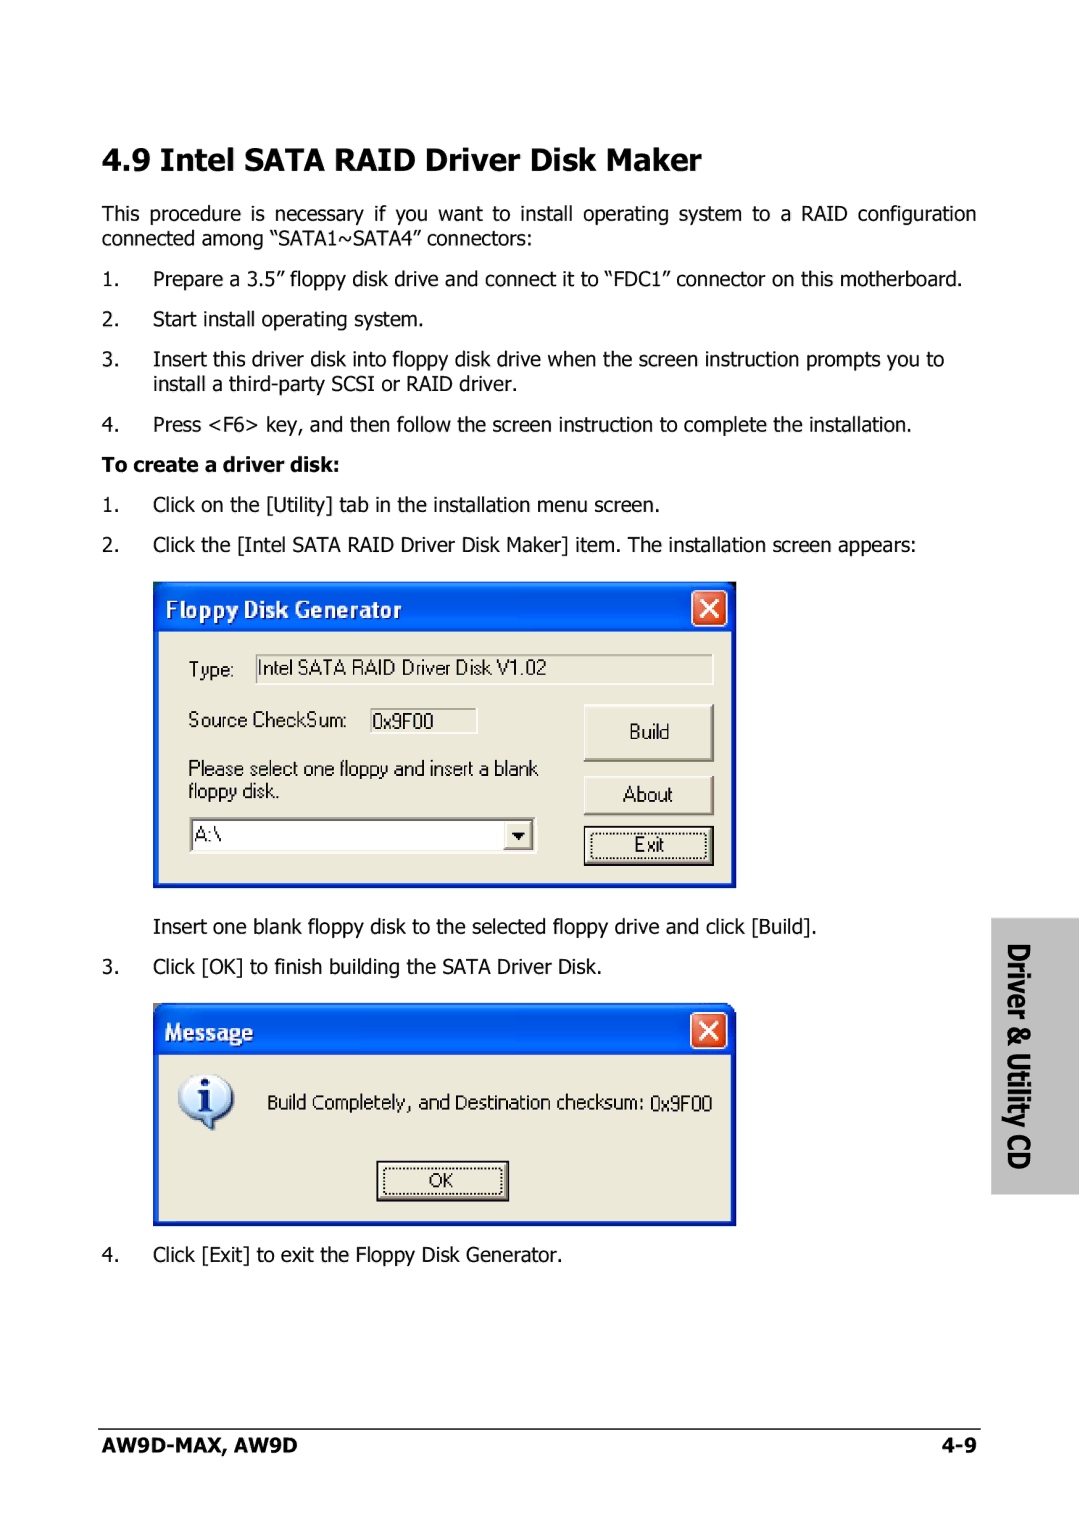
2.Click the [Intel SATA RAID Driver Disk Maker] item. The installation screen appears:
Insert one blank floppy disk to the selected floppy drive and click [Build].
3. Click [OK] to finish building the SATA Driver Disk.Driver
& Utility CD
4.Click [Exit] to exit the Floppy Disk Generator.
|