3.See “Removing the Middle Cover” on page 68
4.See “Removing the Keyboard” on page 69
5.See “Removing the
6.See “Removing the Heat Plate” on page 70
7.See “Removing the LCD Module” on page 71
8.See “Removing the RTC Battery” on page 79
9.Use a plastic flat screwdriver to disconnect the touch pad cable from the main board.
10.To remove the upper case, first remove the nine screws from the base of the unit as shown.
11.Pull the upper case from the unit gently.
NOTE: 1. Important: If the notebook is installed with antennas and wireless LAN board, please disconnect the two RF cables from the sockets on the wireless LAN board before removing the upper case from the lower case. Any failure to do so will cause the damage to the two RF cables.
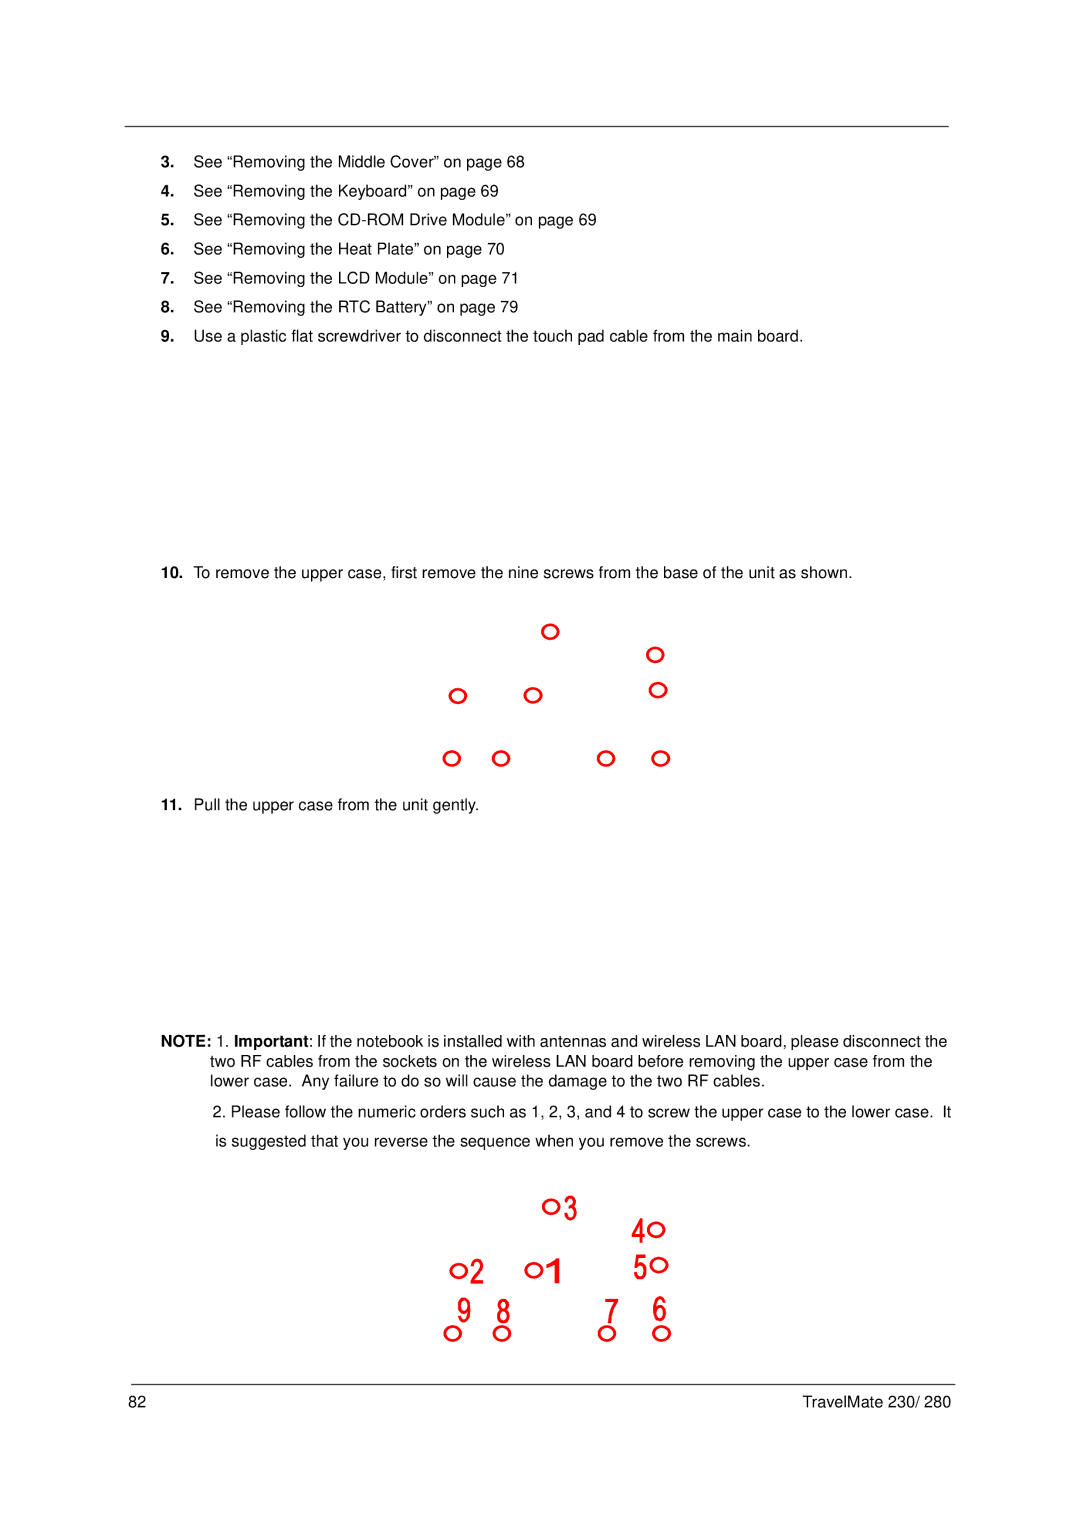
2.Please follow the numeric orders such as 1, 2, 3, and 4 to screw the upper case to the lower case. It is suggested that you reverse the sequence when you remove the screws.
82 | TravelMate 230/ 280 |