Wireless projection
Connecting to a projector
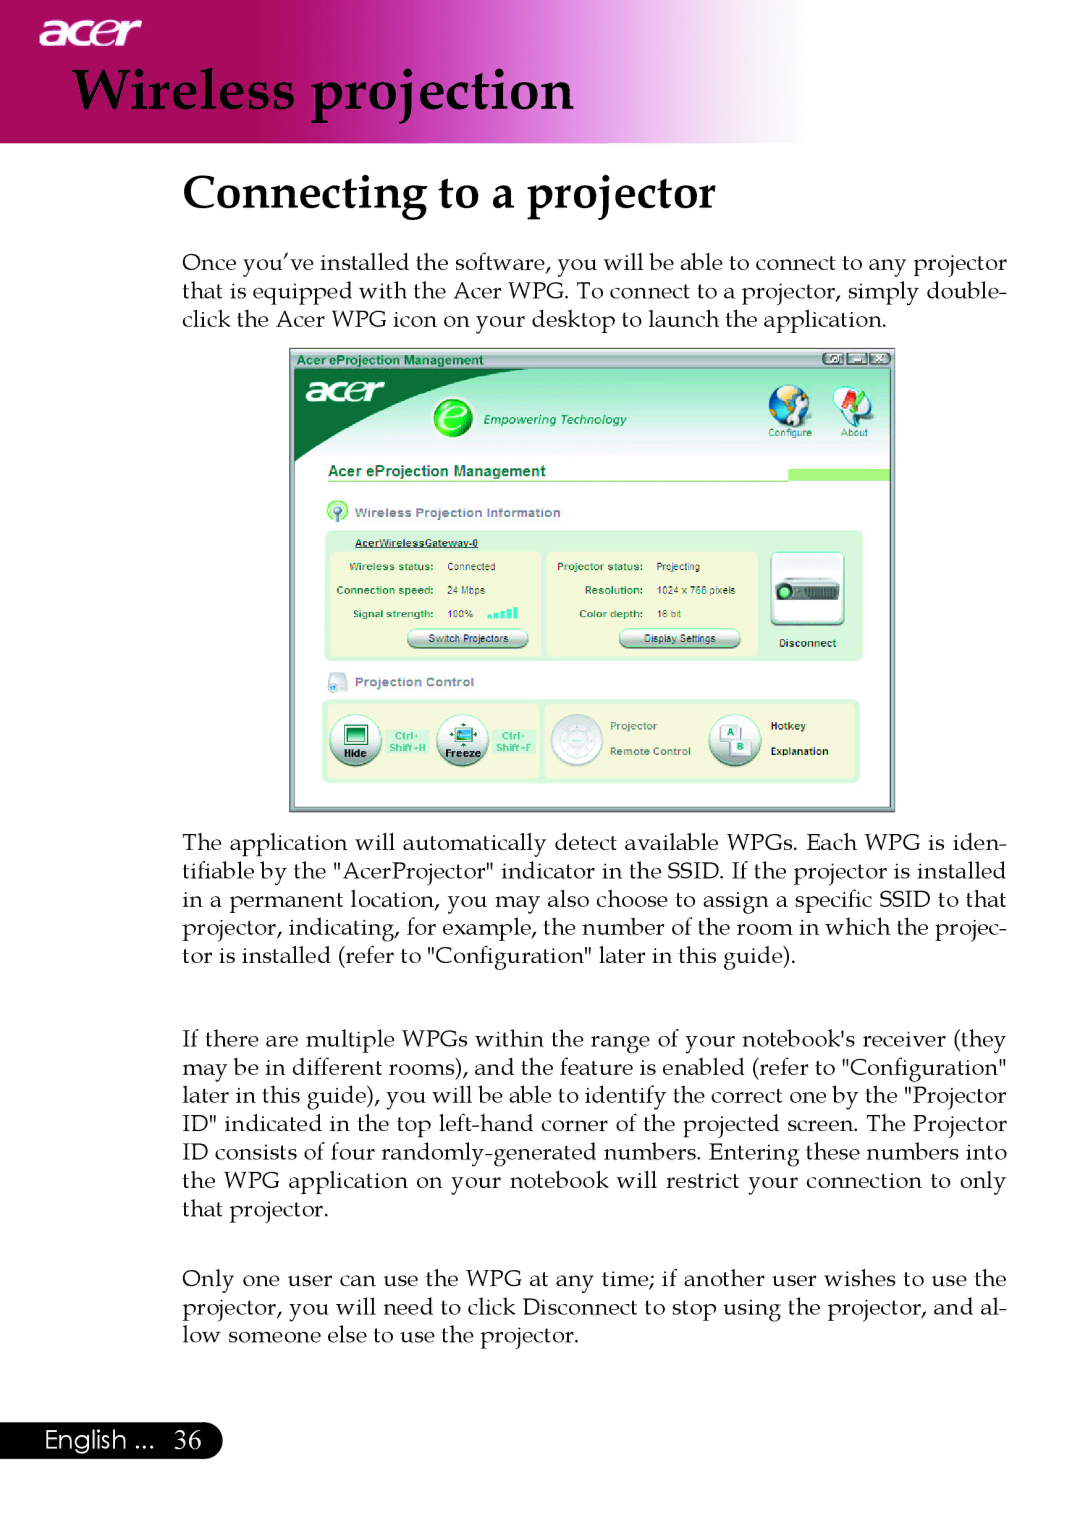
Once you’ve installed the software, you will be able to connect to any projector that is equipped with the Acer WPG. To connect to a projector, simply double- click the Acer WPG icon on your desktop to launch the application.
The application will automatically detect available WPGs. Each WPG is iden- tifiable by the "AcerProjector" indicator in the SSID. If the projector is installed in a permanent location, you may also choose to assign a specific SSID to that projector, indicating, for example, the number of the room in which the projec- tor is installed (refer to "Configuration" later in this guide).
If there are multiple WPGs within the range of your notebook's receiver (they may be in different rooms), and the feature is enabled (refer to "Configuration" later in this guide), you will be able to identify the correct one by the "Projector ID" indicated in the top
Only one user can use the WPG at any time; if another user wishes to use the projector, you will need to click Disconnect to stop using the projector, and al- low someone else to use the projector.
English ... 36