f. Disconnect the main door switch harness at connector.
IMPORTANT: When removing front panel assembly be careful not to damage door switch wires.
3.Loosen set screws on rear tumbler bearings.
4.Using a wheel puller gently push the tumbler shaft towards the front through the tumbler bearings.
NOTE: An alternate method would be to place a block of wood on the end of the tumbler shaft and strike it with a heavy hammer. To prevent damage to the shaft, the wheel puller method is preferred.
5.Remove the tumbler and support through the front of the dryer.
a.Remove the bolt in the center of the tumbler back wall.
b.Loosen and remove the nuts and washers from the tumbler tie rods. Remove the rods.
c.Replace either tumbler or tumbler support by reversing the procedure.
6.Reassemble components into dryer by reversing Step #1 through Step #4.
7.Check tumbler lateral and vertical alignment. Also, check belt tension and alignment.
8.Replace back guard and reestablish electrical power to dryer.
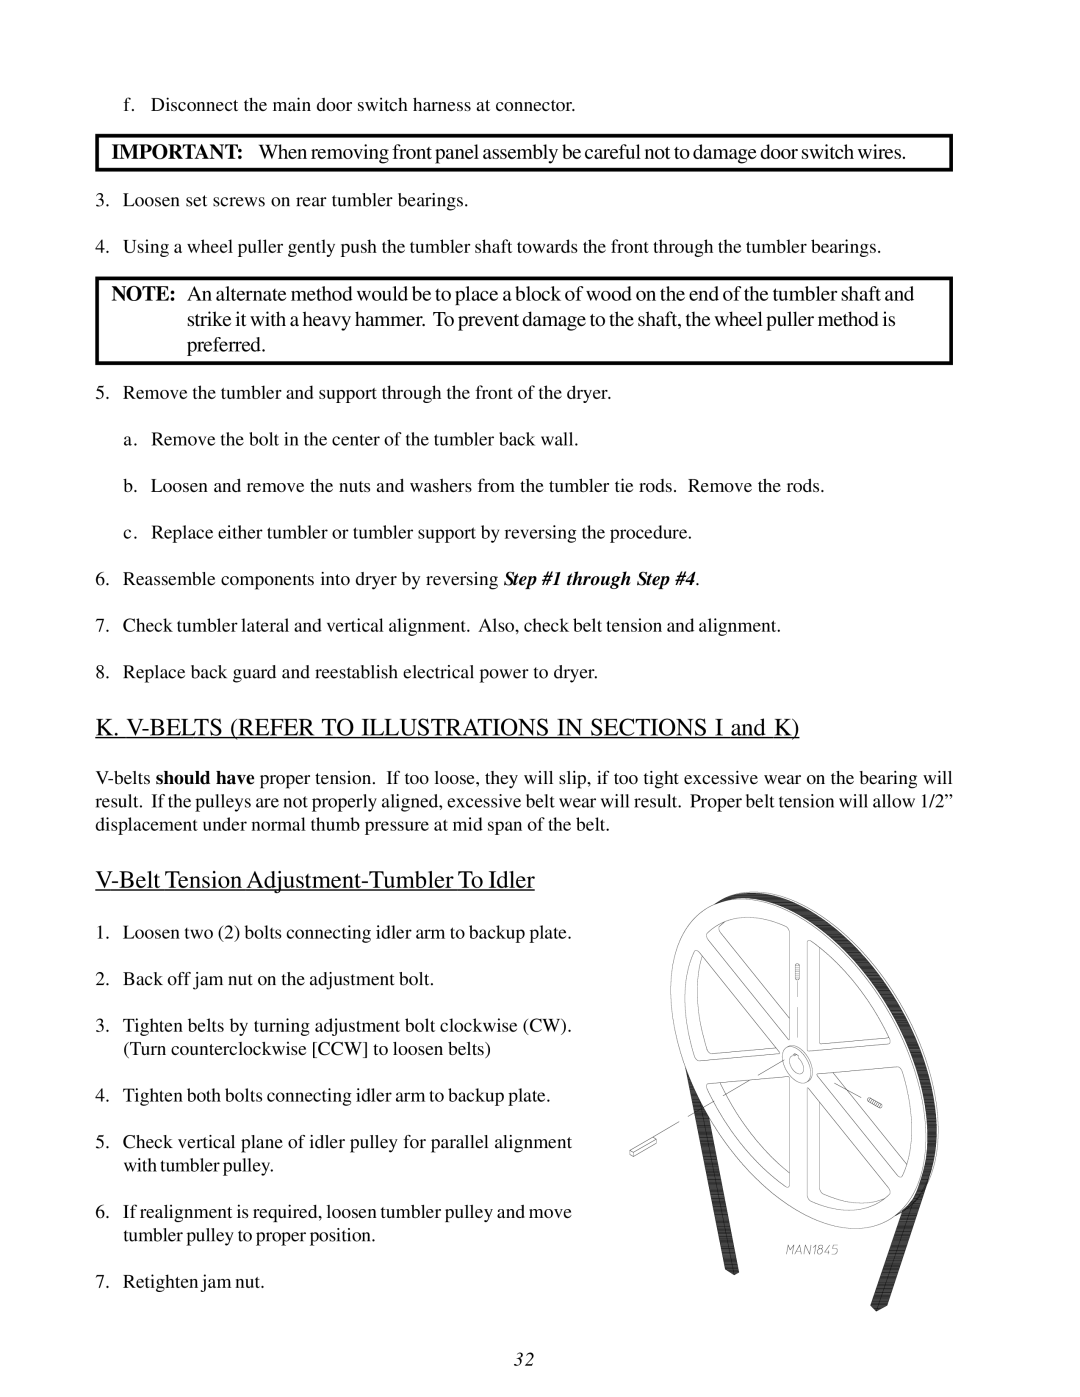
K. V-BELTS (REFER TO ILLUSTRATIONS IN SECTIONS I and K)
V-Belt Tension Adjustment-Tumbler To Idler
1. Loosen two (2) bolts connecting idler arm to backup plate.
2. Back off jam nut on the adjustment bolt.
3. Tighten belts by turning adjustment bolt clockwise (CW). (Turn counterclockwise [CCW] to loosen belts)
4. Tighten both bolts connecting idler arm to backup plate.
5. Check vertical plane of idler pulley for parallel alignment with tumbler pulley.
6. If realignment is required, loosen tumbler pulley and move tumbler pulley to proper position.
7. Retighten jam nut.
32
