Use one M5x8 screw on both left and right sides
Figure 8. Fasten the rear of the FastStor 1 to the rails.
Step 3. Connecting Power Cable
Before connecting the FastStor 1 to your host computer system, you should run the unit’s
1.Use the power cables from the accessories included in the shipment. Make sure you select the power cord suited for your location’s power system.
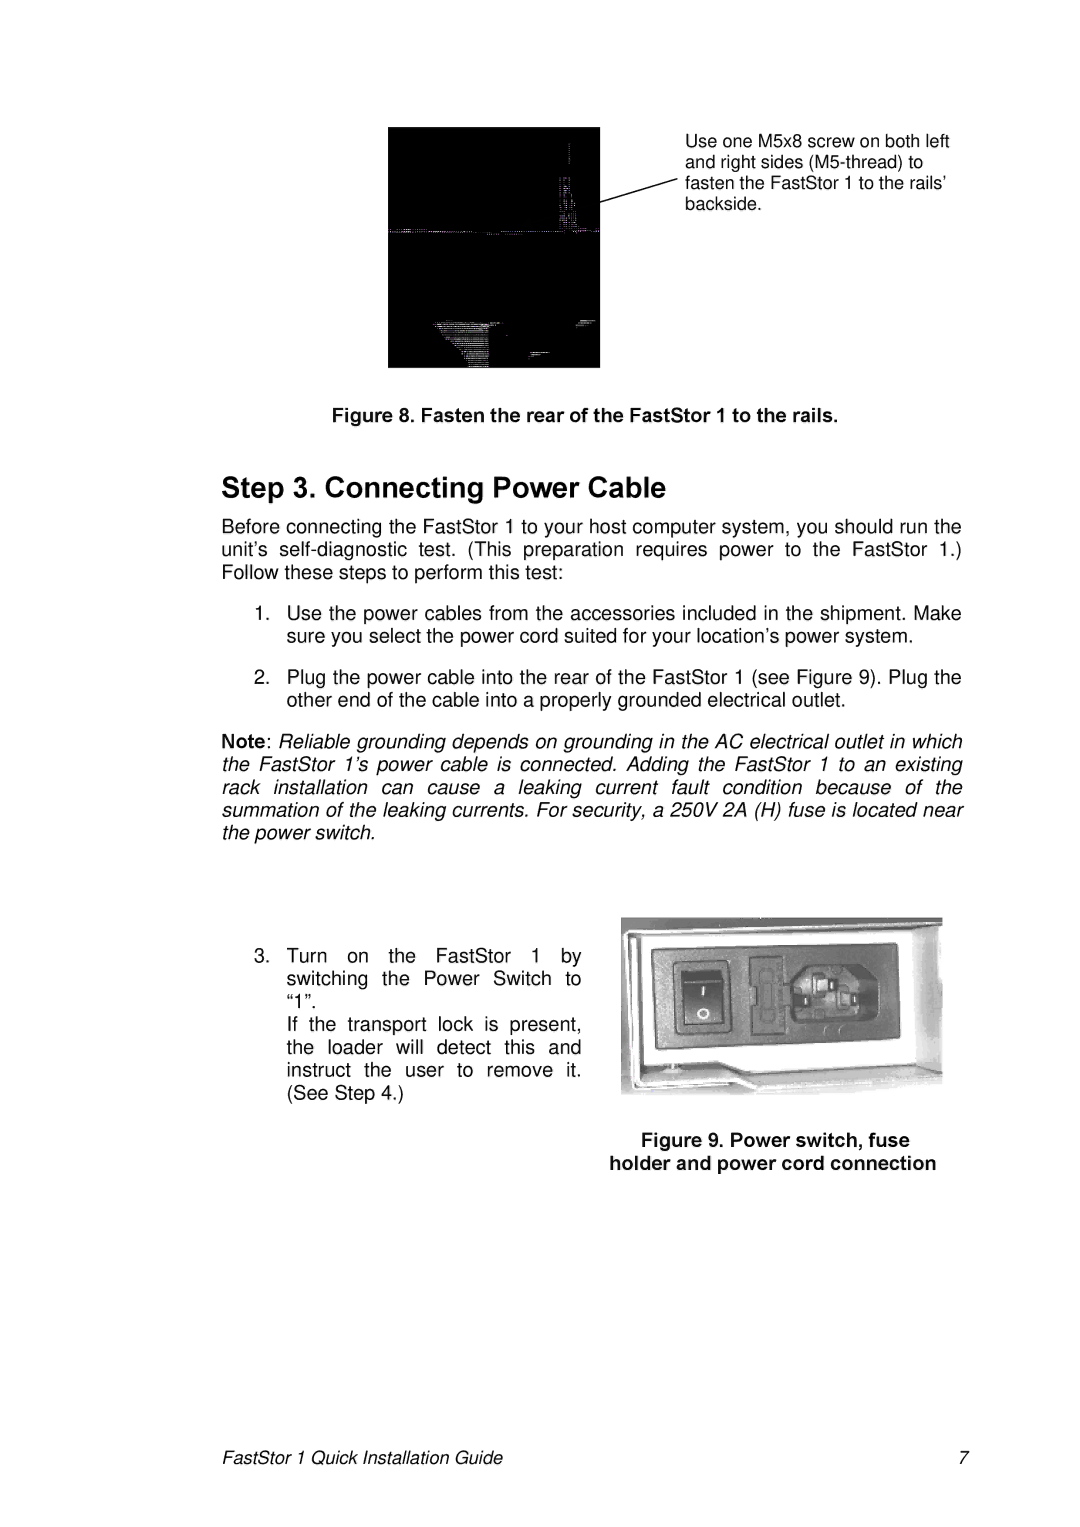
2.Plug the power cable into the rear of the FastStor 1 (see Figure 9). Plug the other end of the cable into a properly grounded electrical outlet.
Note: Reliable grounding depends on grounding in the AC electrical outlet in which the FastStor 1’s power cable is connected. Adding the FastStor 1 to an existing rack installation can cause a leaking current fault condition because of the summation of the leaking currents. For security, a 250V 2A (H) fuse is located near the power switch.
3.Turn on the FastStor 1 by switching the Power Switch to “1”.
If the transport lock is present, the loader will detect this and instruct the user to remove it. (See Step 4.)
Figure 9. Power switch, fuse holder and power cord connection
FastStor 1 Quick Installation Guide | 7 |