Step 6. Setting the SCSI Address
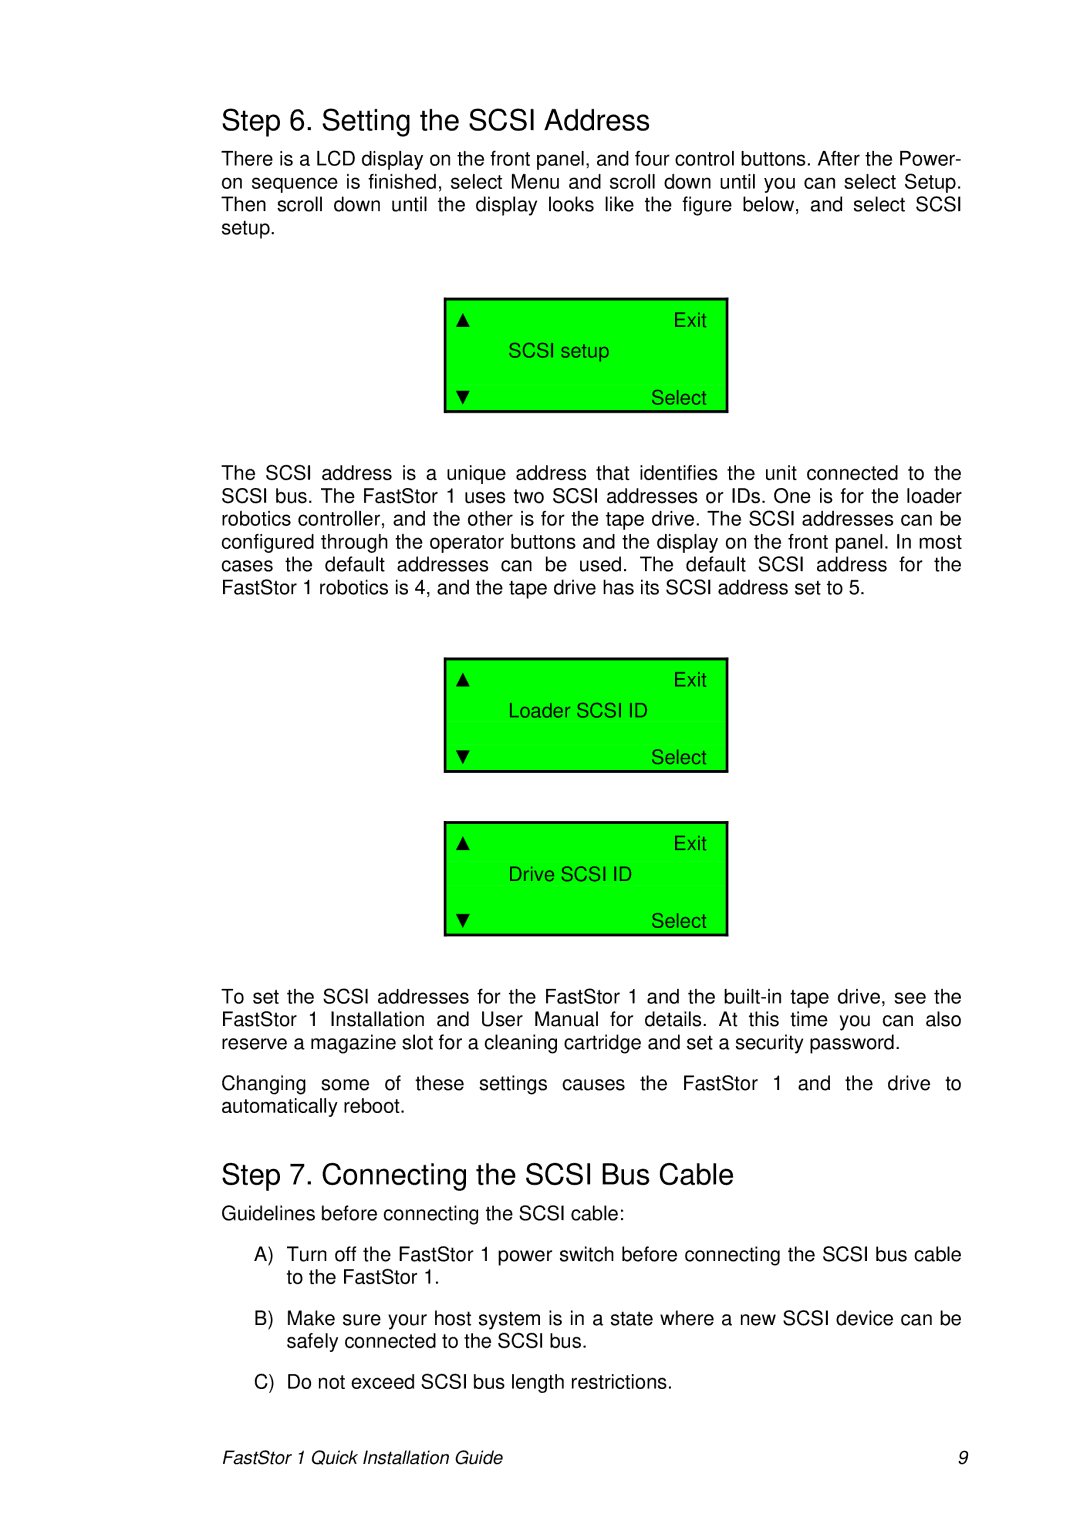
There is a LCD display on the front panel, and four control buttons. After the Power- on sequence is finished, select Menu and scroll down until you can select Setup. Then scroll down until the display looks like the figure below, and select SCSI setup.
▲Exit SCSI setup
▼ Select
The SCSI address is a unique address that identifies the unit connected to the SCSI bus. The FastStor 1 uses two SCSI addresses or IDs. One is for the loader robotics controller, and the other is for the tape drive. The SCSI addresses can be configured through the operator buttons and the display on the front panel. In most cases the default addresses can be used. The default SCSI address for the FastStor 1 robotics is 4, and the tape drive has its SCSI address set to 5.
▲Exit
Loader SCSI ID
▼ Select
▲Exit
Drive SCSI ID
▼ Select
To set the SCSI addresses for the FastStor 1 and the
Changing some of these settings causes the FastStor 1 and the drive to automatically reboot.
Step 7. Connecting the SCSI Bus Cable
Guidelines before connecting the SCSI cable:
A)Turn off the FastStor 1 power switch before connecting the SCSI bus cable to the FastStor 1.
B)Make sure your host system is in a state where a new SCSI device can be safely connected to the SCSI bus.
C)Do not exceed SCSI bus length restrictions.
FastStor 1 Quick Installation Guide | 9 |