2.Display
2.Display
22.1. Display
Note: ![]()
Due to the advanced functionalities of the inverter, it may take up to 10 seconds before the display becomes available after power up.
The integrated display on the inverter front gives the user access to all information about the PV system and the inverter.
The display has two modes:
Normal The display is in use
Power saving After 10 min. of no display activity the back light of the display turns off to save power.
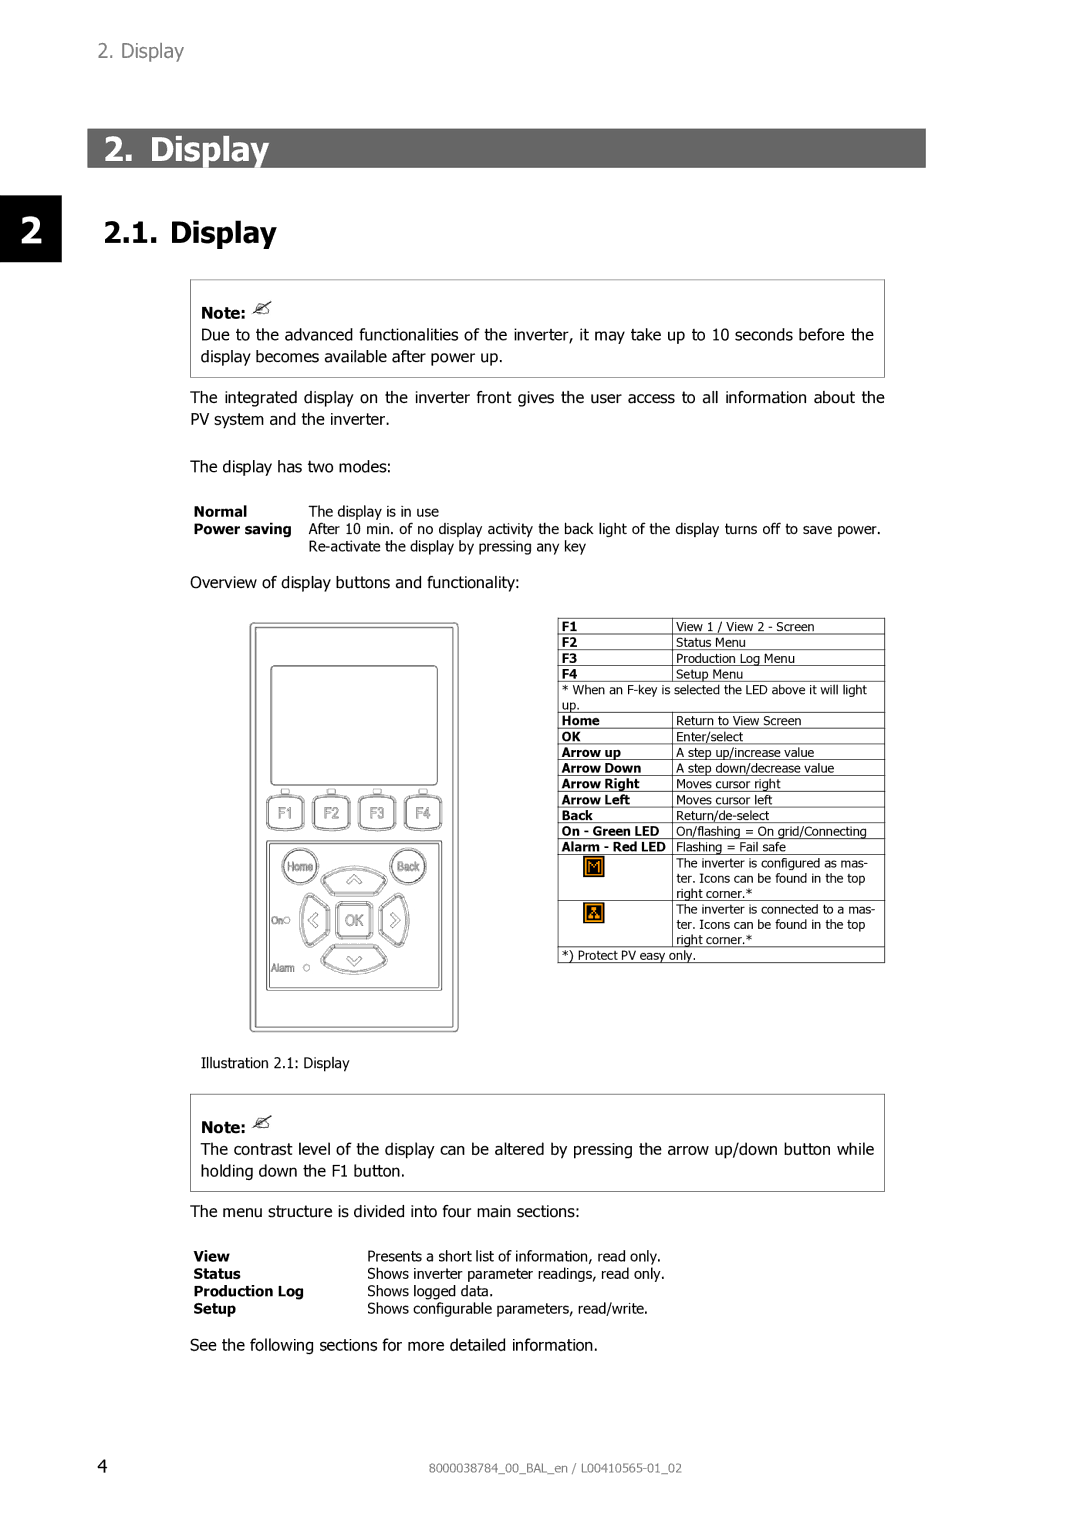
Overview of display buttons and functionality:
F1 | View 1 / View 2 - Screen |
F2 | Status Menu |
F3 | Production Log Menu |
F4 | Setup Menu |
* When an | selected the LED above it will light |
up. |
|
Home | Return to View Screen |
OK | Enter/select |
Arrow up | A step up/increase value |
Arrow Down | A step down/decrease value |
Arrow Right | Moves cursor right |
Arrow Left | Moves cursor left |
Back | |
On - Green LED | On/flashing = On grid/Connecting |
Alarm - Red LED | Flashing = Fail safe |
| The inverter is configured as mas- |
| ter. Icons can be found in the top |
| right corner.* |
| The inverter is connected to a mas- |
| ter. Icons can be found in the top |
| right corner.* |
*) Protect PV easy only.
Illustration 2.1: Display
Note: ![]()
The contrast level of the display can be altered by pressing the arrow up/down button while holding down the F1 button.
The menu structure is divided into four main sections:
View | Presents a short list of information, read only. |
Status | Shows inverter parameter readings, read only. |
Production Log | Shows logged data. |
Setup | Shows configurable parameters, read/write. |
See the following sections for more detailed information.
4 | 8000038784_00_BAL_en / |
