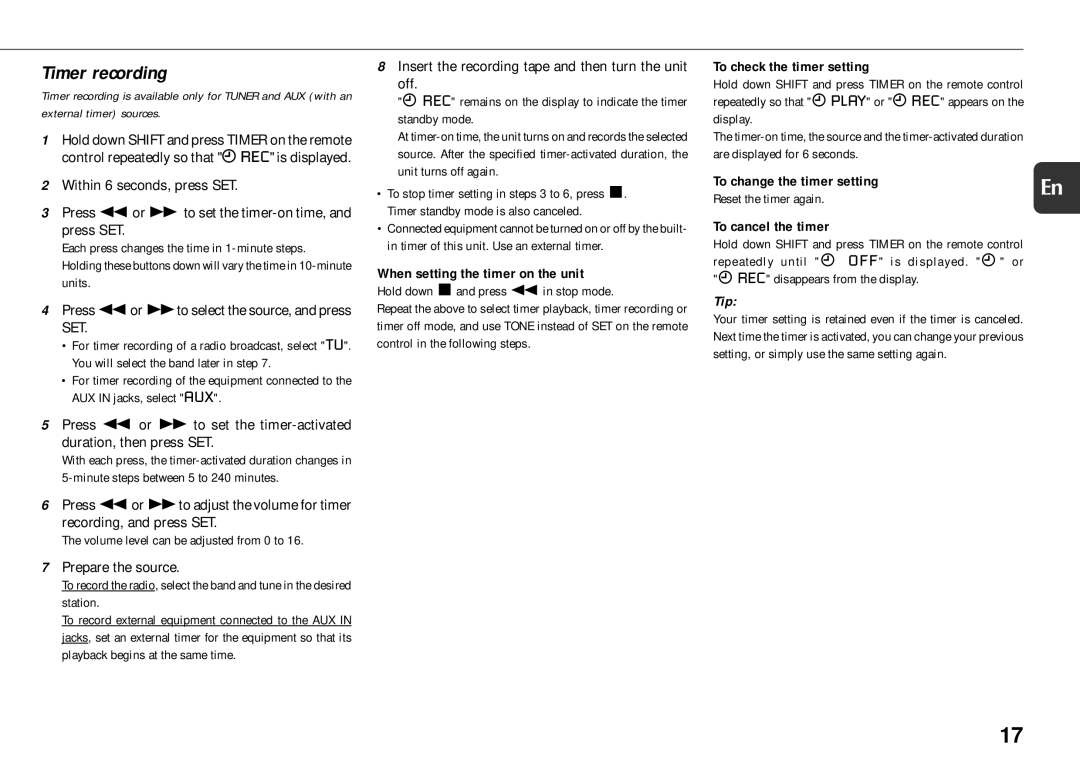
Timer recording

Timer recording is available only for TUNER and AUX (with an external timer) sources.

1Hold down SHIFT and press TIMER on the remote control repeatedly so that "5REC" is displayed.

2Within 6 seconds, press SET.

3Press for g to set the timer-on time, and press SET.

Each press changes the time in 1-minute steps. Holding these buttons down will vary the time in 10-minute units.

4Press for gto select the source, and press SET.

•For timer recording of a radio broadcast, select "TU". You will select the band later in step 7.

•For timer recording of the equipment connected to the AUX IN jacks, select "AUX".

5Press f or g to set the timer-activated duration, then press SET.

With each press, the timer-activated duration changes in 5-minute steps between 5 to 240 minutes.

6Press for gto adjust the volume for timer recording, and press SET.

The volume level can be adjusted from 0 to 16.

7Prepare the source.

To record the radio, select the band and tune in the desired station.

To record external equipment connected to the AUX IN jacks, set an external timer for the equipment so that its playback begins at the same time.

8Insert the recording tape and then turn the unit off.

"5 REC" remains on the display to indicate the timer standby mode.

At timer-on time, the unit turns on and records the selected source. After the specified timer-activated duration, the unit turns off again.

•To stop timer setting in steps 3 to 6, press s. Timer standby mode is also canceled.

•Connected equipment cannot be turned on or off by the built- in timer of this unit. Use an external timer.

When setting the timer on the unit Hold down sand press fin stop mode.

Repeat the above to select timer playback, timer recording or timer off mode, and use TONE instead of SET on the remote control in the following steps.

To check the timer setting


Hold down SHIFT and press TIMER on the remote control


repeatedly so that "5 PLAY" or "5 REC" appears on the


display.


The timer-on time, the source and the timer-activated duration


are displayed for 6 seconds.


To change the timer setting

En

Reset the timer again.


To cancel the timer


Hold down SHIFT and press TIMER on the remote control


repeatedly until "5 OFF" is displayed. "5" or


"5 REC" disappears from the display.


Tip:


Your timer setting is retained even if the timer is canceled.


Next time the timer is activated, you can change your previous


setting, or simply use the same setting again.


17

Page 17
Image 17
Aiwa XR-EM20 manual Timer recording, To check the timer setting, To change the timer setting, To cancel the timer

XR-EM20 specifications

The Aiwa XR-EM20 is a compact and robust portable stereo system that has generated attention for its impressive sound quality and user-friendly features. Designed with music enthusiasts in mind, this portable device offers an ideal solution for those who seek high-performance audio on the go.

One of the standout features of the XR-EM20 is its dual cassette deck, allowing users to record and play back cassette tapes, a nostalgia factor that appeals to vintage audio lovers. The system also supports CD playback, providing versatility for various audio formats. The inclusion of a built-in AM/FM radio broadens entertainment options, allowing users to enjoy their favorite stations wherever they are.

In terms of sound quality, the Aiwa XR-EM20 boasts powerful speakers that produce rich and clear audio. The system is equipped with a bass boost function, enhancing low frequencies for a more dynamic listening experience. Additionally, the adjustable equalizer offers users the ability to tailor sound settings to their personal preferences, ensuring that every note is crisp and balanced.

Portability is a key aspect of the XR-EM20's design. It features a lightweight and compact structure that makes it easy to carry, while its durable build ensures longevity. The system supports battery operation, making it perfect for outdoor gatherings or spontaneous jam sessions, where access to power may not be available.

Connectivity is also a strong point for this Aiwa model. In addition to conventional inputs, it includes an auxiliary input jack, allowing users to connect smartphones, tablets, or other devices for seamless playback. This modern flexibility ensures that users can enjoy their digital music libraries without restrictions.

The user interface is intuitive, featuring clearly labeled buttons and a backlit display for easy navigation, even in low-light conditions. The XR-EM20's design reflects Aiwa's commitment to functionality and style, making it an attractive addition to any music lover's collection.

In summary, the Aiwa XR-EM20 combines classic audio features with modern convenience, appealing to a wide range of users. Its cassette deck, CD player, radio capabilities, powerful sound output, and portability make it a versatile option for enjoying music anywhere, anytime. Whether you're a nostalgic audiophile or a casual listener, the XR-EM20 provides an exceptional listening experience that is sure to please.