CONFIGURING WINDOWS VISTA TO WORK WITH THE USB MICROPHONE
Note: Before using the microphone with Windows Vista, please download and install the ASIO4ALL driver. This will allow you to record in stereo. Installing this driver is quick and easy:
1.Go to www.asio4all.com.
2.Click on the latest ASIO4ALL driver to download it.
3.Once you have downloaded the file, locate and
4.Follow the
1.With no programs or windows open, click
on Start Settings Control Panel.
2.In the window that opens, find and
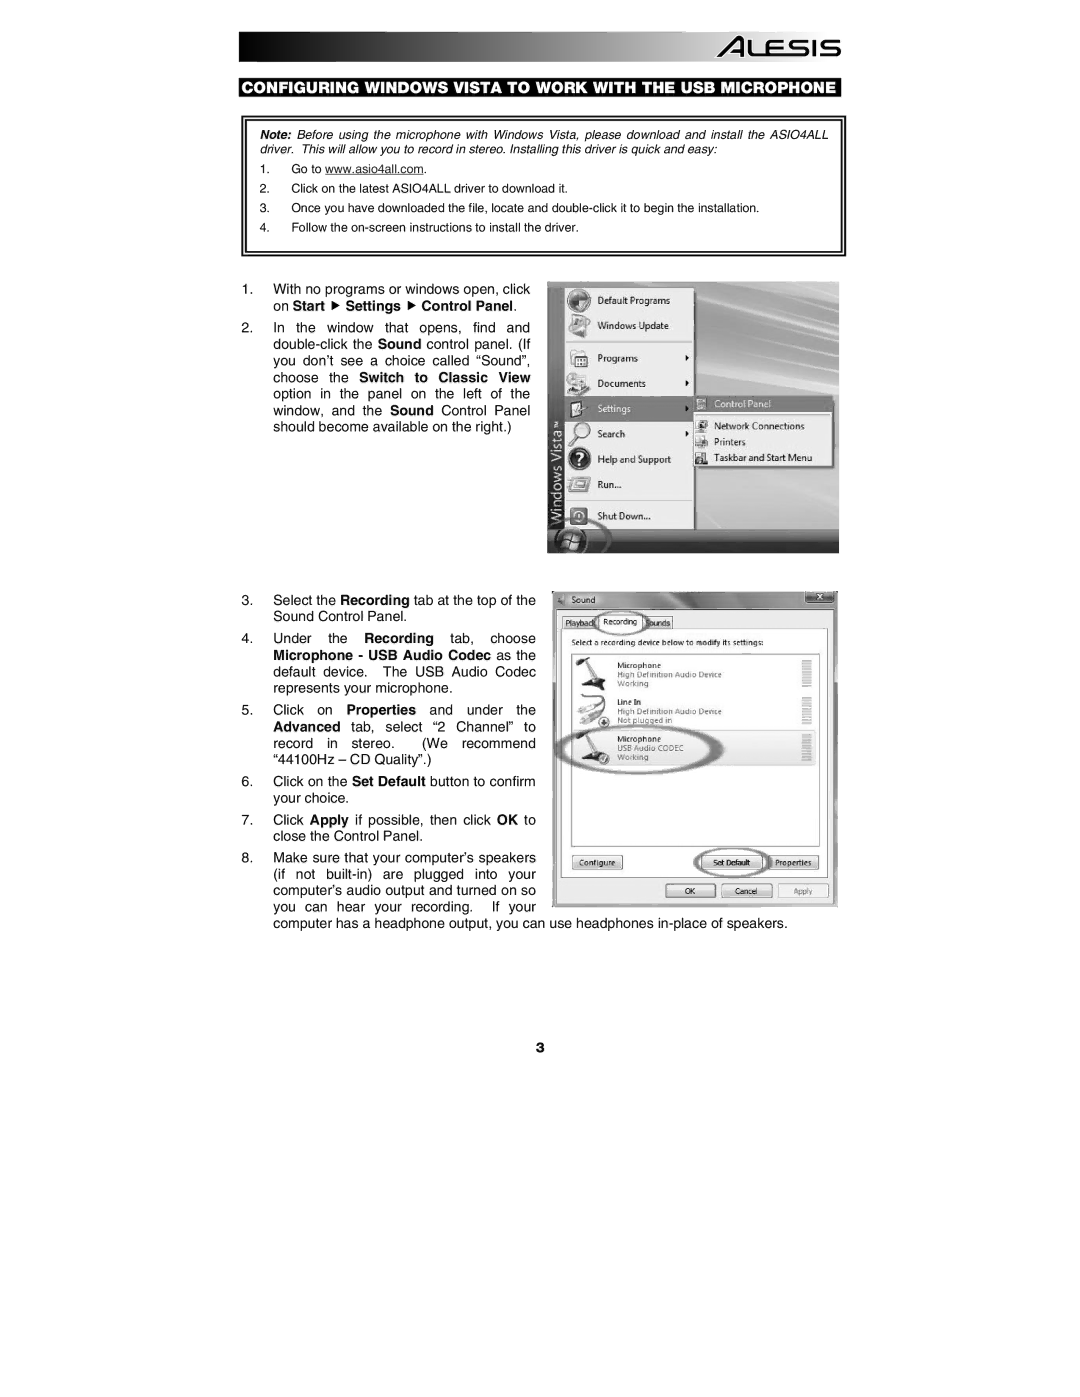
3.Select the Recording tab at the top of the Sound Control Panel.
4.Under the Recording tab, choose Microphone - USB Audio Codec as the default device. The USB Audio Codec represents your microphone.
5.Click on Properties and under the Advanced tab, select “2 Channel” to record in stereo. (We recommend “44100Hz – CD Quality”.)
6.Click on the Set Default button to confirm your choice.
7.Click Apply if possible, then click OK to close the Control Panel.
8.Make sure that your computer’s speakers (if not
computer has a headphone output, you can use headphones
3
