AT-GS950/48 specifications
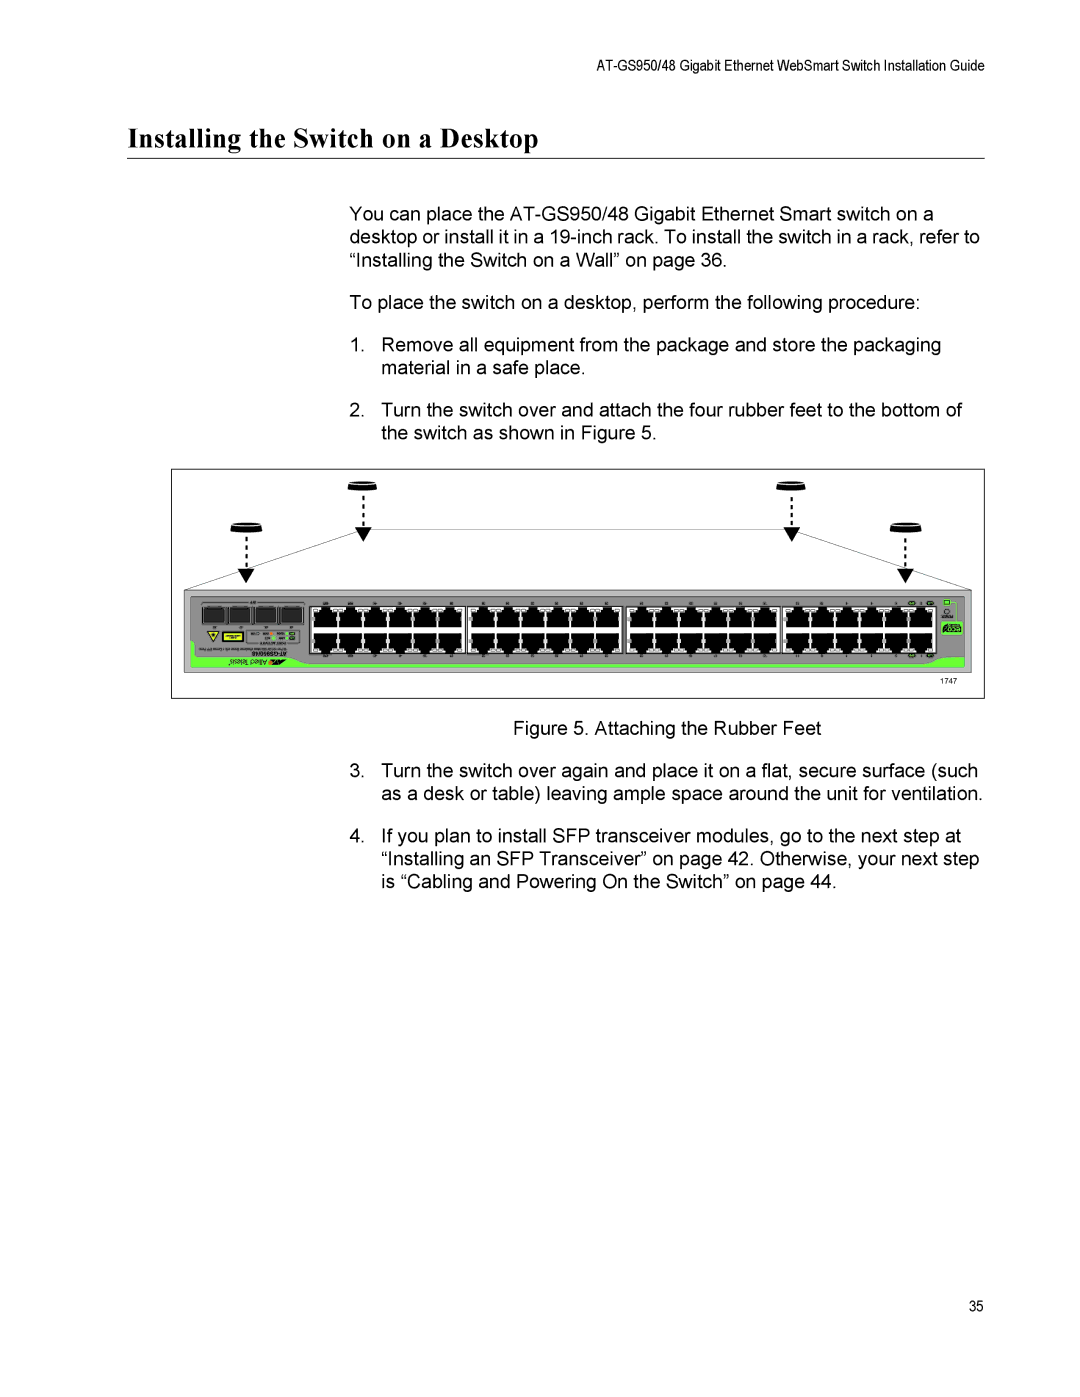
The Allied Telesis AT-GS950/48 is a robust and high-performance managed Gigabit Ethernet switch designed to meet the demands of modern networks. Ideal for small to medium-sized businesses and enterprise environments, this switch delivers flexible, reliable, and high-speed connectivity while ensuring ease of management.One of the standout features of the AT-GS950/48 is its offering of 48 Gigabit Ethernet ports, allowing for extensive connectivity options. These ports support auto-negotiation and can automatically detect the highest speed supported by connected devices, ensuring optimal performance. The inclusion of 4 additional SFP (Small Form-factor Pluggable) ports enhances the flexibility of the network design. These SFP ports enable fiber connections, making it easy to extend the network over longer distances or connect to different types of media.
The switch supports advanced Layer 2 features, including VLAN (Virtual Local Area Network) support, which allows network administrators to segment network traffic for enhanced security and performance. The AT-GS950/48 also incorporates features such as Spanning Tree Protocol (STP) and Rapid Spanning Tree Protocol (RSTP) that prevent loops in the network and promote redundancy, ensuring uninterrupted service even in complex networking environments.
Additionally, the AT-GS950/48 supports Power over Ethernet (PoE), which enables the switch to deliver power to connected devices such as IP cameras, VoIP phones, and wireless access points through the Ethernet cable, reducing the need for additional power sources. This PoE capability allows for easier installation and flexibility in deploying network devices.
Allied Telesis places a strong emphasis on security, and the AT-GS950/48 reflects this commitment with features like IEEE 802.1X authentication, which secures network access by allowing only authorized users to connect. The switch also provides access control lists (ACLs) to enhance security by filtering traffic based on various criteria.
With built-in web-based management, the AT-GS950/48 enables administrators to easily configure, manage, and monitor the switch through an intuitive interface. It also supports SNMP (Simple Network Management Protocol) for integration into existing network management systems.
In summary, the Allied Telesis AT-GS950/48 combines high port density, advanced networking features, power delivery capabilities, and robust security measures, making it an excellent choice for organizations looking to build a resilient and efficient network infrastructure.

