06 Calibration Due Date
Shown as Cal Due Date in the menu, this date is set at the factory and displays the recommended Recalibration/service date. This is one mode that cannot be changed by a user. It is only set at the factory after a service has been performed. NOTE: This cannot be changed.
07 Text Editor
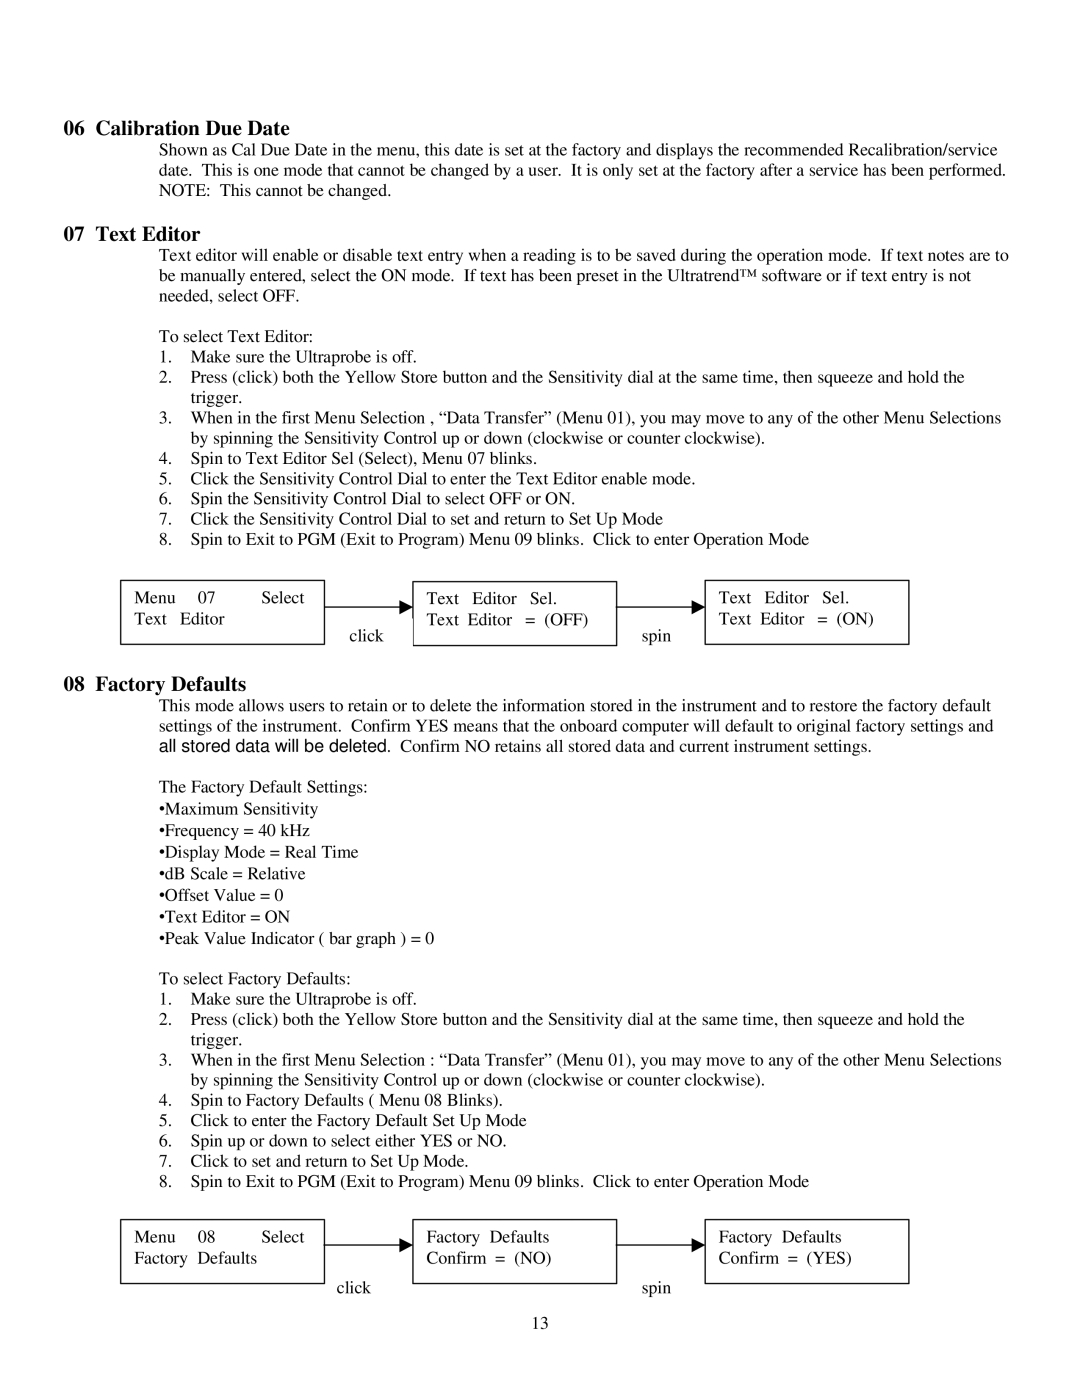
Text editor will enable or disable text entry when a reading is to be saved during the operation mode. If text notes are to be manually entered, select the ON mode. If text has been preset in the Ultratrend™ software or if text entry is not needed, select OFF.
To select Text Editor:
1.Make sure the Ultraprobe is off.
2.Press (click) both the Yellow Store button and the Sensitivity dial at the same time, then squeeze and hold the trigger.
3.When in the first Menu Selection , “Data Transfer” (Menu 01), you may move to any of the other Menu Selections by spinning the Sensitivity Control up or down (clockwise or counter clockwise).
4.Spin to Text Editor Sel (Select), Menu 07 blinks.
5.Click the Sensitivity Control Dial to enter the Text Editor enable mode.
6.Spin the Sensitivity Control Dial to select OFF or ON.
7.Click the Sensitivity Control Dial to set and return to Set Up Mode
8.Spin to Exit to PGM (Exit to Program) Menu 09 blinks. Click to enter Operation Mode
Menu | 07 | Select |
Text | Editor |
|
|
|
|
click
Text Editor Sel. Text Editor = (OFF)
spin
Text Editor Sel. Text Editor = (ON)
08 Factory Defaults
This mode allows users to retain or to delete the information stored in the instrument and to restore the factory default settings of the instrument. Confirm YES means that the onboard computer will default to original factory settings and all stored data will be deleted. Confirm NO retains all stored data and current instrument settings.
The Factory Default Settings: ∙Maximum Sensitivity ∙Frequency = 40 kHz ∙Display Mode = Real Time ∙dB Scale = Relative ∙Offset Value = 0
∙Text Editor = ON
∙Peak Value Indicator ( bar graph ) = 0
To select Factory Defaults:
1.Make sure the Ultraprobe is off.
2.Press (click) both the Yellow Store button and the Sensitivity dial at the same time, then squeeze and hold the trigger.
3.When in the first Menu Selection : “Data Transfer” (Menu 01), you may move to any of the other Menu Selections by spinning the Sensitivity Control up or down (clockwise or counter clockwise).
4.Spin to Factory Defaults ( Menu 08 Blinks).
5.Click to enter the Factory Default Set Up Mode
6.Spin up or down to select either YES or NO.
7.Click to set and return to Set Up Mode.
8.Spin to Exit to PGM (Exit to Program) Menu 09 blinks. Click to enter Operation Mode
Menu | 08 | Select |
Factory | Defaults |
|
click
Factory Defaults Confirm = (NO)
spin
Factory Defaults Confirm = (YES)
13
