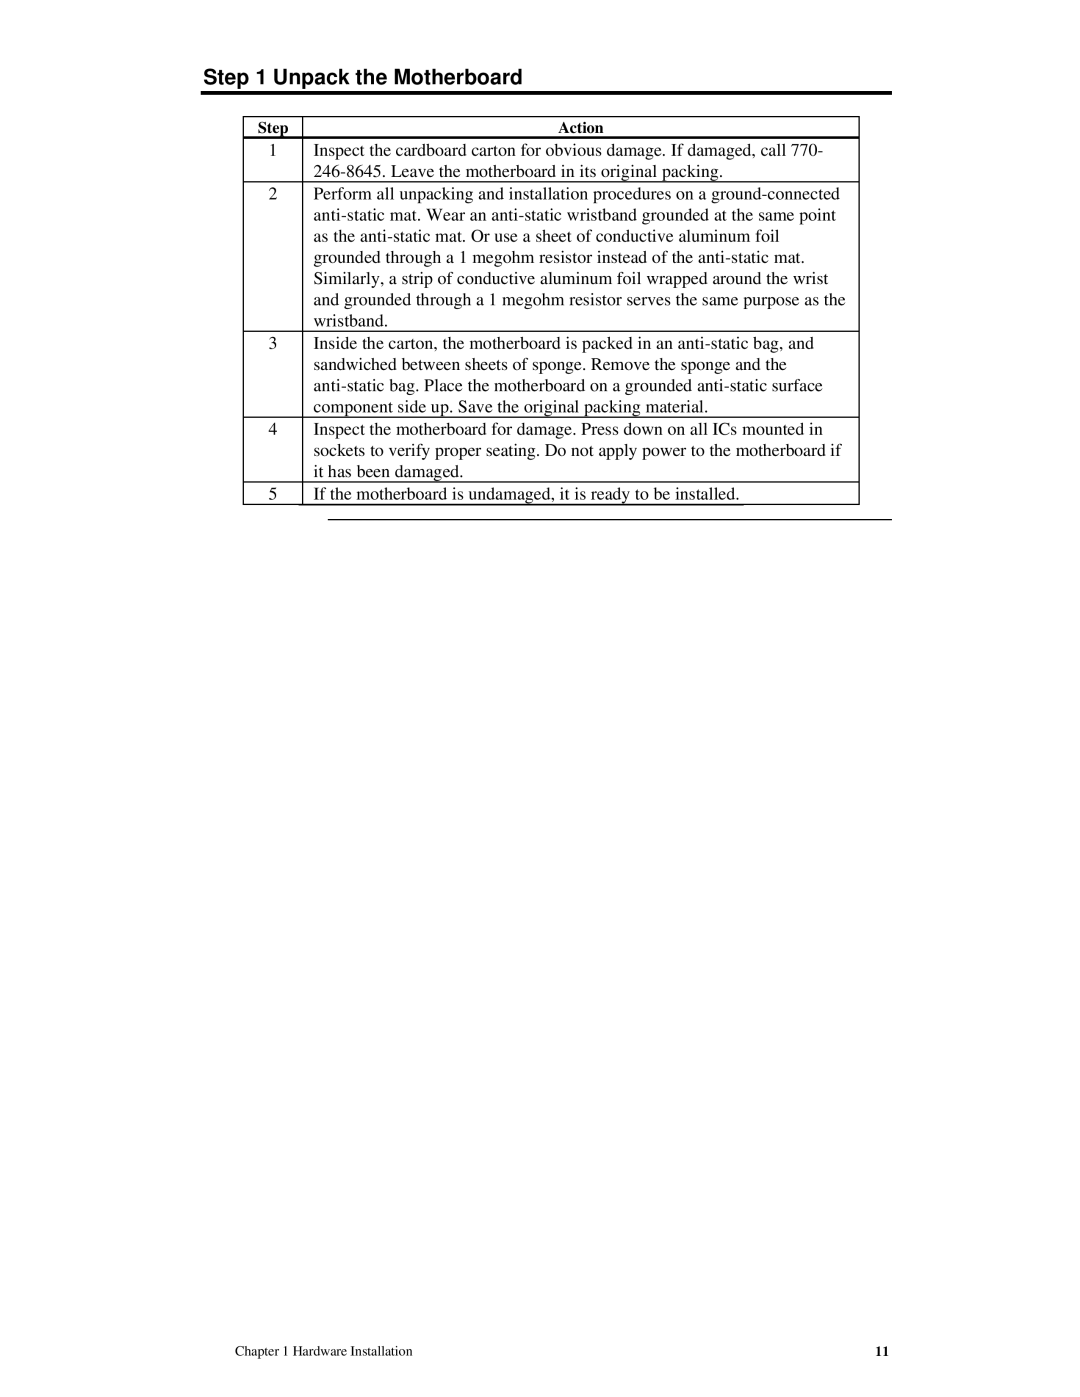
Step 1 Unpack the Motherboard
Step |
| Action |
|
1 | Inspect the cardboard carton for obvious damage. If damaged, call 770- |
| |
|
| ||
2 | Perform all unpacking and installation procedures on a |
| |
|
| ||
| as the |
| |
| grounded through a 1 megohm resistor instead of the |
| |
| Similarly, a strip of conductive aluminum foil wrapped around the wrist |
| |
| and grounded through a 1 megohm resistor serves the same purpose as the |
| |
| wristband. |
| |
3 | Inside the carton, the motherboard is packed in an |
| |
| sandwiched between sheets of sponge. Remove the sponge and the |
| |
|
| ||
| component side up. Save the original packing material. |
| |
4 | Inspect the motherboard for damage. Press down on all ICs mounted in |
| |
| sockets to verify proper seating. Do not apply power to the motherboard if |
| |
| it has been damaged. |
| |
5 | If the motherboard is undamaged, it is ready to be installed. |
| |
|
|
|
|
Chapter 1 Hardware Installation | 11 |
