Replacing the Thermocouple
Important: Use only a factory authorized Flame Guard® Safety System thermocouple for replacement.
1.Remove the manifold assembly as directed previously.
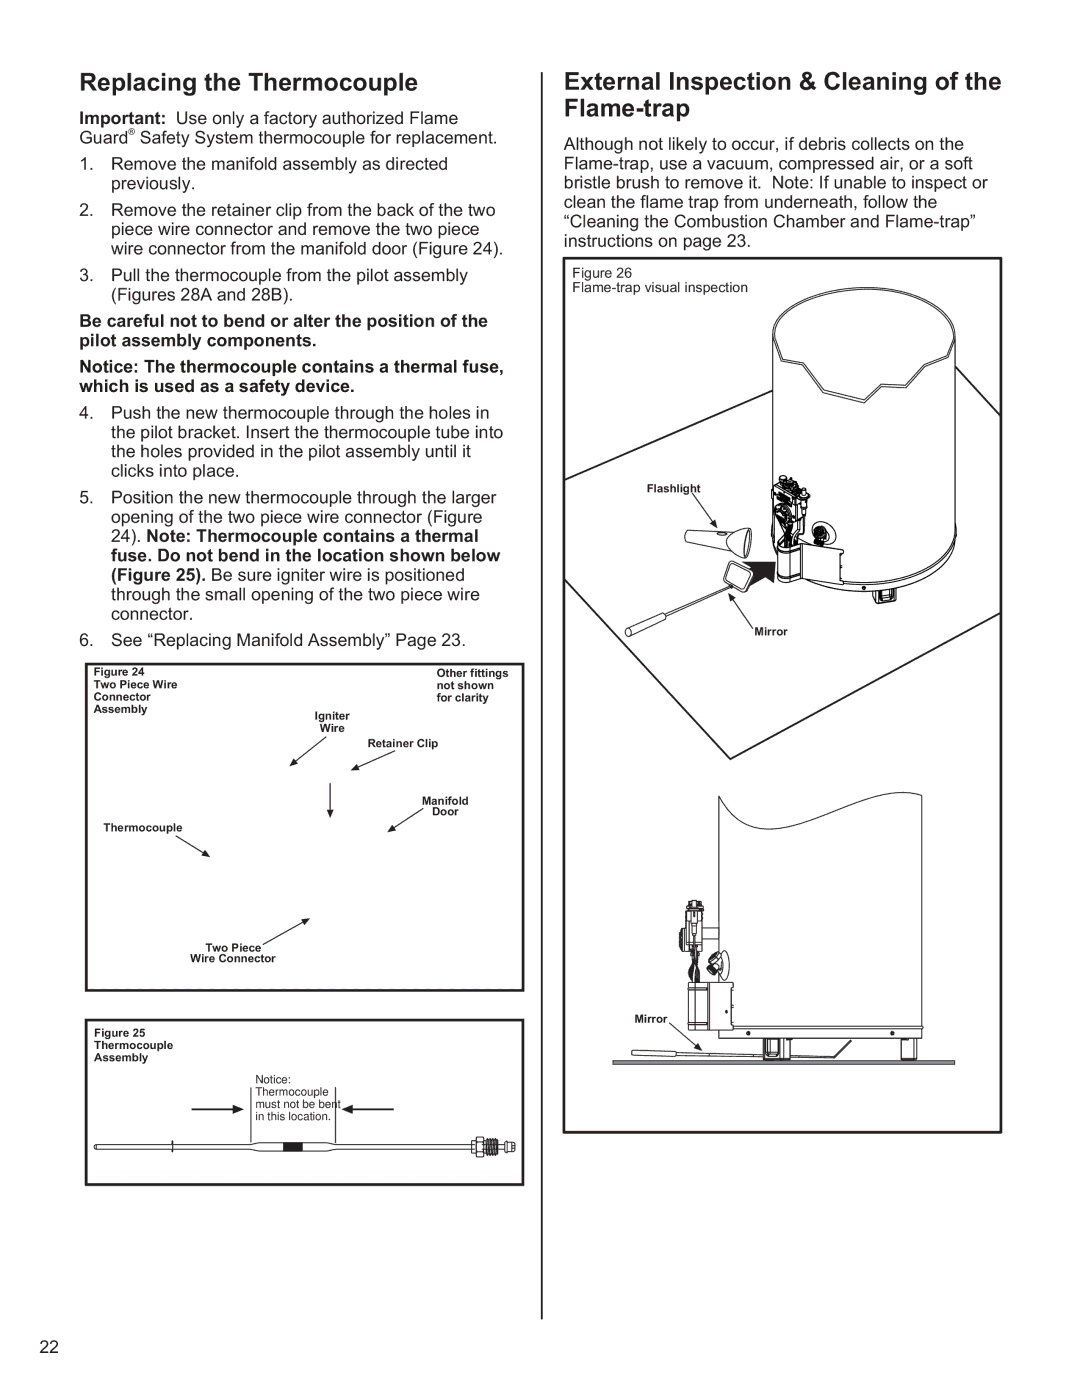
2.Remove the retainer clip from the back of the two piece wire connector and remove the two piece wire connector from the manifold door (Figure 24).
3.Pull the thermocouple from the pilot assembly (Figures 28A and 28B).
Be careful not to bend or alter the position of the pilot assembly components.
Notice: The thermocouple contains a thermal fuse, which is used as a safety device.
4.Push the new thermocouple through the holes in the pilot bracket. Insert the thermocouple tube into the holes provided in the pilot assembly until it clicks into place.
5.Position the new thermocouple through the larger opening of the two piece wire connector (Figure 24). Note: Thermocouple contains a thermal fuse. Do not bend in the location shown below (Figure 25). Be sure igniter wire is positioned through the small opening of the two piece wire connector.
6.See “Replacing Manifold Assembly” Page 23.
Figure 24 | Other fittings |
Two Piece Wire | not shown |
Connector | for clarity |
Assembly
Igniter
Wire
Retainer Clip
Manifold
Door
Thermocouple
Two Piece
Wire Connector
Figure 25
Thermocouple
Assembly
Notice:
Thermocouple
must not be bent
in this location.
External Inspection & Cleaning of the Flame-trap
Although not likely to occur, if debris collects on the
Figure 26 |
Flashlight |
Mirror |
Mirror |
22
