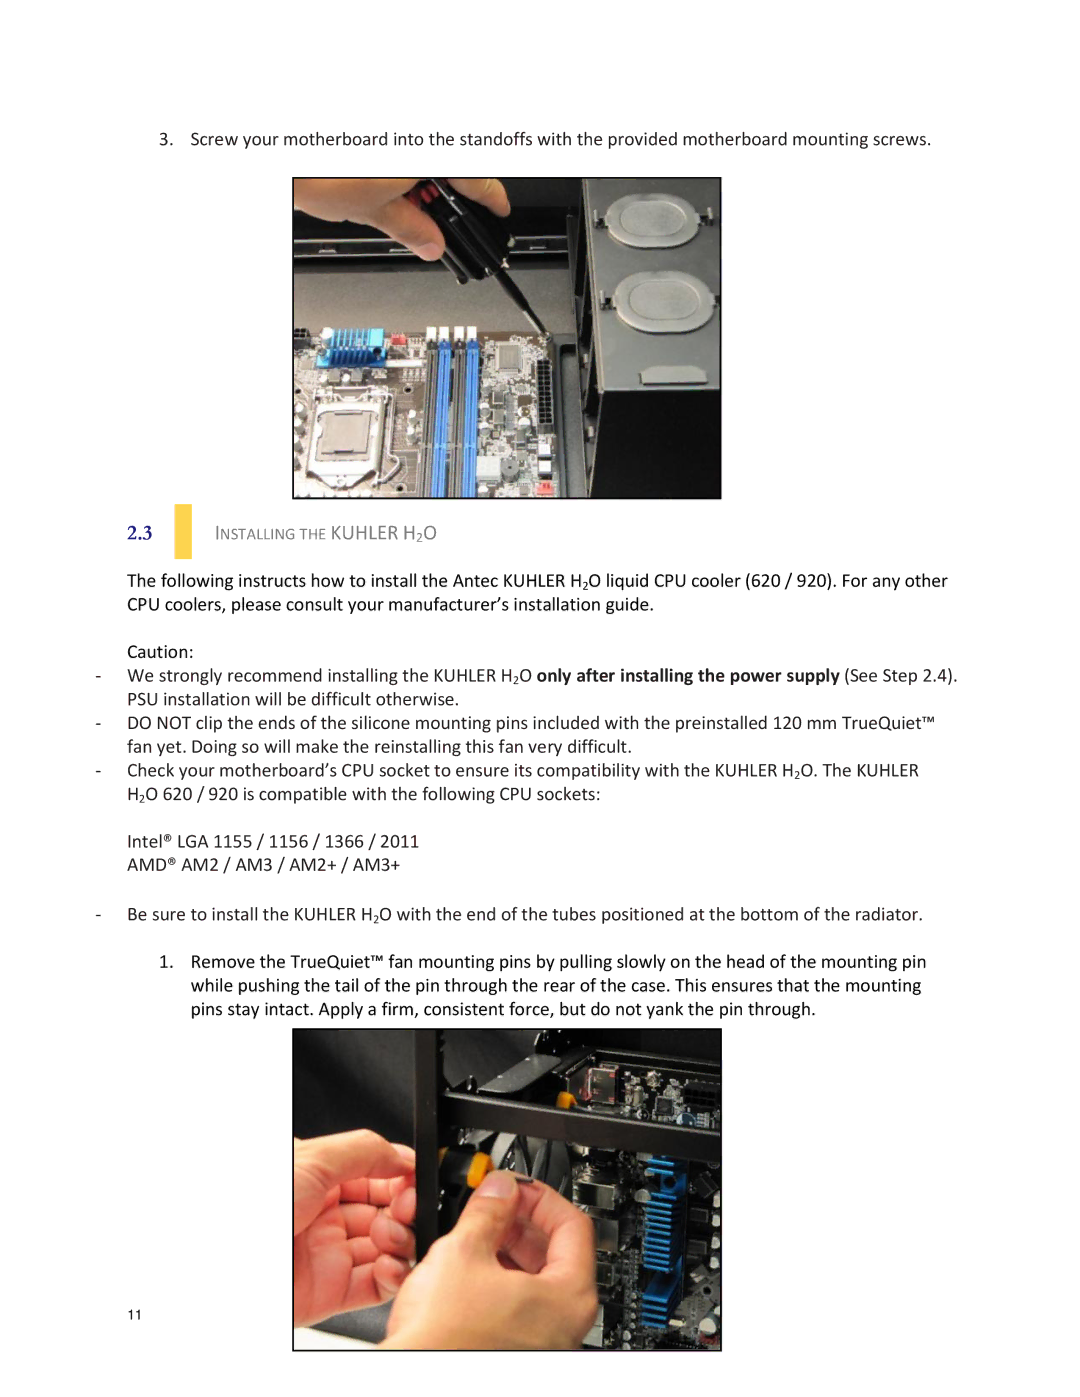
3. Screw your motherboard into the standoffs with the provided motherboard mounting screws.
2.3
INSTALLING THE KUHLER H2O
The following instructs how to install the Antec KUHLER H2O liquid CPU cooler (620 / 920). For any other CPU coolers, please consult your manufacturer’s installation guide.
Caution:
-We strongly recommend installing the KUHLER H2O only after installing the power supply (See Step 2.4). PSU installation will be difficult otherwise.
-DO NOT clip the ends of the silicone mounting pins included with the preinstalled 120 mm TrueQuiet™ fan yet. Doing so will make the reinstalling this fan very difficult.
-Check your motherboard’s CPU socket to ensure its compatibility with the KUHLER H2O. The KUHLER H2O 620 / 920 is compatible with the following CPU sockets:
Intel® LGA 1155 / 1156 / 1366 / 2011 AMD® AM2 / AM3 / AM2+ / AM3+
-Be sure to install the KUHLER H2O with the end of the tubes positioned at the bottom of the radiator.
1.Remove the TrueQuiet™ fan mounting pins by pulling slowly on the head of the mounting pin while pushing the tail of the pin through the rear of the case. This ensures that the mounting pins stay intact. Apply a firm, consistent force, but do not yank the pin through.
11