Recording Options
NORMAL RECORDING
1.Make connections illustrated as page
2.Insert a recordable DVD+RW or DVD+R into the recorder.
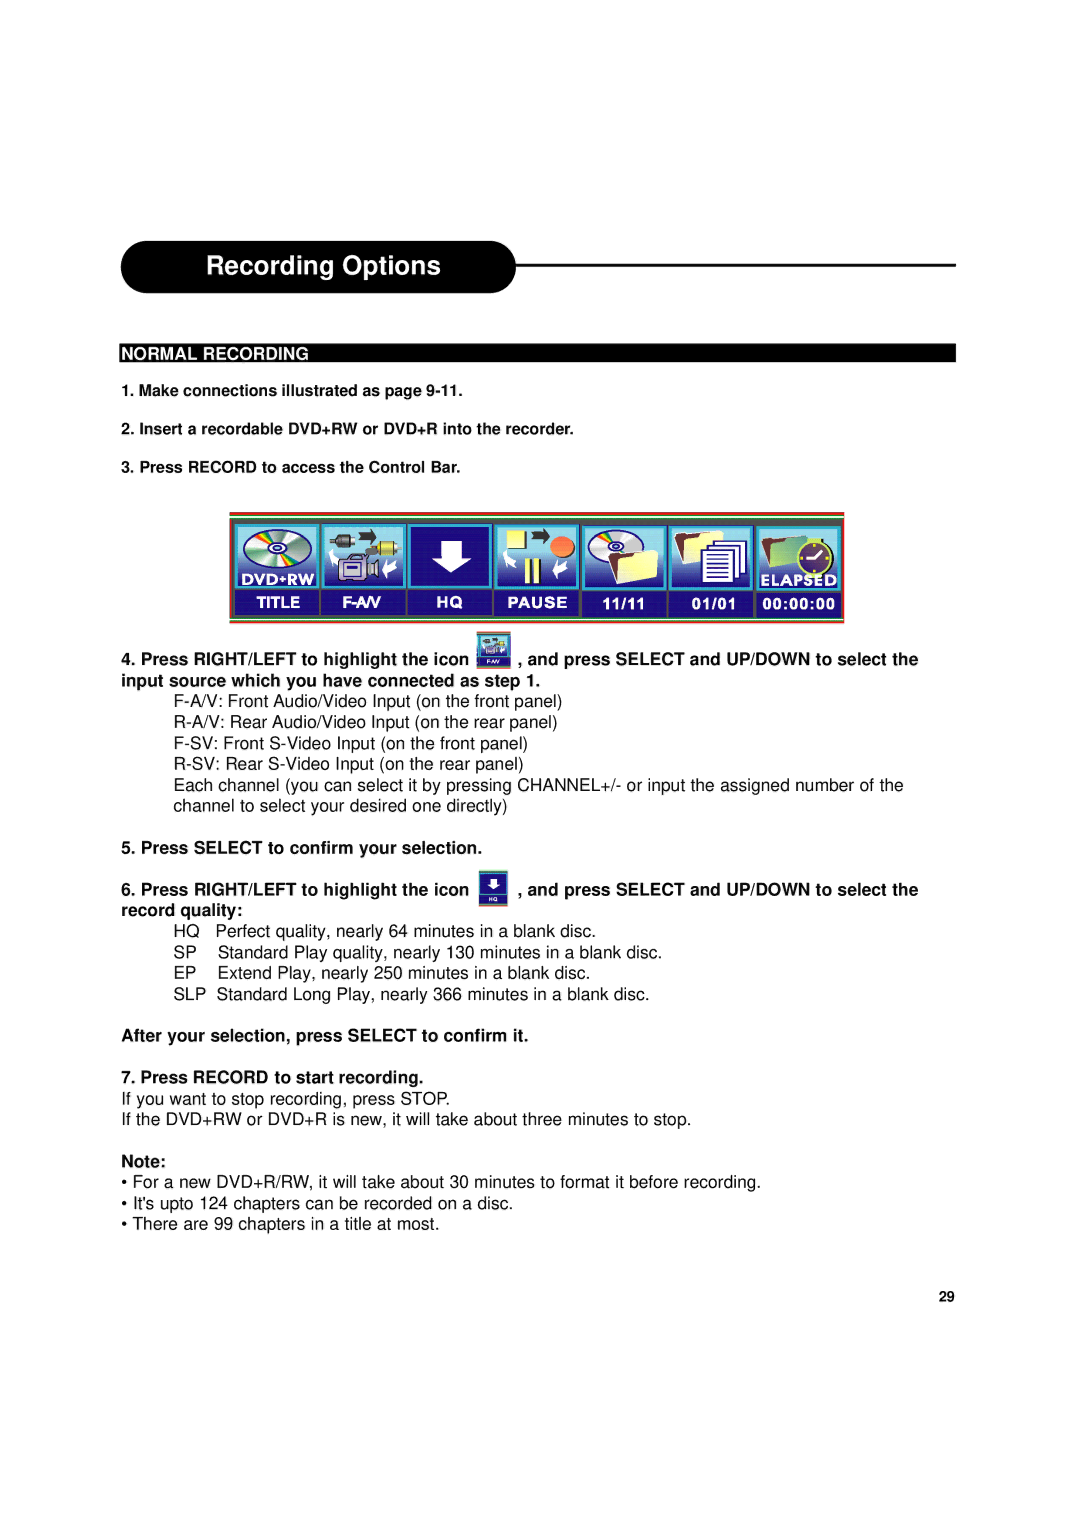
3.Press RECORD to access the Control Bar.
4.Press RIGHT/LEFT to highlight the icon ![]() , and press SELECT and UP/DOWN to select the input source which you have connected as step 1.
, and press SELECT and UP/DOWN to select the input source which you have connected as step 1.
Each channel (you can select it by pressing CHANNEL+/- or input the assigned number of the channel to select your desired one directly)
5.Press SELECT to confirm your selection.
6. Press RIGHT/LEFT to highlight the icon | , and press SELECT and UP/DOWN to select the | |
record quality: |
| |
HQ | Perfect quality, nearly 64 minutes in a blank disc. | |
SP | Standard Play quality, nearly 130 minutes in a blank disc. | |
EP | Extend Play, nearly 250 minutes in a blank disc. | |
SLP | Standard Long Play, nearly 366 minutes in a blank disc. | |
After your selection, press SELECT to confirm it.
7. Press RECORD to start recording.
If you want to stop recording, press STOP.
If the DVD+RW or DVD+R is new, it will take about three minutes to stop.
Note:
•For a new DVD+R/RW, it will take about 30 minutes to format it before recording.
•It's upto 124 chapters can be recorded on a disc.
•There are 99 chapters in a title at most.
29
