Chapter 3. Installation
This chapter describes the basic installation of the switch.
Mounting the Switch
The switch is suitable for use in an office environment where it can be rack mounted in standard EIA
Desktop Installation
1.Set the switch on a sufficiently large, flat space with a power outlet nearby. The surface where you put your switch should be clean, smooth, level, and sturdy.
2.Make sure there is enough clearance around the switch to allow attachment of cables and the power cord, and to allow air circulation.
3.Make sure the bottom surface of the switch is free of grease and dust.
4.Remove the adhesive backing from the rubber feet.
5.Apply the rubber feet to each corner on the bottom of the switch. These footpads can prevent the switch from slipping, shock and vibration.
Rack Mounting
The switch comes with a rack mount kit and can be mounted in an EIA standard size,
Perform the following steps to rack mount the switch:
1.Position one bracket to align with the holes on one side of the switch and secure it with the bracket screws. Then attach the remaining bracket to the other side of the switch.
2.After attaching both brackets, position the switch in the rack by lining up the holes in the brackets with the appropriate holes on the rack. Secure the switch to the rack with a screwdriver and the
Note: For proper ventilation, allow at least 4 inches (10 cm) of clearance on the front and 3.4 inches (8 cm) on the back of the switch. This is especially important for enclosed rack installations.
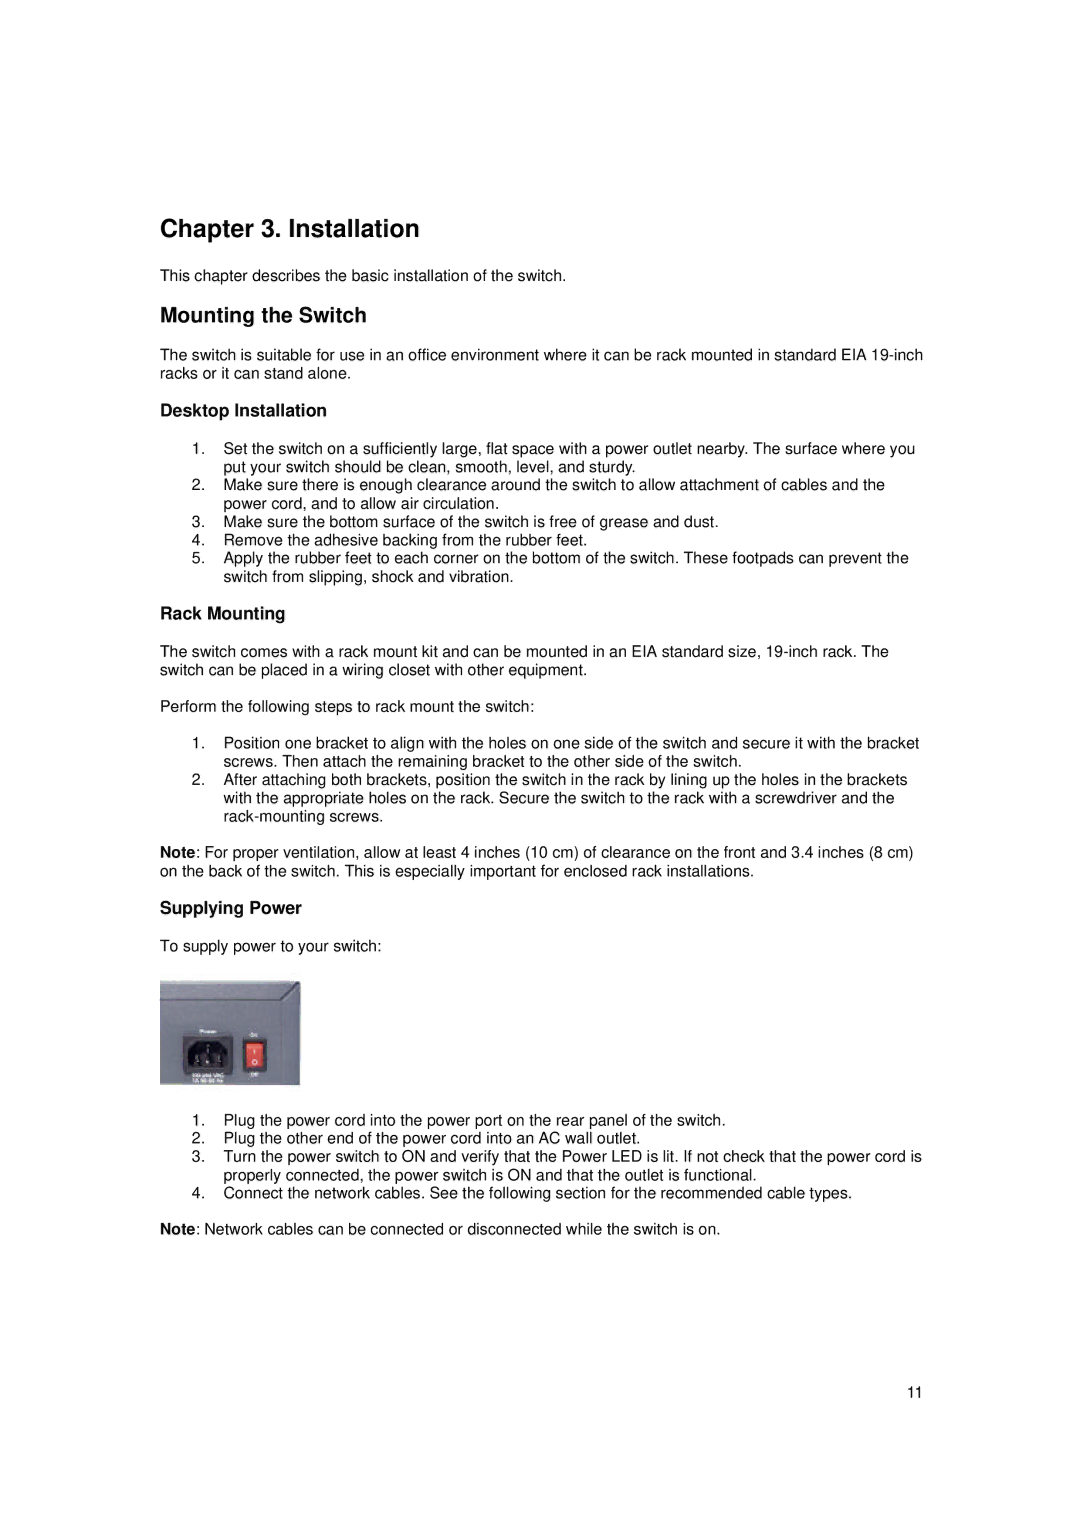
Supplying Power
To supply power to your switch:
1.Plug the power cord into the power port on the rear panel of the switch.
2.Plug the other end of the power cord into an AC wall outlet.
3.Turn the power switch to ON and verify that the Power LED is lit. If not check that the power cord is properly connected, the power switch is ON and that the outlet is functional.
4.Connect the network cables. See the following section for the recommended cable types.
Note: Network cables can be connected or disconnected while the switch is on.
11