To customize the recording schedule:
1Each number in the PROGRAMMED RECORD menu represents the time schedule (in hours) for recording, and the "v" cursor indicates the
time that is selected. Press | or | to move through the time schedules. |
2Press the SELECT button repeatedly to cycle through these settings:
( T ) For automatic
( S ) For sensor recording. The DVR unit initiates recording only when the attached sensor devices detect motion from the video cameras.
( M ) For motion recording. The DVR unit initiates recording only when motion is detected from video cameras.
( - ) Disables recording at that time schedule.
SUB MENU
The SUB MENU allows you to change the password, system date and time, and VGA display settings.
SUB MENU
>PASSWORD CHANGE TIME SET
VGA SETUP MOTION SETUP
PRESS (< , >), THEN(SELECT)
PRESS (MENU) TO EXIT
PASSWORD CHANGE
To change the password:
1Input the prompted information:
CURRENT PASSWORD : - - - - - -
NEW PASSWORD : - - - - - -
CONFIRM PASWORD : - - - - - -
17
The factory default password is "111111". Use the following front panel buttons to input a numeric password:
For "1" | For "2" | For "3" | For "4" |
2The "Password changed" message is then displayed. This message flashes three times, then you will be returned to the SUB MENU.
Note: You will be prompted to enter the password when you attempt to format the hard drive(s) in the HARD DRIVE SETUP menu.
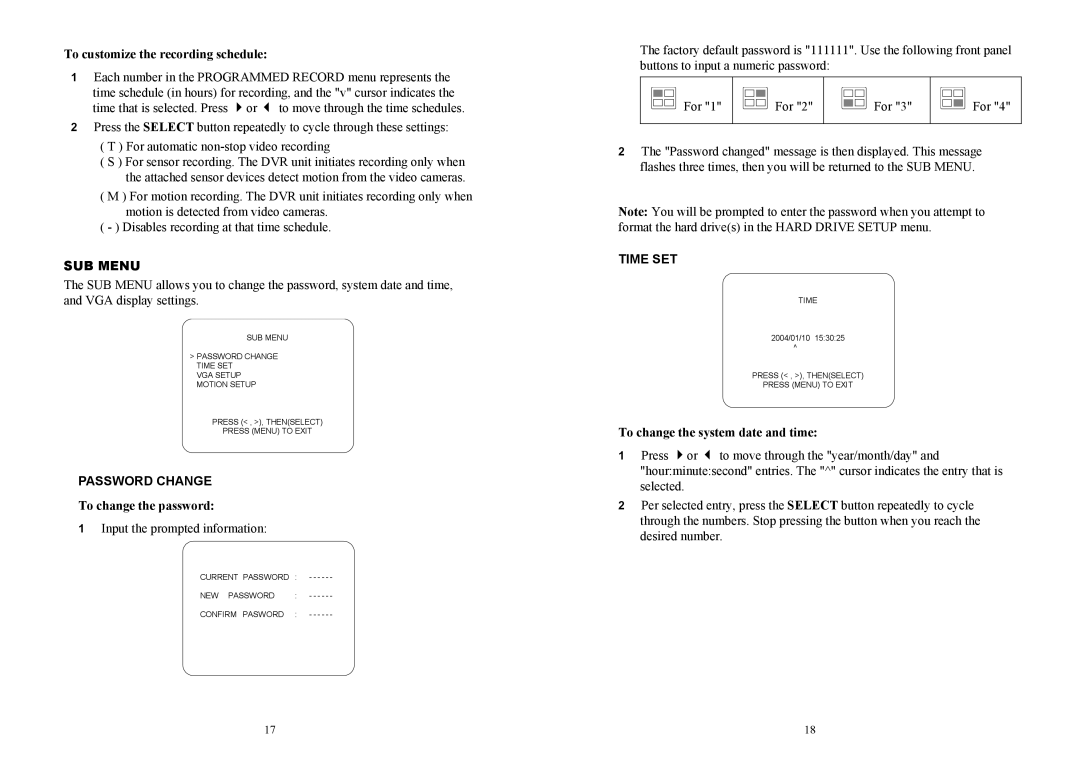
TIME SET
TIME
2004/01/10 15:30:25
^
PRESS (< , >), THEN(SELECT)
PRESS (MENU) TO EXIT
To change the system date and time:
1 Press or to move through the "year/month/day" and "hour:minute:second" entries. The "^" cursor indicates the entry that is selected.
2Per selected entry, press the SELECT button repeatedly to cycle through the numbers. Stop pressing the button when you reach the desired number.
18