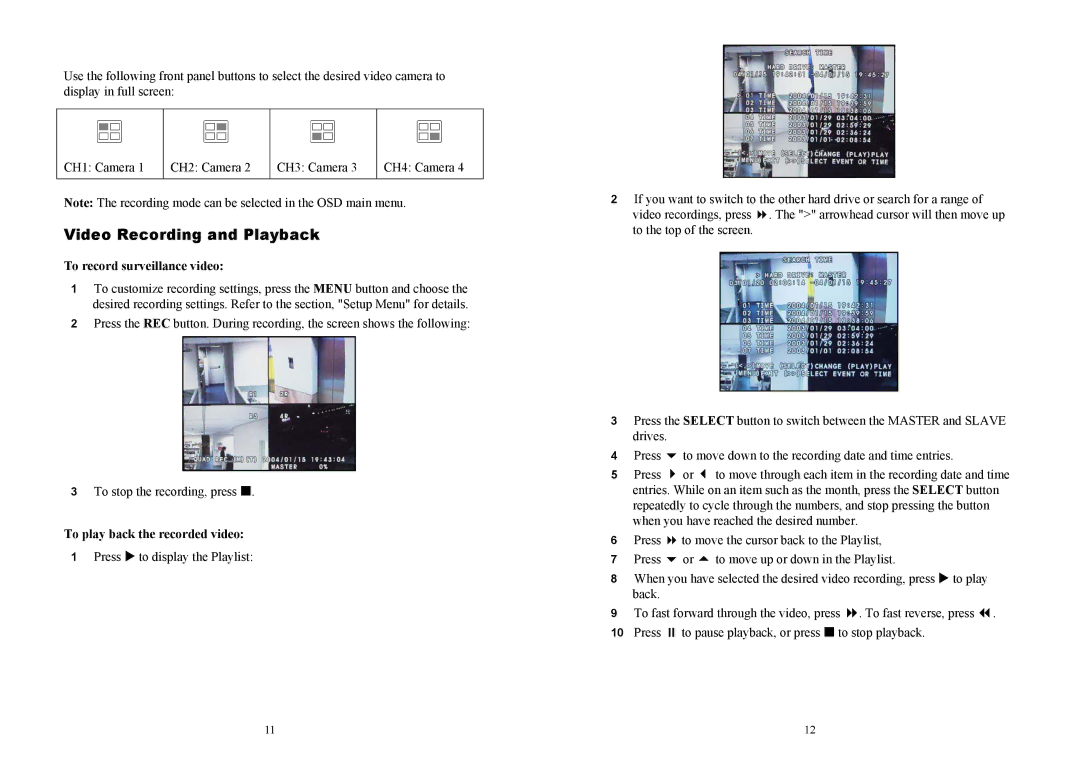
Use the following front panel buttons to select the desired video camera to display in full screen:
|
|
|
|
|
|
|
|
|
|
|
|
|
|
|
|
|
|
|
|
|
|
|
|
|
|
|
|
|
|
|
|
|
|
|
|
|
|
|
|
|
|
|
|
|
|
|
|
CH1: Camera 1 | CH2: Camera 2 | CH3: Camera 3 | CH4: Camera 4 | ||||||||
|
|
|
|
|
|
|
|
|
|
|
|
Note: The recording mode can be selected in the OSD main menu.
Video Recording and Playback
To record surveillance video:
1To customize recording settings, press the MENU button and choose the desired recording settings. Refer to the section, "Setup Menu" for details.
2Press the REC button. During recording, the screen shows the following:
3To stop the recording, press .
To play back the recorded video:
1Press X to display the Playlist:
11
2If you want to switch to the other hard drive or search for a range of
video recordings, press . The ">" arrowhead cursor will then move up to the top of the screen.
3Press the SELECT button to switch between the MASTER and SLAVE drives.
4 | Press | to move down to the recording date and time entries. | |
5 | Press | or | to move through each item in the recording date and time |
| entries. While on an item such as the month, press the SELECT button | ||
| repeatedly to cycle through the numbers, and stop pressing the button | ||
| when you have reached the desired number. | ||
6 | Press | to move the cursor back to the Playlist, | |
7 | Press | or | to move up or down in the Playlist. |
8When you have selected the desired video recording, press X to play back.
9 | To fast forward through the video, press | . To fast reverse, press | . | |
10 | Press | to pause playback, or press to stop playback. |
| |
12
