Page 8 | AXIS 215 PTZ Installation Guide |
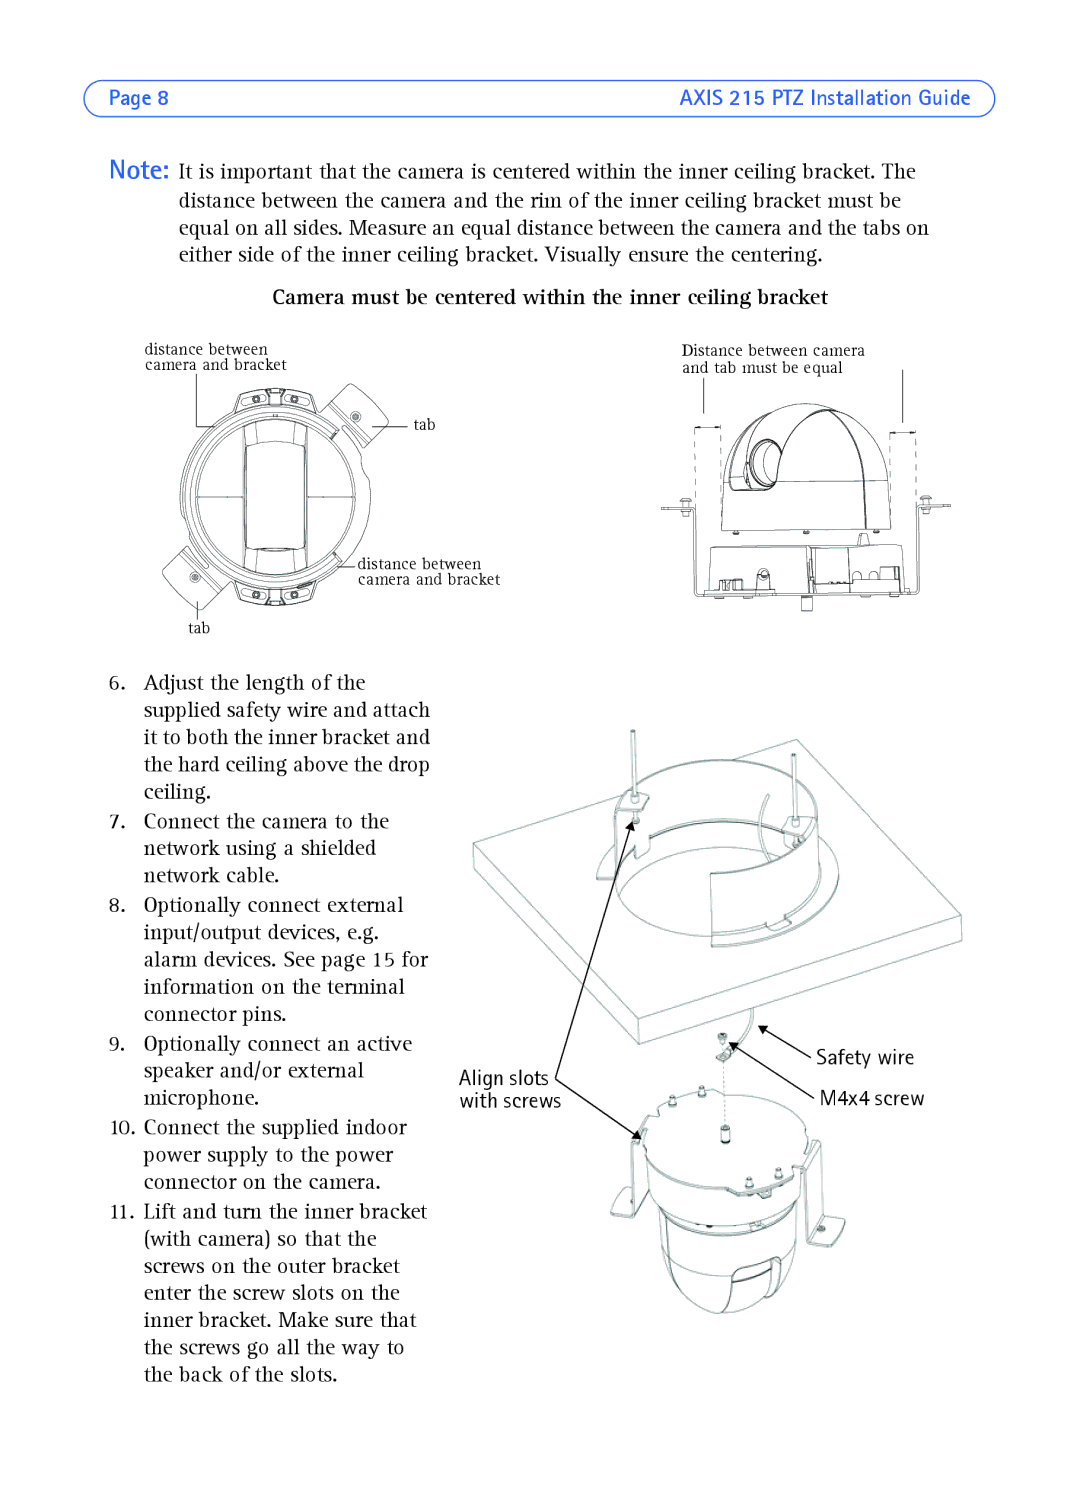
Note: It is important that the camera is centered within the inner ceiling bracket. The distance between the camera and the rim of the inner ceiling bracket must be equal on all sides. Measure an equal distance between the camera and the tabs on either side of the inner ceiling bracket. Visually ensure the centering.
Camera must be centered within the inner ceiling bracket
distance between | Distance between camera |
camera and bracket | and tab must be equal |
| tab |
![]()
![]() distance between camera and bracket
distance between camera and bracket
tab
6.Adjust the length of the supplied safety wire and attach it to both the inner bracket and the hard ceiling above the drop ceiling.
7.Connect the camera to the network using a shielded network cable.
8.Optionally connect external input/output devices, e.g. alarm devices. See page 15 for information on the terminal connector pins.
9.Optionally connect an active speaker and/or external microphone.
10.Connect the supplied indoor power supply to the power connector on the camera.
11.Lift and turn the inner bracket (with camera) so that the screws on the outer bracket enter the screw slots on the inner bracket. Make sure that the screws go all the way to the back of the slots.
Align slots with screws
![]() Safety wire M4x4 screw
Safety wire M4x4 screw