AXIS Q6000-E PTZ Network Camera
Access the Product
The default administrator user name root is permanent and cannot be deleted. If the password for root is lost, the product must be reset to the factory default settings. See Reset to Factory Default Settings on page 54.
To set the password via a standard HTTP connection, enter it directly in the dialog.
To set the password via an encrypted HTTPS connection, follow these steps:
1.Click Use HTTPS.
A temporary certificate (valid for one year) is created, enabling encryption of all traffic to and from the product, and the password can now be set securely.
2.Enter a password and then
3.Click OK. The password has now been configured.
Configuration
The first time the product is connected to a network, a configuration is required. The configuration pages will appear in the following order:
•Adjust the Camera Heads, for instructions see page 10
•Connect to the PTZ Network Camera, for instructions see page 10
•Calibrate the PTZ Network Camera , for instructions see page 11
Adjust the Camera Heads
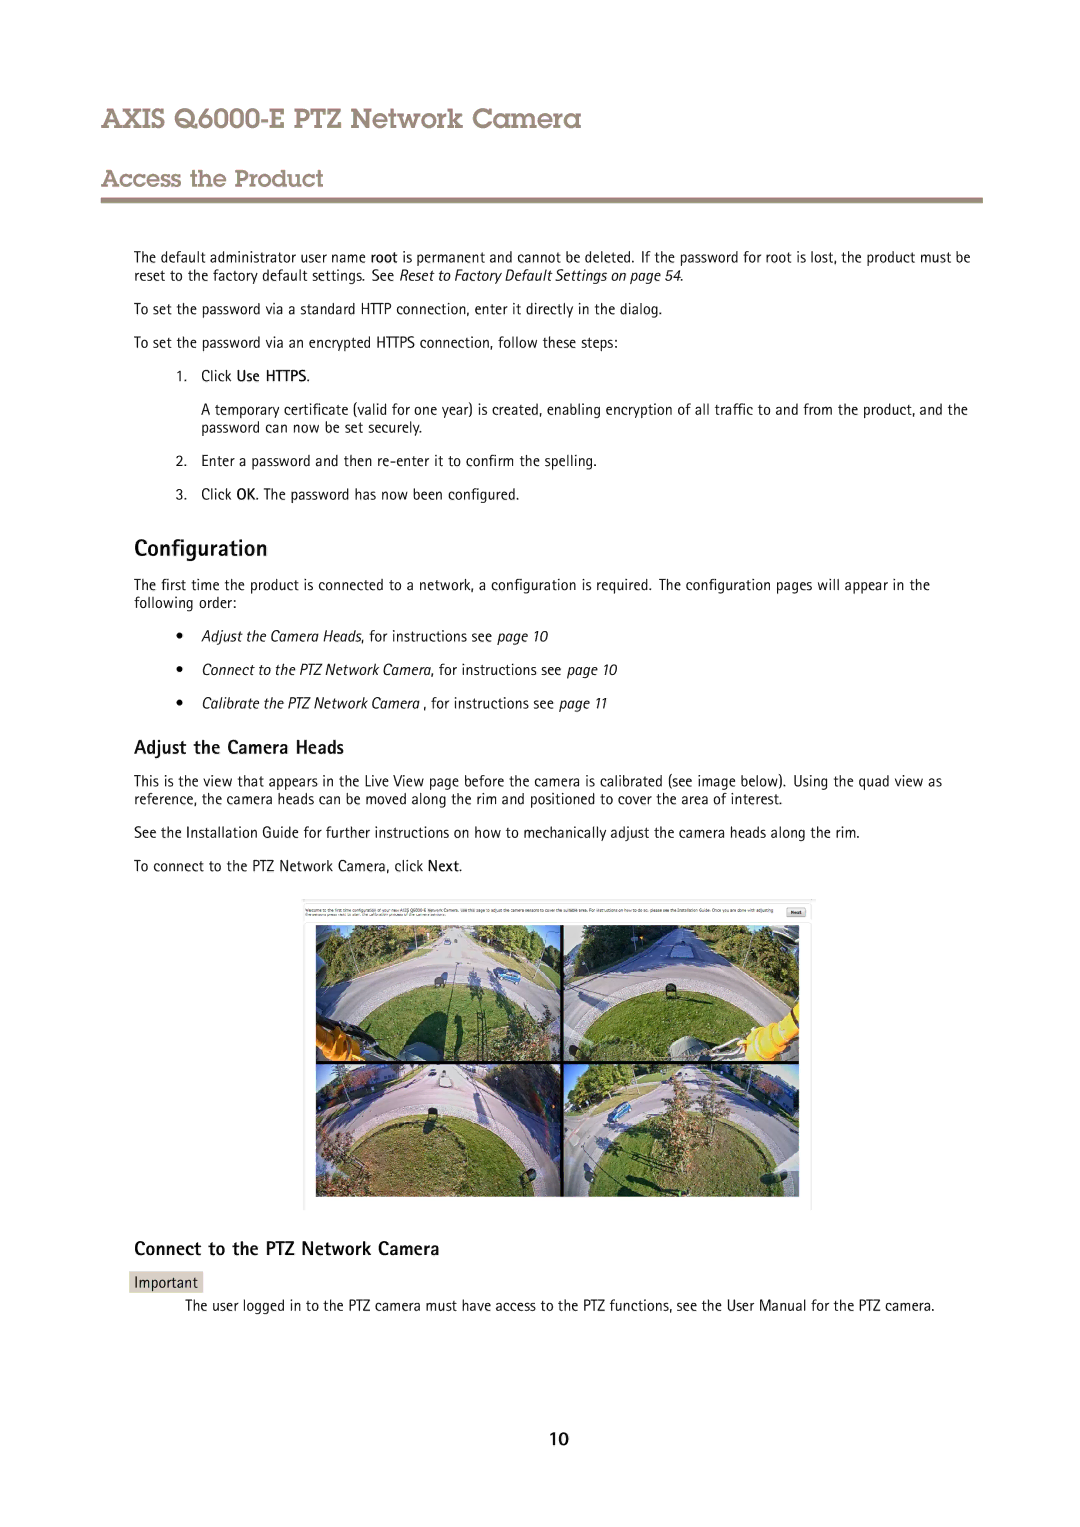
This is the view that appears in the Live View page before the camera is calibrated (see image below). Using the quad view as reference, the camera heads can be moved along the rim and positioned to cover the area of interest.
See the Installation Guide for further instructions on how to mechanically adjust the camera heads along the rim.
To connect to the PTZ Network Camera, click Next.
Connect to the PTZ Network Camera
Important
The user logged in to the PTZ camera must have access to the PTZ functions, see the User Manual for the PTZ camera.
10