VINTAGER AC112
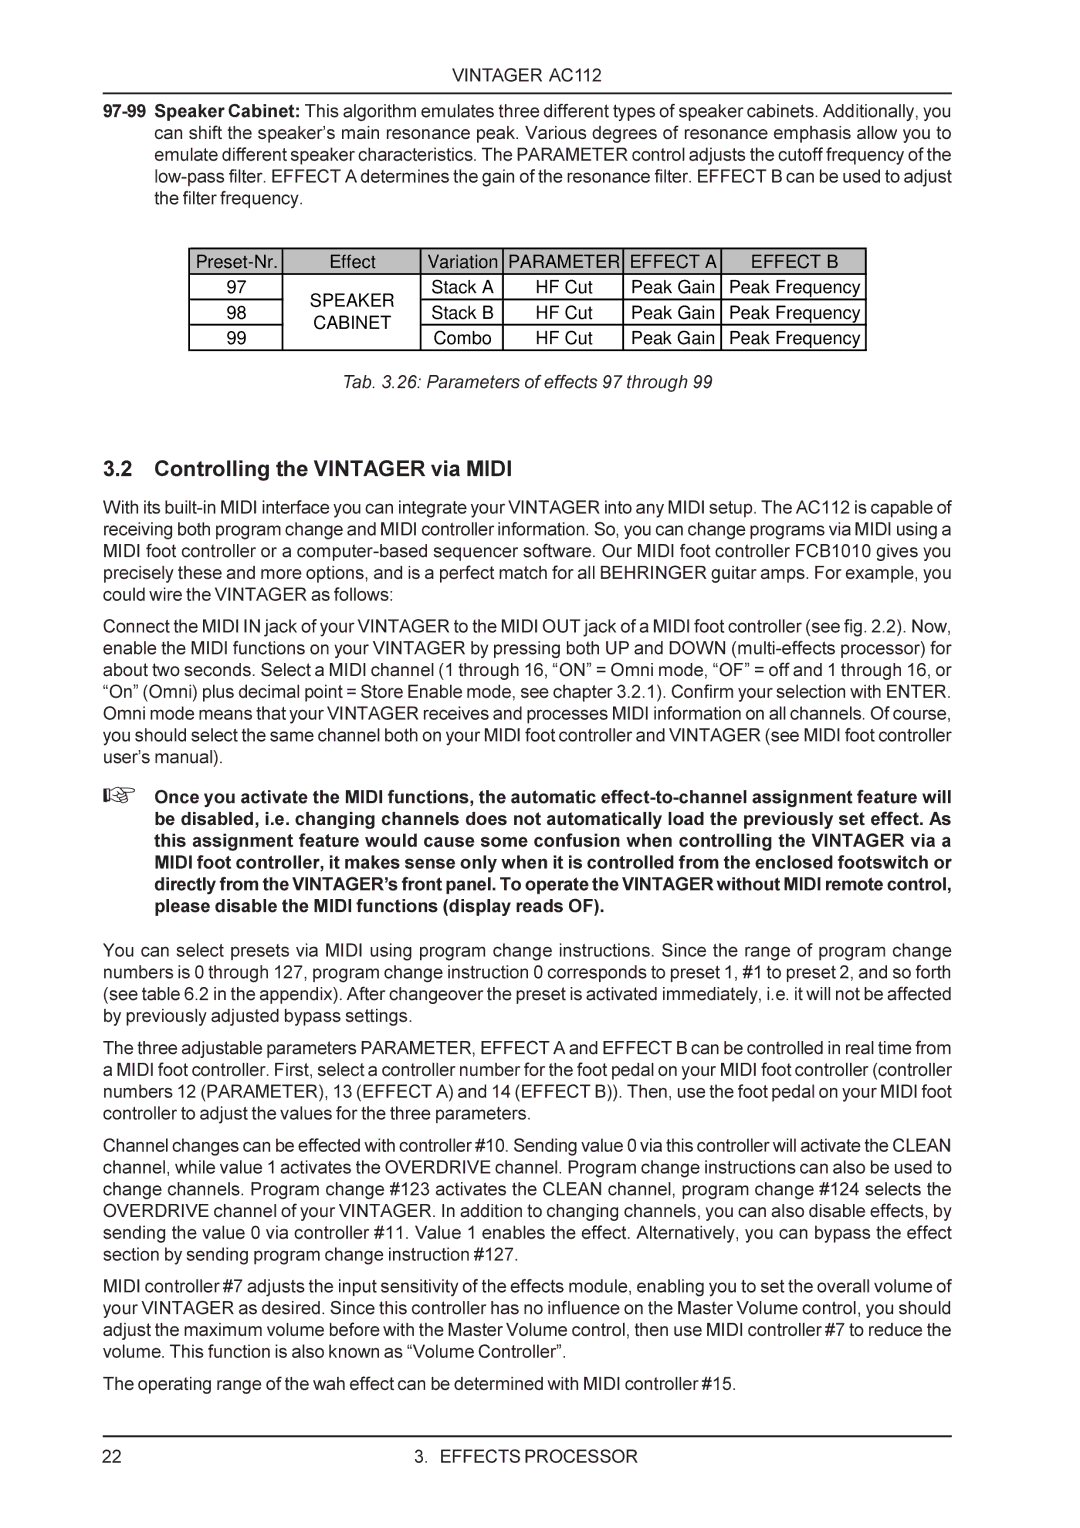
Effect | Variation | PARAMETER | EFFECT A | EFFECT B | ||
97 | SPEAKER | Stack A | HF Cut | Peak Gain | Peak Frequency | |
98 | Stack B | HF Cut | Peak Gain | Peak Frequency | ||
CABINET | ||||||
99 | Combo | HF Cut | Peak Gain | Peak Frequency | ||
|
Tab. 3.26: Parameters of effects 97 through 99
3.2 Controlling the VINTAGER via MIDI
With its
Connect the MIDI IN jack of your VINTAGER to the MIDI OUT jack of a MIDI foot controller (see fig. 2.2). Now, enable the MIDI functions on your VINTAGER by pressing both UP and DOWN
+Once you activate the MIDI functions, the automatic
You can select presets via MIDI using program change instructions. Since the range of program change numbers is 0 through 127, program change instruction 0 corresponds to preset 1, #1 to preset 2, and so forth (see table 6.2 in the appendix). After changeover the preset is activated immediately, i.e. it will not be affected by previously adjusted bypass settings.
The three adjustable parameters PARAMETER, EFFECT A and EFFECT B can be controlled in real time from a MIDI foot controller. First, select a controller number for the foot pedal on your MIDI foot controller (controller numbers 12 (PARAMETER), 13 (EFFECT A) and 14 (EFFECT B)). Then, use the foot pedal on your MIDI foot controller to adjust the values for the three parameters.
Channel changes can be effected with controller #10. Sending value 0 via this controller will activate the CLEAN channel, while value 1 activates the OVERDRIVE channel. Program change instructions can also be used to change channels. Program change #123 activates the CLEAN channel, program change #124 selects the OVERDRIVE channel of your VINTAGER. In addition to changing channels, you can also disable effects, by sending the value 0 via controller #11. Value 1 enables the effect. Alternatively, you can bypass the effect section by sending program change instruction #127.
MIDI controller #7 adjusts the input sensitivity of the effects module, enabling you to set the overall volume of your VINTAGER as desired. Since this controller has no influence on the Master Volume control, you should adjust the maximum volume before with the Master Volume control, then use MIDI controller #7 to reduce the volume. This function is also known as “Volume Controller”.
The operating range of the wah effect can be determined with MIDI controller #15.
22 | 3. EFFECTS PROCESSOR |
