VINTAGER AC112
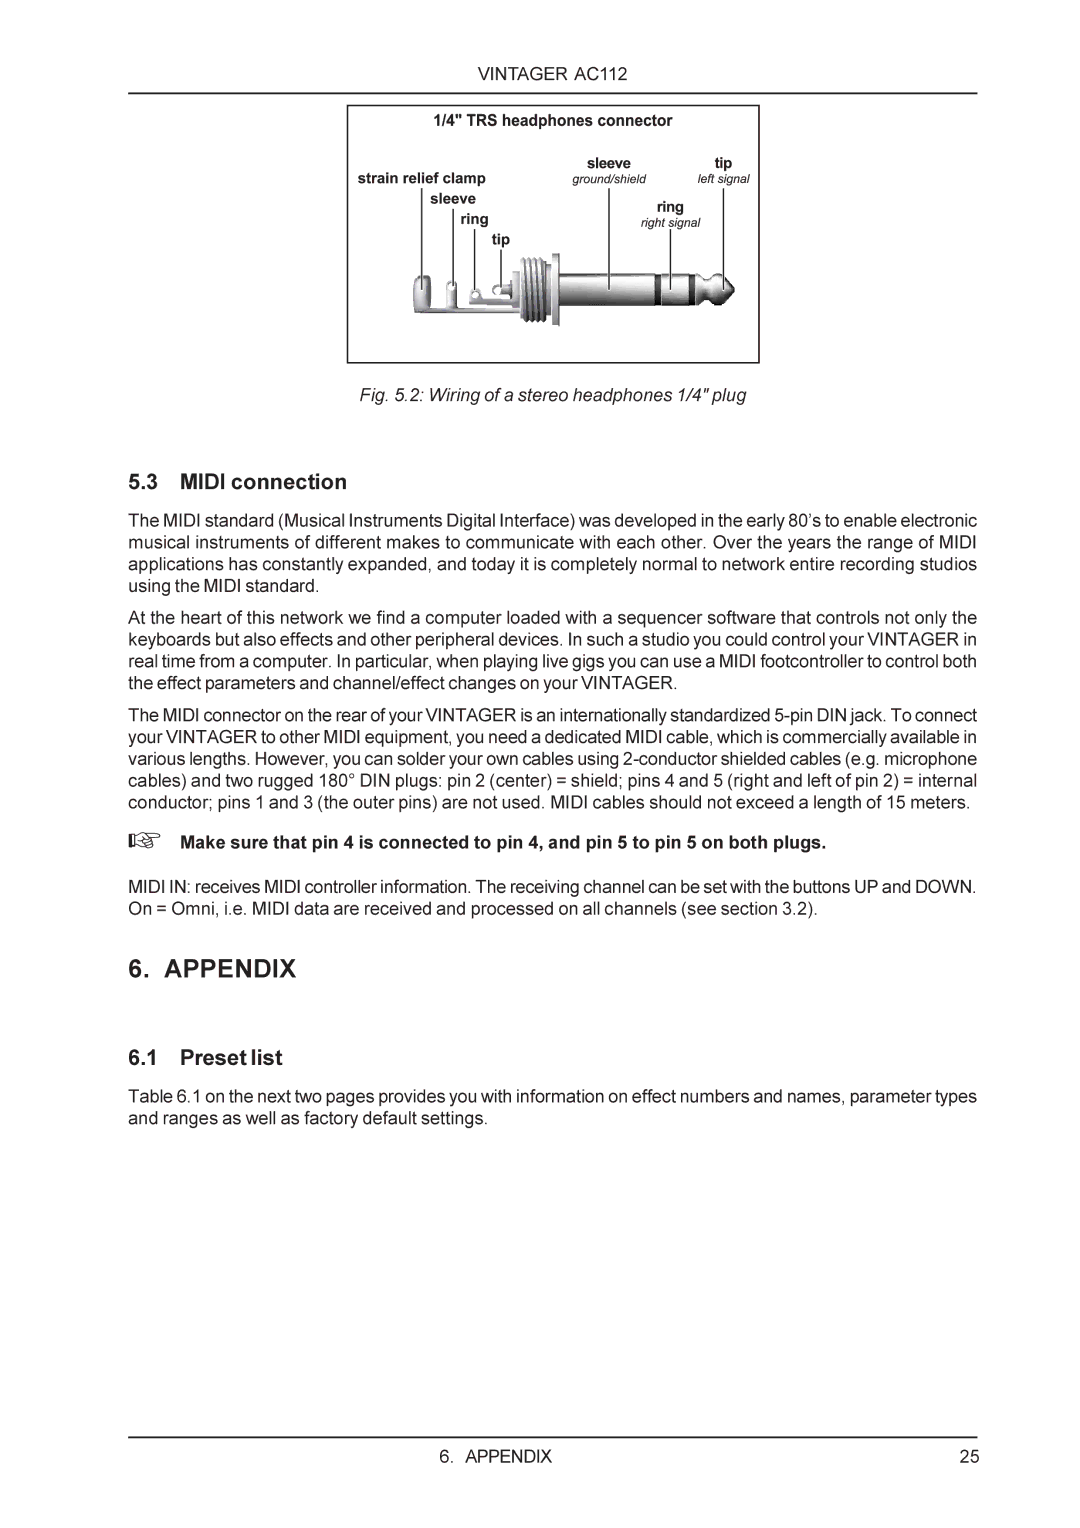
Fig. 5.2: Wiring of a stereo headphones 1/4" plug
5.3MIDI connection
The MIDI standard (Musical Instruments Digital Interface) was developed in the early 80’s to enable electronic musical instruments of different makes to communicate with each other. Over the years the range of MIDI applications has constantly expanded, and today it is completely normal to network entire recording studios using the MIDI standard.
At the heart of this network we find a computer loaded with a sequencer software that controls not only the keyboards but also effects and other peripheral devices. In such a studio you could control your VINTAGER in real time from a computer. In particular, when playing live gigs you can use a MIDI footcontroller to control both the effect parameters and channel/effect changes on your VINTAGER.
The MIDI connector on the rear of your VINTAGER is an internationally standardized
+Make sure that pin 4 is connected to pin 4, and pin 5 to pin 5 on both plugs.
MIDI IN: receives MIDI controller information. The receiving channel can be set with the buttons UP and DOWN. On = Omni, i.e. MIDI data are received and processed on all channels (see section 3.2).
6. APPENDIX
6.1Preset list
Table 6.1 on the next two pages provides you with information on effect numbers and names, parameter types and ranges as well as factory default settings.
6. APPENDIX | 25 |