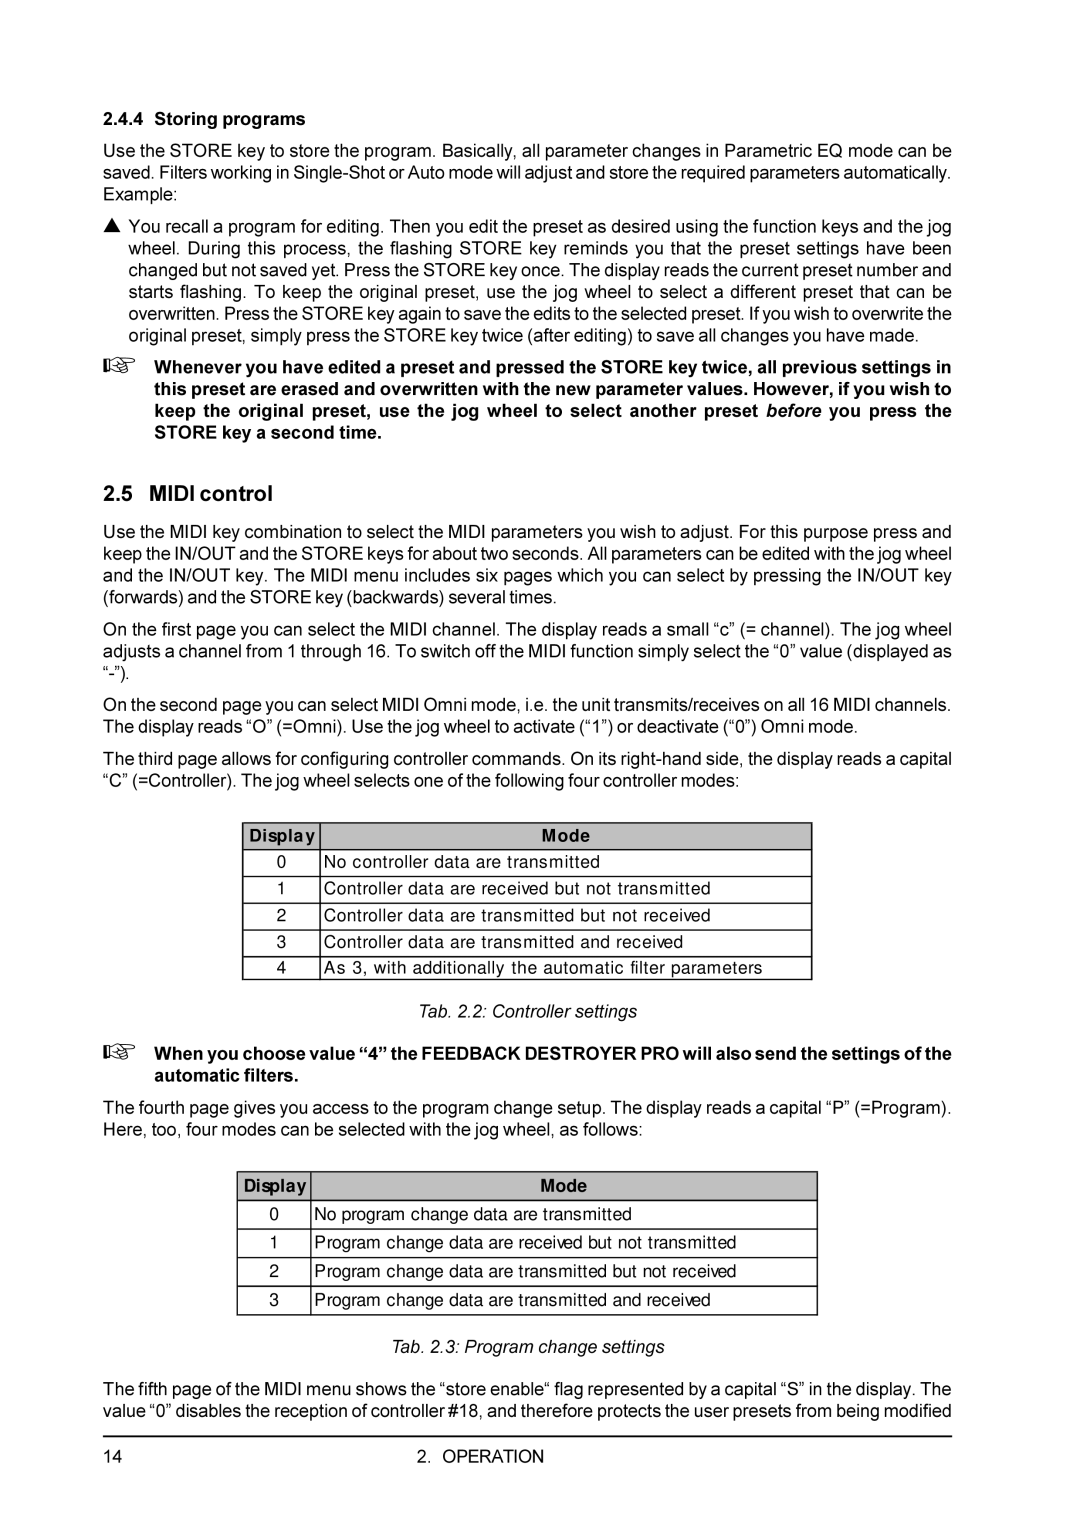
2.4.4 Storing programs
Use the STORE key to store the program. Basically, all parameter changes in Parametric EQ mode can be saved. Filters working in
sYou recall a program for editing. Then you edit the preset as desired using the function keys and the jog wheel. During this process, the flashing STORE key reminds you that the preset settings have been changed but not saved yet. Press the STORE key once. The display reads the current preset number and starts flashing. To keep the original preset, use the jog wheel to select a different preset that can be overwritten. Press the STORE key again to save the edits to the selected preset. If you wish to overwrite the original preset, simply press the STORE key twice (after editing) to save all changes you have made.
+Whenever you have edited a preset and pressed the STORE key twice, all previous settings in this preset are erased and overwritten with the new parameter values. However, if you wish to keep the original preset, use the jog wheel to select another preset before you press the STORE key a second time.
2.5 MIDI control
Use the MIDI key combination to select the MIDI parameters you wish to adjust. For this purpose press and keep the IN/OUT and the STORE keys for about two seconds. All parameters can be edited with the jog wheel and the IN/OUT key. The MIDI menu includes six pages which you can select by pressing the IN/OUT key (forwards) and the STORE key (backwards) several times.
On the first page you can select the MIDI channel. The display reads a small “c” (= channel). The jog wheel adjusts a channel from 1 through 16. To switch off the MIDI function simply select the “0” value (displayed as
On the second page you can select MIDI Omni mode, i.e. the unit transmits/receives on all 16 MIDI channels. The display reads “O” (=Omni). Use the jog wheel to activate (“1”) or deactivate (“0”) Omni mode.
The third page allows for configuring controller commands. On its
Displa y | Mode |
|
|
0No controller data are transmitted
1Controller data are received but not transmitted
2Controller data are transmitted but not received
3Controller data are transmitted and received
4As 3, with additionally the automatic filter parameters
Tab. 2.2: Controller settings
+When you choose value “4” the FEEDBACK DESTROYER PRO will also send the settings of the automatic filters.
The fourth page gives you access to the program change setup. The display reads a capital “P” (=Program). Here, too, four modes can be selected with the jog wheel, as follows:
Display | Mode |
|
|
0No program change data are transmitted
1Program change data are received but not transmitted
2Program change data are transmitted but not received
3Program change data are transmitted and received
Tab. 2.3: Program change settings
The fifth page of the MIDI menu shows the “store enable“ flag represented by a capital “S” in the display. The value “0” disables the reception of controller #18, and therefore protects the user presets from being modified
14 | 2. OPERATION |
