Installation
Note: If this PRO3 KVM Switch will be
Your PRO3 KVM Switch is now mounted securely into the bracket and you are ready to connect the console.
Optional Bracket Installation (F1DA104Z)
The PRO3
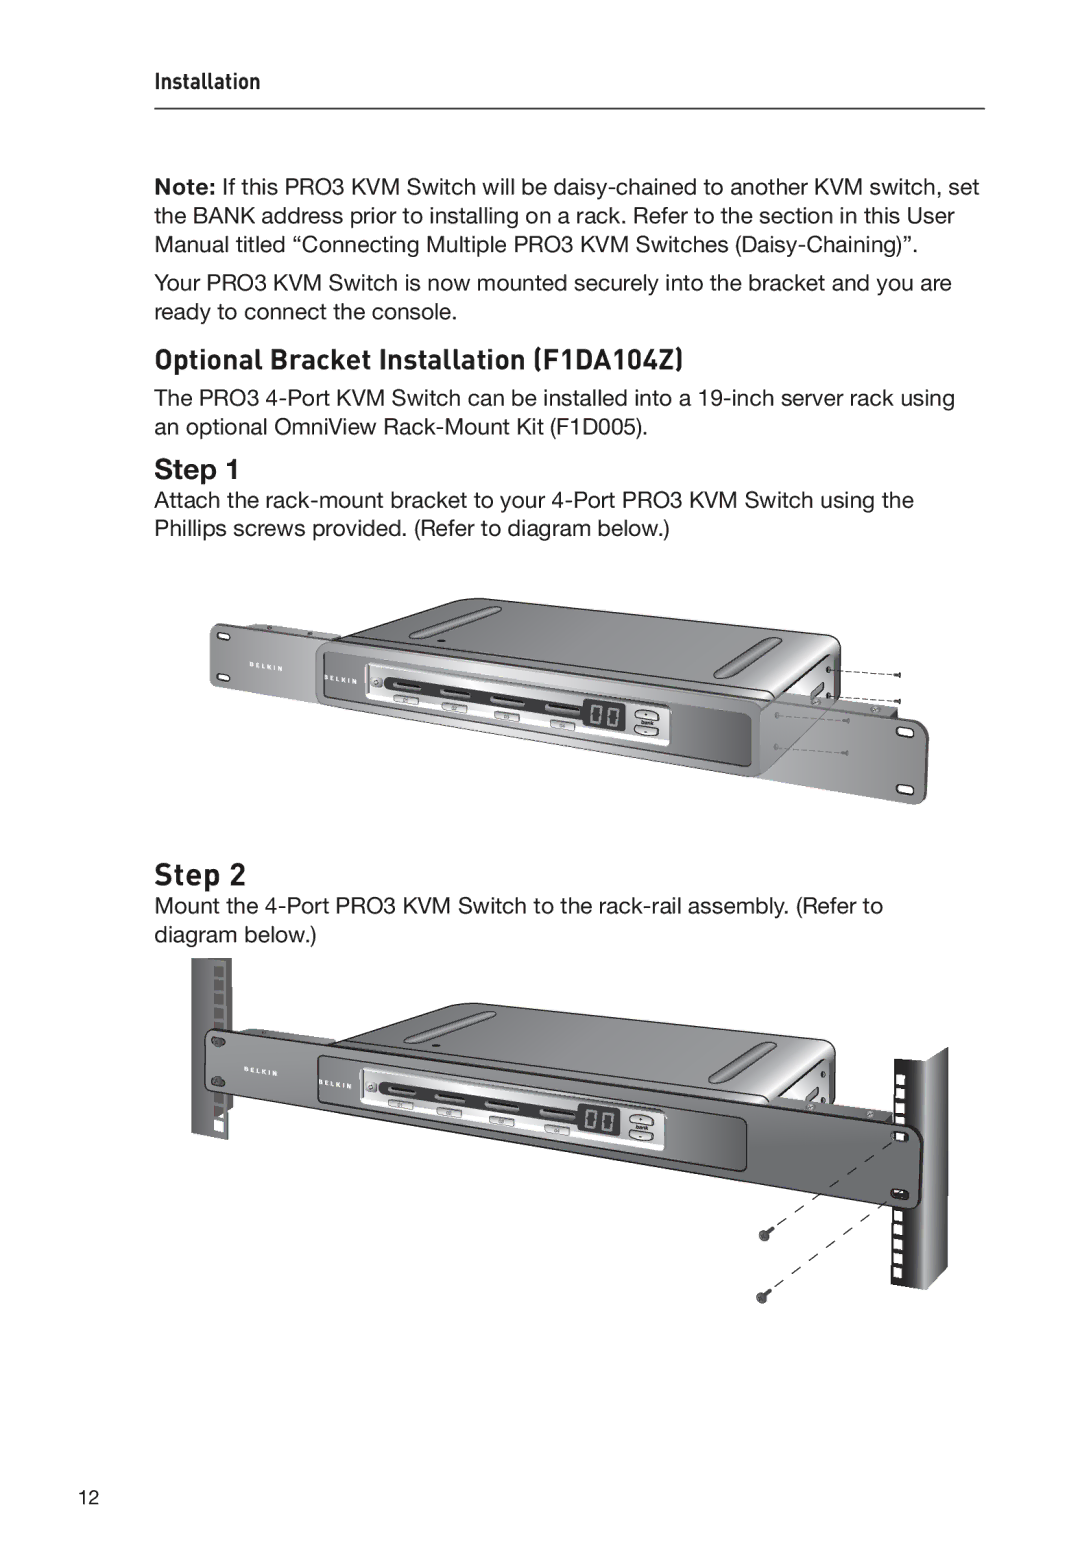
Step 1
Attach the
Step 2
Mount the
12
Installation
Note: If this PRO3 KVM Switch will be
Your PRO3 KVM Switch is now mounted securely into the bracket and you are ready to connect the console.
The PRO3
Attach the
Mount the
12