BenQ LCD Color Monitor User's Guide
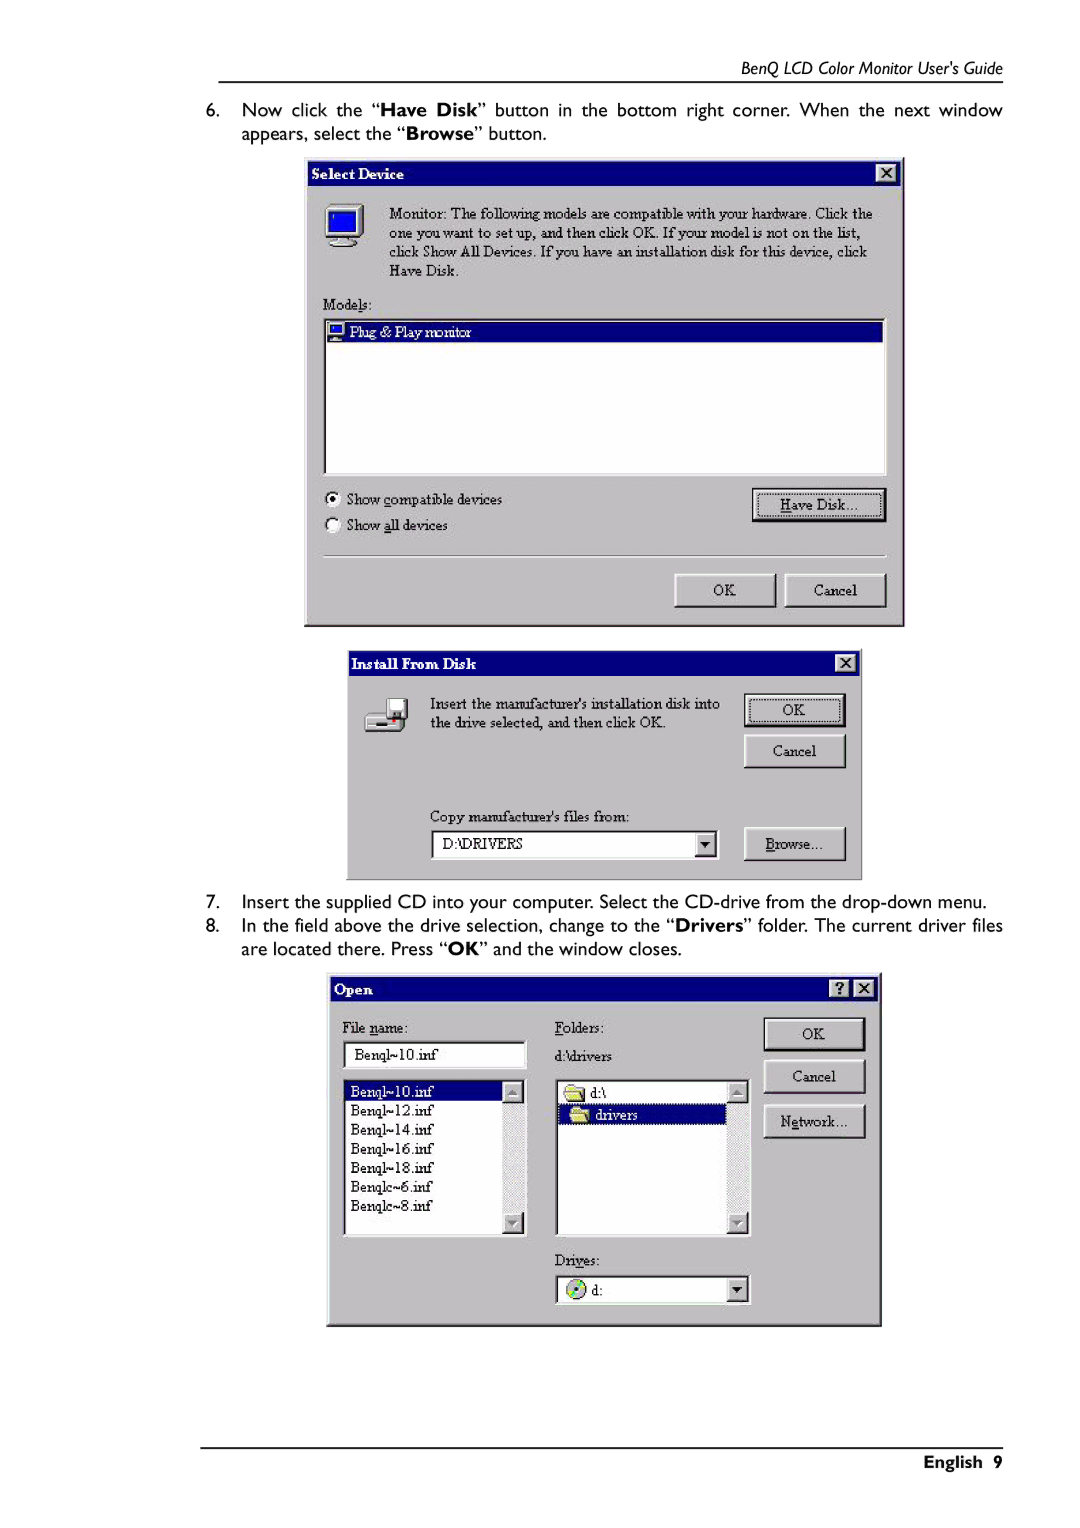
6.Now click the “Have Disk” button in the bottom right corner. When the next window appears, select the “Browse” button.
7.Insert the supplied CD into your computer. Select the
8.In the field above the drive selection, change to the “Drivers” folder. The current driver files are located there. Press “OK” and the window closes.