BenQ LCD Color Monitor User's Guide
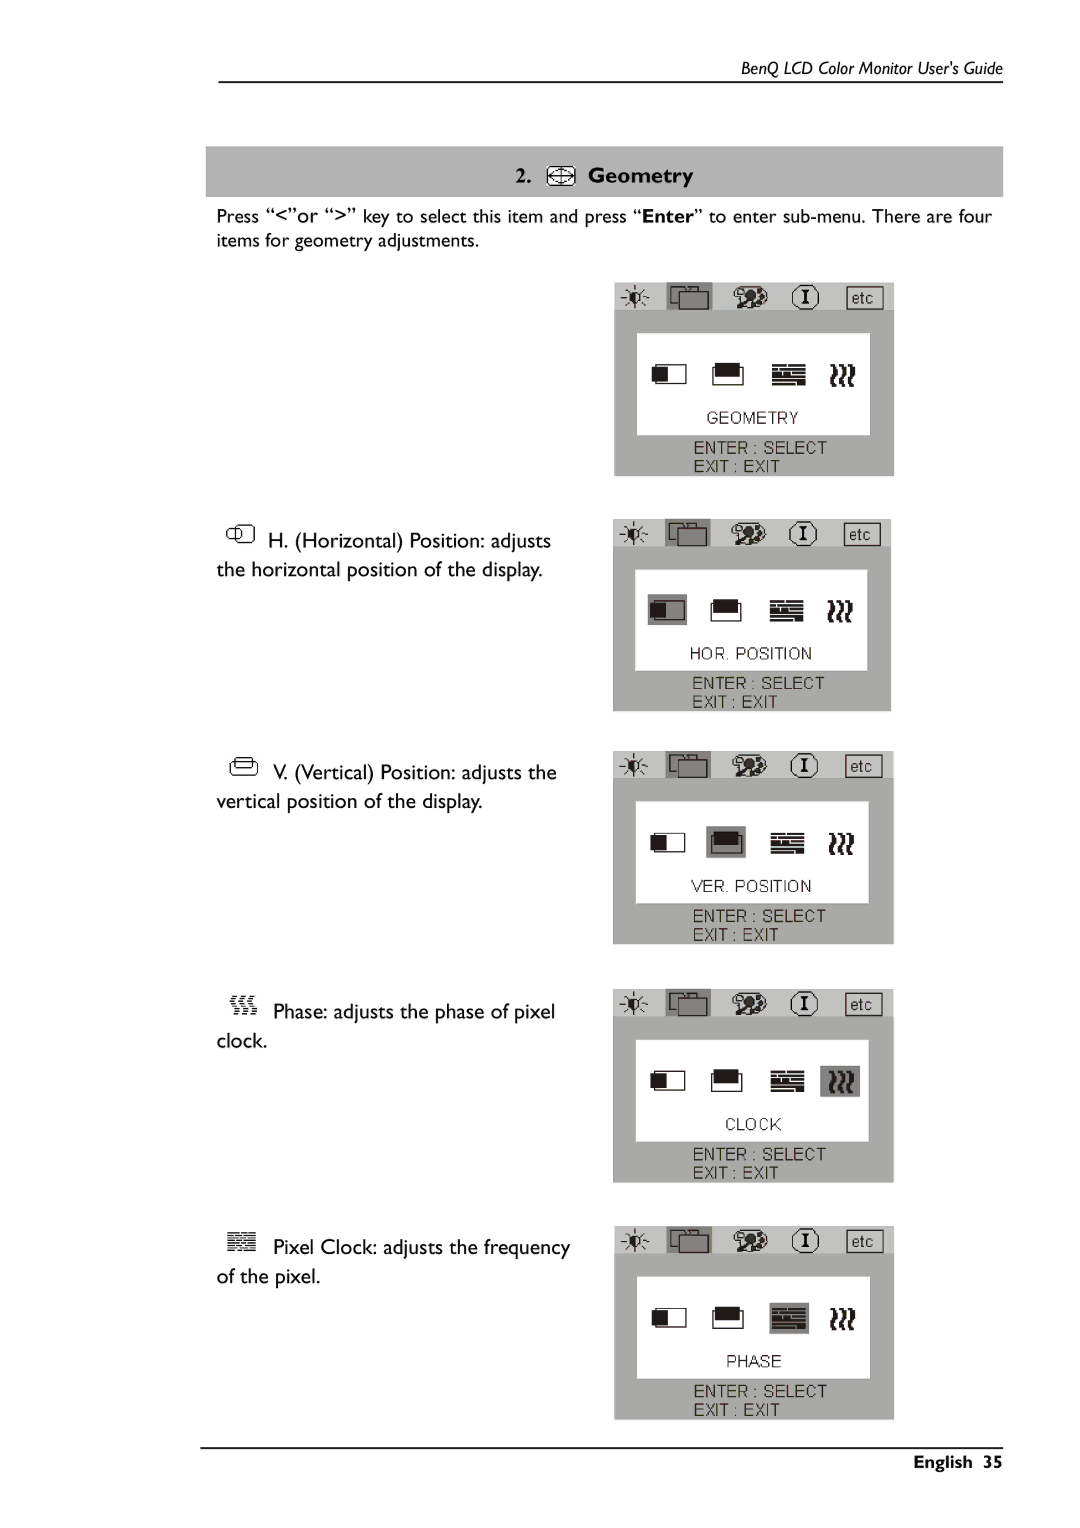
2. Geometry
Press “<”or “>” key to select this item and press “Enter” to enter
![]() H. (Horizontal) Position: adjusts the horizontal position of the display.
H. (Horizontal) Position: adjusts the horizontal position of the display.
![]() V. (Vertical) Position: adjusts the vertical position of the display.
V. (Vertical) Position: adjusts the vertical position of the display.
![]() Phase: adjusts the phase of pixel clock.
Phase: adjusts the phase of pixel clock.
![]() Pixel Clock: adjusts the frequency of the pixel.
Pixel Clock: adjusts the frequency of the pixel.