WARNING: Disconnect power before servicing unit.

For the location of the wall receptable for the connection of the three-pin earthed plug of the appliance, see indications given in Fig. 1- 2

WARNING: After first installation of the appliance or after any service intervention concerning main gas parts of the appliance, make the leak test using water with soap on the gas connections in order to verify the correct installation. Do not use fire for gas leak testing.

Greasing the valves

If it becomes difficult to operate the valve, it should be greased immediately by following the instructions listed below

1.Disassemble the valve body by loosening the two screws located on the body of the valve. (See Fig. 13).

2.Extract and clean the seal cone and its housing with a rag soaked with thinners.

3.Lightly grease the cone with a special grease.

4.Insert the cone, moving it several times, remove it again, remove the excess grease and make sure that the gas passage ways are unobstructed.

5.Replace all the pieces in reverse order and check that the valve operates correctly.

User instructions

WARNINGS:

Keeping appliance area clear and free from combustible materials, gasoline and other flammable vapors and liquid.

Do not store dangerous or flammable material in the cabinet areas above appliance; store them in a safe place in order to avoid potential hazards.

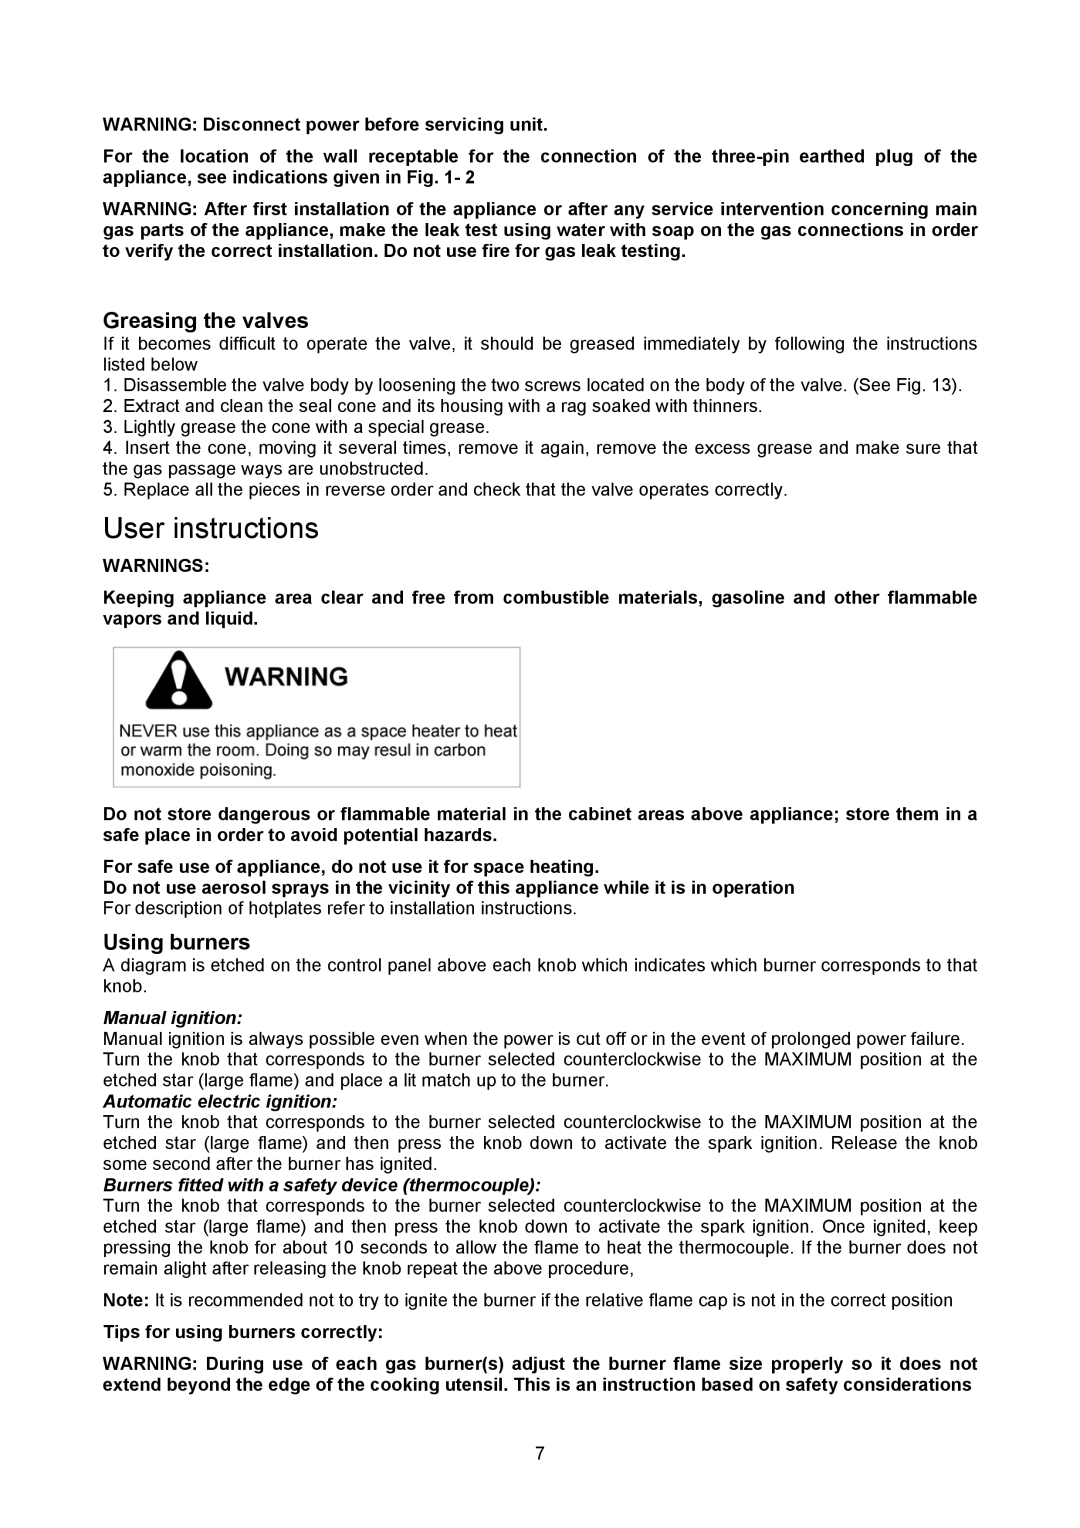
For safe use of appliance, do not use it for space heating.

Do not use aerosol sprays in the vicinity of this appliance while it is in operation For description of hotplates refer to installation instructions.

Using burners

A diagram is etched on the control panel above each knob which indicates which burner corresponds to that knob.

Manual ignition:

Manual ignition is always possible even when the power is cut off or in the event of prolonged power failure. Turn the knob that corresponds to the burner selected counterclockwise to the MAXIMUM position at the etched star (large flame) and place a lit match up to the burner.

Automatic electric ignition:

Turn the knob that corresponds to the burner selected counterclockwise to the MAXIMUM position at the etched star (large flame) and then press the knob down to activate the spark ignition. Release the knob some second after the burner has ignited.

Burners fitted with a safety device (thermocouple):

Turn the knob that corresponds to the burner selected counterclockwise to the MAXIMUM position at the etched star (large flame) and then press the knob down to activate the spark ignition. Once ignited, keep pressing the knob for about 10 seconds to allow the flame to heat the thermocouple. If the burner does not remain alight after releasing the knob repeat the above procedure,

Note: It is recommended not to try to ignite the burner if the relative flame cap is not in the correct position

Tips for using burners correctly:

WARNING: During use of each gas burner(s) adjust the burner flame size properly so it does not extend beyond the edge of the cooking utensil. This is an instruction based on safety considerations

7

Page 7
Image 7
Bertazzoni B3W0..U4X(2 OR 5)D User instructions, Greasing the valves, Using burners, Tips for using burners correctly

B3W0..U4X(2 OR 5)D, B3Y0..U4X(2 OR 5)D specifications

The Bertazzoni B3Y0..U4X(2 OR 5)D and B3W0..U4X(2 OR 5)D are exemplary products from the prestigious Italian brand Bertazzoni, known for merging aesthetics with practicality in the realm of kitchen appliances. Renowned for their design excellence and superior performance, these models exemplify the brand’s commitment to quality and innovation.

One of the most striking features of the B3Y0..U4X(2 OR 5)D and B3W0..U4X(2 OR 5)D is their distinctive design. The sleek lines and elegant stainless steel finish not only elevate the kitchen’s aesthetic appeal but also ensure durability and ease of maintenance. The ergonomic design allows for comfortable access to the oven's features, making it a joy to use in everyday cooking.

In terms of performance, both models are equipped with advanced cooking technologies that cater to a variety of culinary needs. They feature convection ovens that circulate hot air for even cooking results, ensuring that dishes are perfectly baked and roasted. This technology not only enhances the flavor of food but also significantly reduces cooking times, making meal preparation efficient.

The B3Y0..U4X(2 OR 5)D and B3W0..U4X(2 OR 5)D offer multiple cooking functions, including baking, broiling, and grilling. These functions are designed to provide home chefs with versatility, allowing them to explore various cooking techniques and enjoy a wider range of recipes. The intuitive controls and digital displays make it easy to select the desired cooking mode and monitor progress.

Safety is another paramount consideration in the design of these models. They are equipped with features such as soft-close doors and safety locks, ensuring a secure cooking environment. Additionally, the oven’s insulation technology minimizes heat loss, keeping the exterior cool to the touch, thereby enhancing safety in the kitchen.

Energy efficiency is a key characteristic of the Bertazzoni B3Y0..U4X(2 OR 5)D and B3W0..U4X(2 OR 5)D. Both models are designed to consume less energy while delivering exceptional performance, aligning with modern standards of environmental responsibility.

In conclusion, the Bertazzoni B3Y0..U4X(2 OR 5)D and B3W0..U4X(2 OR 5)D stand out as exemplary kitchen appliances that blend stylish design with cutting-edge technology. Their features cater to both novice and experienced cooks, making them a valuable addition to any kitchen. With a focus on performance, safety, and energy efficiency, these models embody the spirit of culinary innovation that Bertazzoni is celebrated for.