How To Use Your Breadmaker
Slicing & Storing Bread
For best results, allow loaves to cool on a wire rack 15 to 30 minutes before slicing. You may use an electric knife (such as the Black & Decker Slice Right™ Electric Knife Model EK300) for even slices. Otherwise, use a sharp knife with a serrated blade. For sandwich slices, place the loaf on its side and slice across.
Store bread tightly covered (resealable style bags or plastic containers work well) at room temperature up to three days. If weather is hot and humid, store
in the refrigerator. For longer storage (up to one month), place bread in a tightly covered container in the freezer. If you store the bread in the refrigerator, leave it out to bring it to room temperature before serving. Since homemade bread has no preserva- tives, it tends to dry out and become stale faster than
Leftover slightly hardened bread may be cut into 1/2” or 1” cubes and used in favorite recipes to make croutons, bread pudding, or stuffing.
Care & Cleaning
CAUTION: To avoid electric shock, unplug the unit and allow the Breadmaker to cool before cleaning.
For best performance and maintenance, it is recommended to clean the breadmaker after each use as follows:
Outer Body and Oven Chamber:
Wipe the outer body of the unit with a damp cloth or slightly dampened sponge. Use a damp sponge or cloth to wipe out any flour, crumbs, or other materials from the oven chamber.
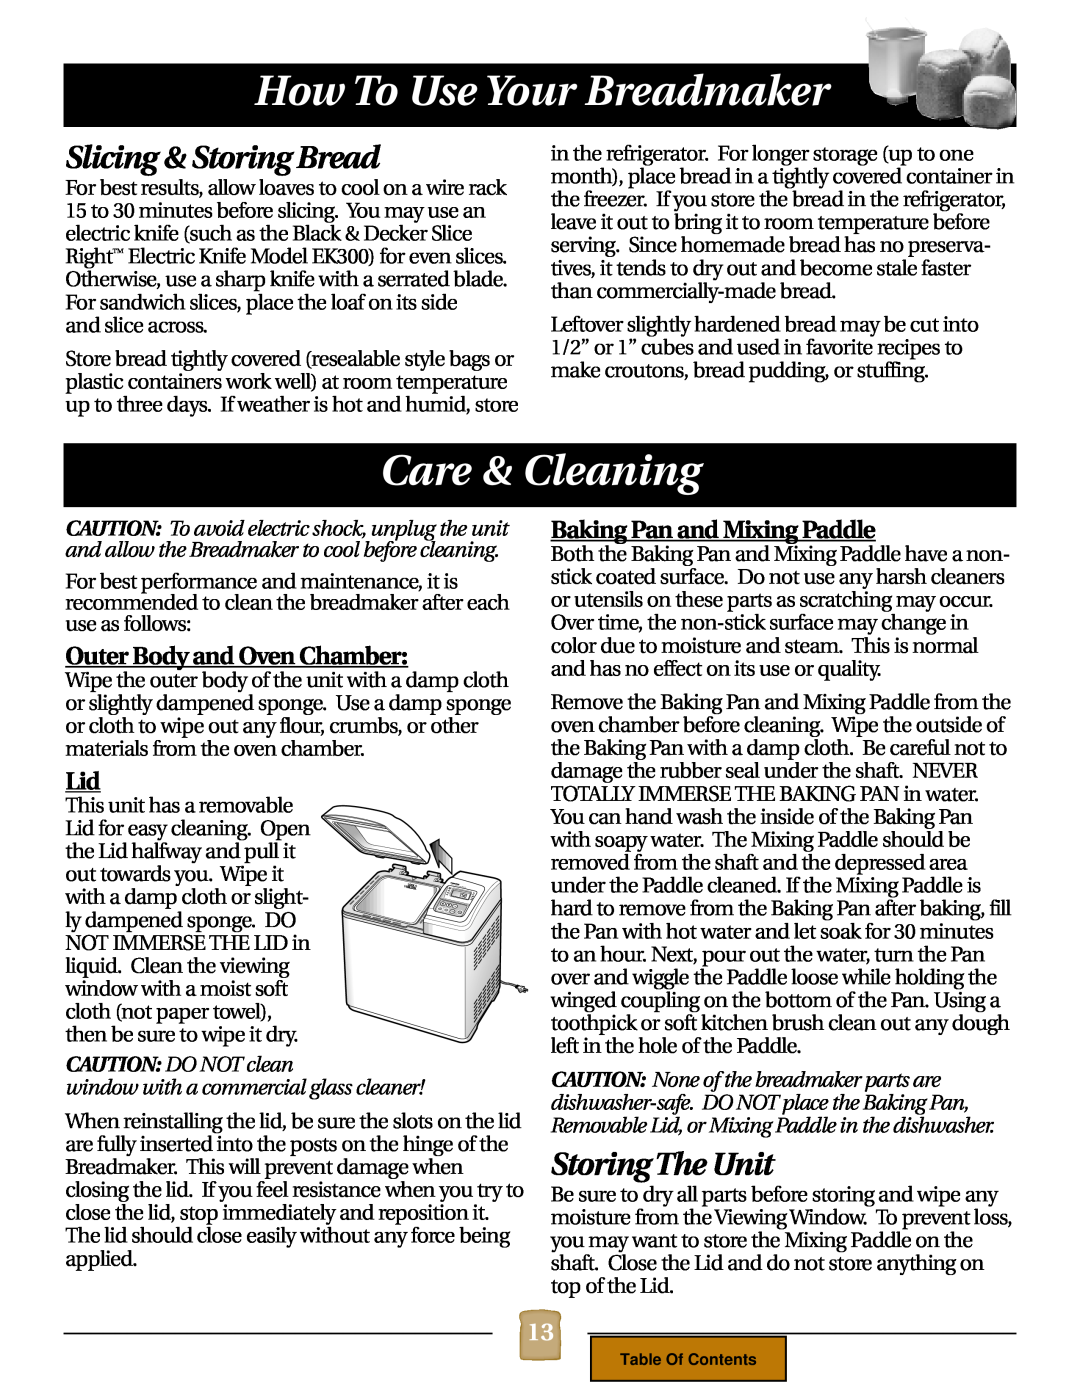
Lid
This unit has a removable Lid for easy cleaning. Open the Lid halfway and pull it out towards you. Wipe it with a damp cloth or slight- ly dampened sponge. DO NOT IMMERSE THE LID in liquid. Clean the viewing window with a moist soft cloth (not paper towel), then be sure to wipe it dry.
CAUTION: DO NOT clean
window with a commercial glass cleaner!
When reinstalling the lid, be sure the slots on the lid are fully inserted into the posts on the hinge of the Breadmaker. This will prevent damage when closing the lid. If you feel resistance when you try to close the lid, stop immediately and reposition it. The lid should close easily without any force being applied.
Baking Pan and Mixing Paddle
Both the Baking Pan and Mixing Paddle have a non- stick coated surface. Do not use any harsh cleaners or utensils on these parts as scratching may occur.
Over time, the
Remove the Baking Pan and Mixing Paddle from the oven chamber before cleaning. Wipe the outside of the Baking Pan with a damp cloth. Be careful not to damage the rubber seal under the shaft. NEVER TOTALLY IMMERSE THE BAKING PAN in water. You can hand wash the inside of the Baking Pan with soapy water. The Mixing Paddle should be removed from the shaft and the depressed area under the Paddle cleaned. If the Mixing Paddle is hard to remove from the Baking Pan after baking, fill the Pan with hot water and let soak for 30 minutes to an hour. Next, pour out the water, turn the Pan over and wiggle the Paddle loose while holding the winged coupling on the bottom of the Pan. Using a toothpick or soft kitchen brush clean out any dough left in the hole of the Paddle.
CAUTION: None of the breadmaker parts are
Storing The Unit
Be sure to dry all parts before storing and wipe any moisture from the Viewing Window. To prevent loss, you may want to store the Mixing Paddle on the shaft. Close the Lid and do not store anything on top of the Lid.
13
Table Of Contents