BROILING TIPS
•Placing food on broil rack allows the drippings to flow into the bake pan/drip tray and helps to prevent smoking from the broiler.
•For best results, thaw frozen meat, poultry and fish before broiling.
•If frozen steaks and chops are broiled, allow 1½ to 2 times the broiling time as required when fresh.
•Trim excess fat from meat and score edges to prevent curling.
•Brush foods to be broiled with oil and season as desired before broiling.
•Fish fillets and steaks are delicate and should be broiled on bake pan/drip tray without the broiler rack.
•There is no need to turn fish fillets during broiling. Carefully turn thick fish steaks midway through broiling cycle.
•If broiler “pops” during broiling, reduce the temperature or lower the food in the oven.
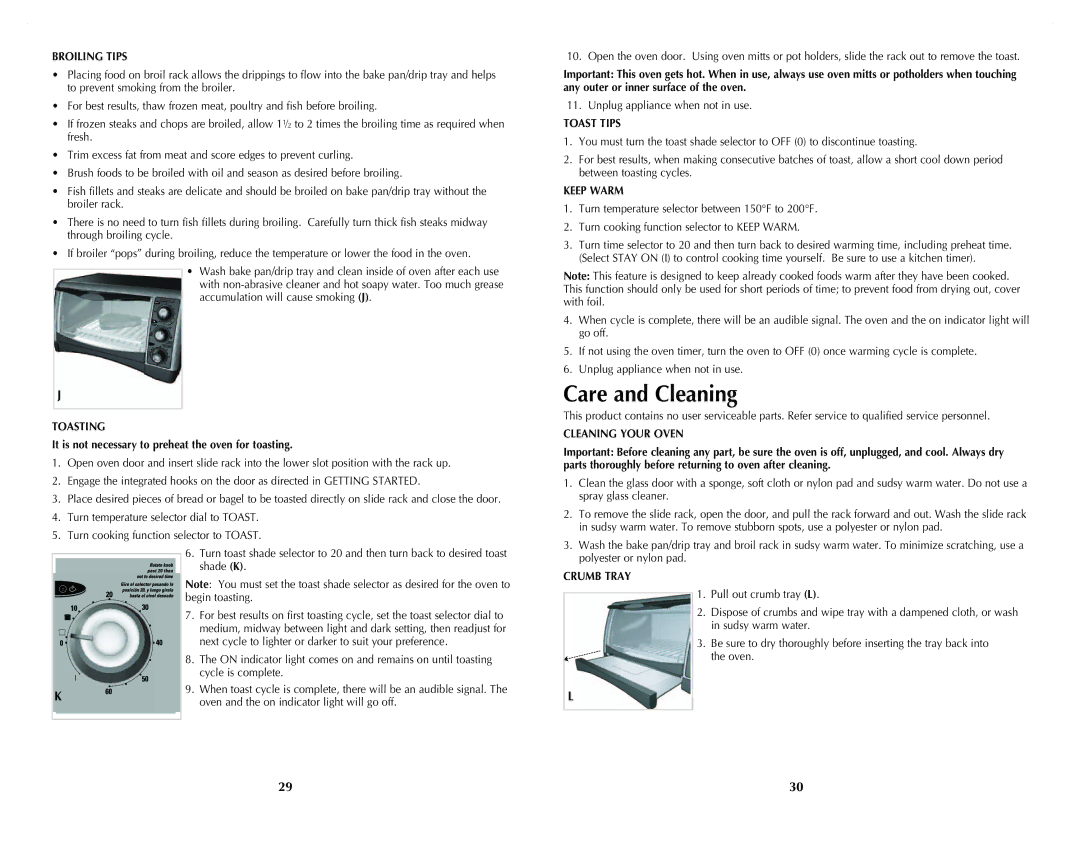
•Wash bake pan/drip tray and clean inside of oven after each use with
J
TOASTING
It is not necessary to preheat the oven for toasting.
1.Open oven door and insert slide rack into the lower slot position with the rack up.
2.Engage the integrated hooks on the door as directed in GETTING STARTED.
3.Place desired pieces of bread or bagel to be toasted directly on slide rack and close the door.
4.Turn temperature selector dial to TOAST.
5.Turn cooking function selector to TOAST.
6. Turn toast shade selector to 20 and then turn back to desired toast shade (K).
Note: You must set the toast shade selector as desired for the oven to
begin toasting.
7. For best results on first toasting cycle, set the toast selector dial to
medium, midway between light and dark setting, then readjust for
next cycle to lighter or darker to suit your preference.
8. The ON indicator light comes on and remains on until toasting cycle is complete.
K | 9. When toast cycle is complete, there will be an audible signal. The | |
oven and the on indicator light will go off. | ||
|
10. Open the oven door. Using oven mitts or pot holders, slide the rack out to remove the toast.
Important: This oven gets hot. When in use, always use oven mitts or potholders when touching any outer or inner surface of the oven.
11.Unplug appliance when not in use.
TOAST TIPS
1.You must turn the toast shade selector to OFF (0) to discontinue toasting.
2.For best results, when making consecutive batches of toast, allow a short cool down period between toasting cycles.
KEEP WARM
1.Turn temperature selector between 150°F to 200°F.
2.Turn cooking function selector to KEEP WARM.
3.Turn time selector to 20 and then turn back to desired warming time, including preheat time. (Select STAY ON (I) to control cooking time yourself. Be sure to use a kitchen timer).
Note: This feature is designed to keep already cooked foods warm after they have been cooked. This function should only be used for short periods of time; to prevent food from drying out, cover with foil.
4.When cycle is complete, there will be an audible signal. The oven and the on indicator light will go off.
5.If not using the oven timer, turn the oven to Off (0) once warming cycle is complete.
6.Unplug appliance when not in use.
Care and Cleaning
This product contains no user serviceable parts. Refer service to qualified service personnel.
CLEANING YOUR OVEN
Important: Before cleaning any part, be sure the oven is off, unplugged, and cool. Always dry parts thoroughly before returning to oven after cleaning.
1.Clean the glass door with a sponge, soft cloth or nylon pad and sudsy warm water. Do not use a spray glass cleaner.
2.To remove the slide rack, open the door, and pull the rack forward and out. Wash the slide rack in sudsy warm water. To remove stubborn spots, use a polyester or nylon pad.
3.Wash the bake pan/drip tray and broil rack in sudsy warm water. To minimize scratching, use a polyester or nylon pad.
Crumb Tray
1.Pull out crumb tray (L).
2.Dispose of crumbs and wipe tray with a dampened cloth, or wash in sudsy warm water.
3.Be sure to dry thoroughly before inserting the tray back into
the oven.
L
29 | 30 |