
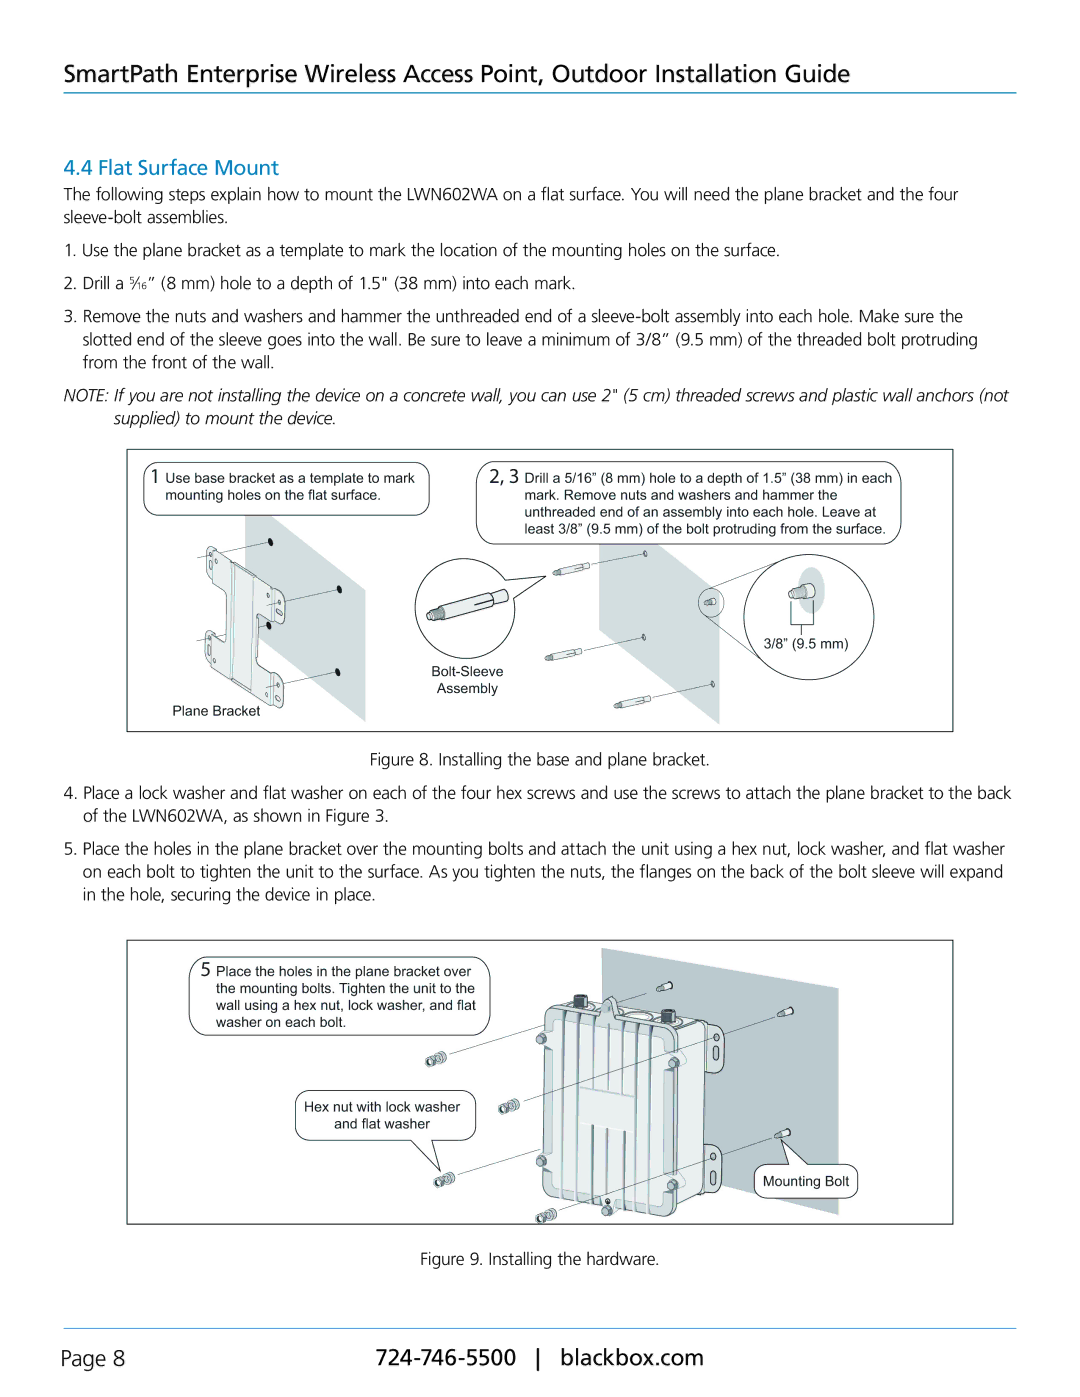
LWN602WA, SmartPath Enterprise Wireless Access Point specifications
The Black Box SmartPath Enterprise Wireless Access Point, model LWN602WA, represents a significant advancement in wireless networking technology, tailored specifically for enterprises seeking robust connectivity and seamless user experiences. This device is engineered to support high-density environments, making it ideal for offices, schools, and public venues where multiple users access the network simultaneously.One of the standout features of the LWN602WA is its dual-band capability. It operates on both the 2.4 GHz and 5 GHz frequency bands, allowing for increased bandwidth and reduced interference. This dual-band functionality is crucial for environments that demand reliable connections among numerous devices. The access point can intelligently steer clients to the optimal band based on their needs, thereby enhancing overall network performance.
The LWN602WA also incorporates advanced 802.11ac Wave 2 technology, ensuring it delivers high-speed wireless connectivity. With support for MU-MIMO (Multi-User, Multiple Input, Multiple Output), the access point can communicate with multiple devices simultaneously, significantly improving performance in crowded spaces. This technology is particularly valuable in enterprise settings where many users are connected at once, as it minimizes latency and boosts throughput.
Security is another critical feature of the LWN602WA. It supports numerous security protocols, including WPA3, which enhances encryption and protects data from unauthorized access. The device also supports VLANs, allowing organizations to segment their network traffic efficiently, which is essential for maintaining performance and security in enterprise environments.
The LWN602WA is designed for ease of deployment and management. It supports Power over Ethernet (PoE), eliminating the need for separate power sources and enabling flexible installation options. With its user-friendly web interface and support for centralized management software, network administrators can easily monitor and configure the access point, ensuring optimal performance and security.
Additionally, the access point is built to withstand the rigors of a commercial environment. Its sleek design and durable construction make it an aesthetically pleasing yet resilient component of any enterprise network.
In summary, the Black Box SmartPath Enterprise Wireless Access Point LWN602WA is a powerful solution that combines dual-band operation, advanced 802.11ac Wave 2 technology, robust security features, and easy management capabilities, making it a smart choice for enterprises aiming to enhance their wireless infrastructure. Its ability to support high user density, paired with strong performance, positions it as a leader in the enterprise wireless access market.