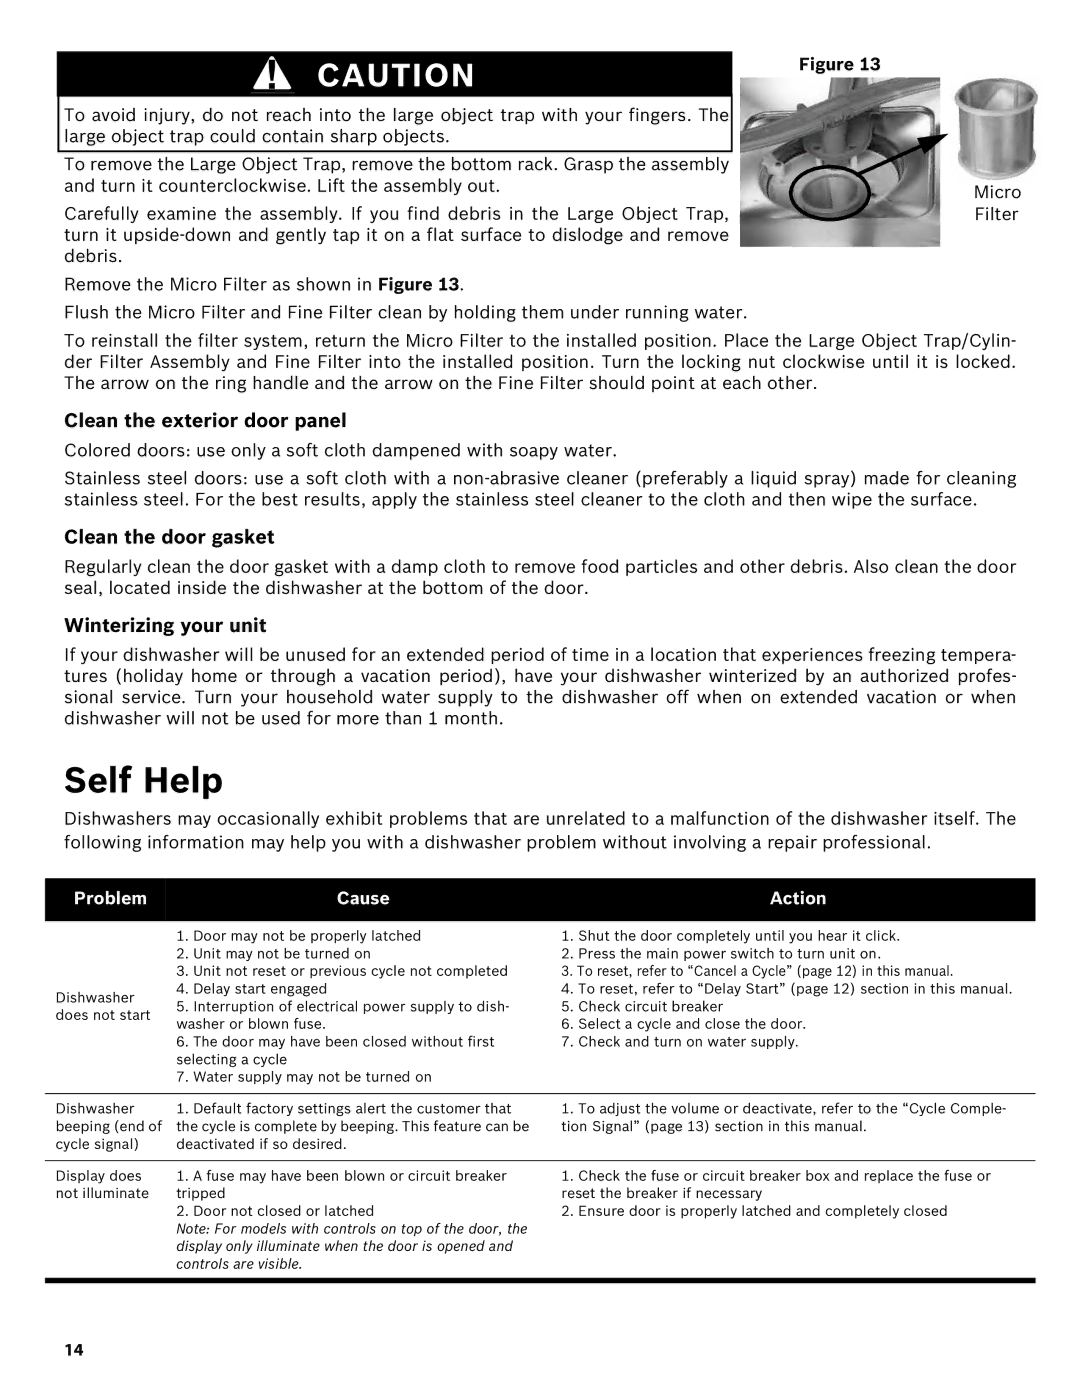
SHE43R5XUC specifications
The Bosch Appliances SHE43R5XUC is a versatile and efficient dishwasher that combines modern technology with a sleek design, making it a popular choice for homeowners looking for both functionality and style. With its ample capacity and innovative features, this model is designed to make dishwashing a hassle-free experience.One of the standout attributes of the SHE43R5XUC is its Energy Star certification, which indicates that it meets strict energy efficiency guidelines. This not only helps the environment but also reduces utility bills, making it a cost-effective choice for many households. The dishwasher operates quietly, with a sound level of only 44 decibels, ensuring that it won’t disrupt the peace of your home, even when it's running during the night.
This Bosch model boasts a spacious interior capable of accommodating up to 16 place settings, making it ideal for families or those who frequently entertain guests. It features a third rack, which provides additional loading capacity for cutlery and utensils, optimizing the available space while keeping everything organized and accessible.
The SHE43R5XUC is equipped with Bosch's unique PrecisionWash technology, which utilizes intelligent sensors to detect dirtiness levels and adjust the wash cycle accordingly. This ensures that every dish comes out sparkling clean, while also conserving water and energy during usage. The dishwasher also features multiple wash cycles, including Rapid and Heavy cycles, allowing users to select the best option based on their specific needs.
Another noteworthy characteristic is the dishwasher's sophisticated drying system, which employs the PureDry technology. This feature eliminates the need for unnecessary drying aids while ensuring that all items come out completely dry, ready for immediate use or storage.
The control panel is designed for ease of use with its simple interface and bright LED display, making it easy to navigate through settings. Its sleek, stainless steel finish not only enhances the aesthetic appeal of any kitchen but also ensures durability and resistance to fingerprints, making maintenance a breeze.
In summary, the Bosch SHE43R5XUC is a testament to quality and efficiency in home appliances. With its advanced technologies, thoughtful design, and robust features, this dishwasher is an excellent investment for those seeking a reliable and stylish solution for their dishwashing needs.