BM 2610945718
BEVEL ADJUSTMENT
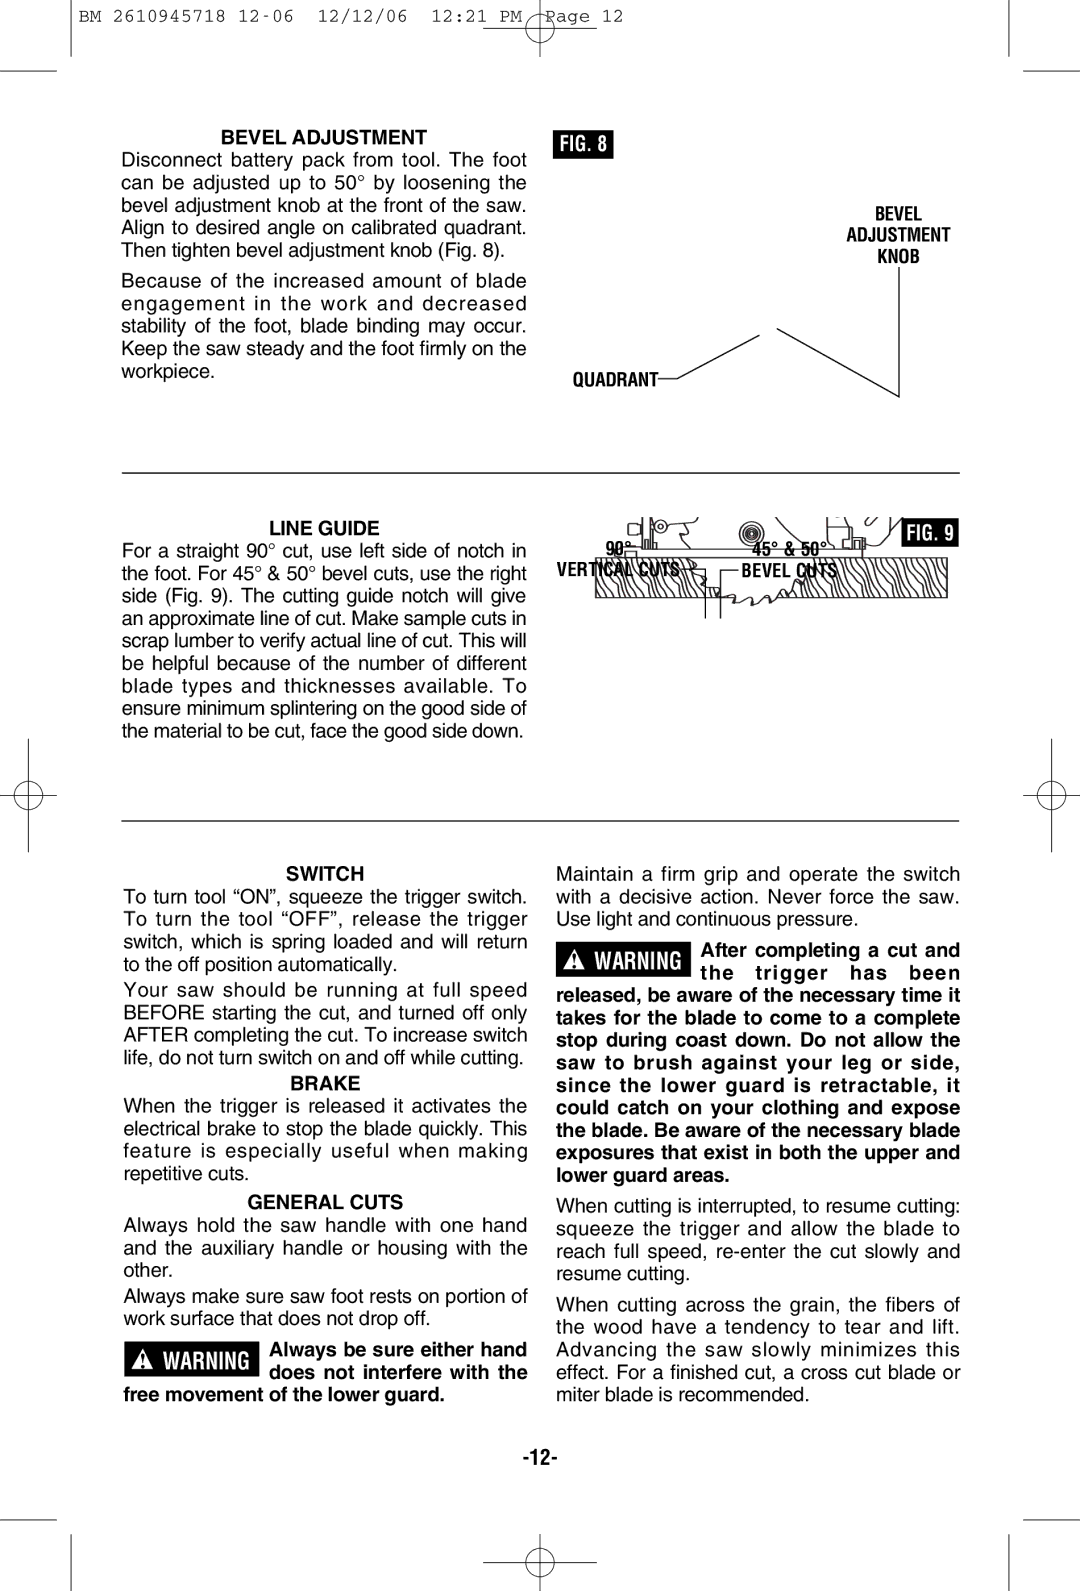
Disconnect battery pack from tool. The foot can be adjusted up to 50° by loosening the bevel adjustment knob at the front of the saw. Align to desired angle on calibrated quadrant. Then tighten bevel adjustment knob (Fig. 8).
Because of the increased amount of blade engagement in the work and decreased stability of the foot, blade binding may occur. Keep the saw steady and the foot firmly on the workpiece.
FIG. 8
QUADRANT
BEVEL
ADJUSTMENT
KNOB
LINE GUIDE
For a straight 90° cut, use left side of notch in the foot. For 45° & 50° bevel cuts, use the right side (Fig. 9). The cutting guide notch will give an approximate line of cut. Make sample cuts in scrap lumber to verify actual line of cut. This will be helpful because of the number of different blade types and thicknesses available. To ensure minimum splintering on the good side of the material to be cut, face the good side down.
90°
VERTICAL CUTS
FIG. 9
45° & 50°
BEVEL CUTS
SWITCH
To turn tool “ON”, squeeze the trigger switch. To turn the tool “OFF”, release the trigger switch, which is spring loaded and will return to the off position automatically.
Your saw should be running at full speed BEFORE starting the cut, and turned off only AFTER completing the cut. To increase switch life, do not turn switch on and off while cutting.
BRAKE
When the trigger is released it activates the electrical brake to stop the blade quickly. This feature is especially useful when making repetitive cuts.
GENERAL CUTS
Always hold the saw handle with one hand and the auxiliary handle or housing with the other.
Always make sure saw foot rests on portion of work surface that does not drop off.
!Always be sure either hand WARNING does not interfere with the
free movement of the lower guard.
Maintain a firm grip and operate the switch with a decisive action. Never force the saw. Use light and continuous pressure.
!After completing a cut and WARNING the trigger has been
released, be aware of the necessary time it takes for the blade to come to a complete stop during coast down. Do not allow the saw to brush against your leg or side, since the lower guard is retractable, it could catch on your clothing and expose the blade. Be aware of the necessary blade exposures that exist in both the upper and lower guard areas.
When cutting is interrupted, to resume cutting: squeeze the trigger and allow the blade to reach full speed,
When cutting across the grain, the fibers of the wood have a tendency to tear and lift. Advancing the saw slowly minimizes this effect. For a finished cut, a cross cut blade or miter blade is recommended.