Mounting Miter Saw to Stand
Note: Unfold stand to horizontal position before mounting saw. (See page 9 for instructions.)
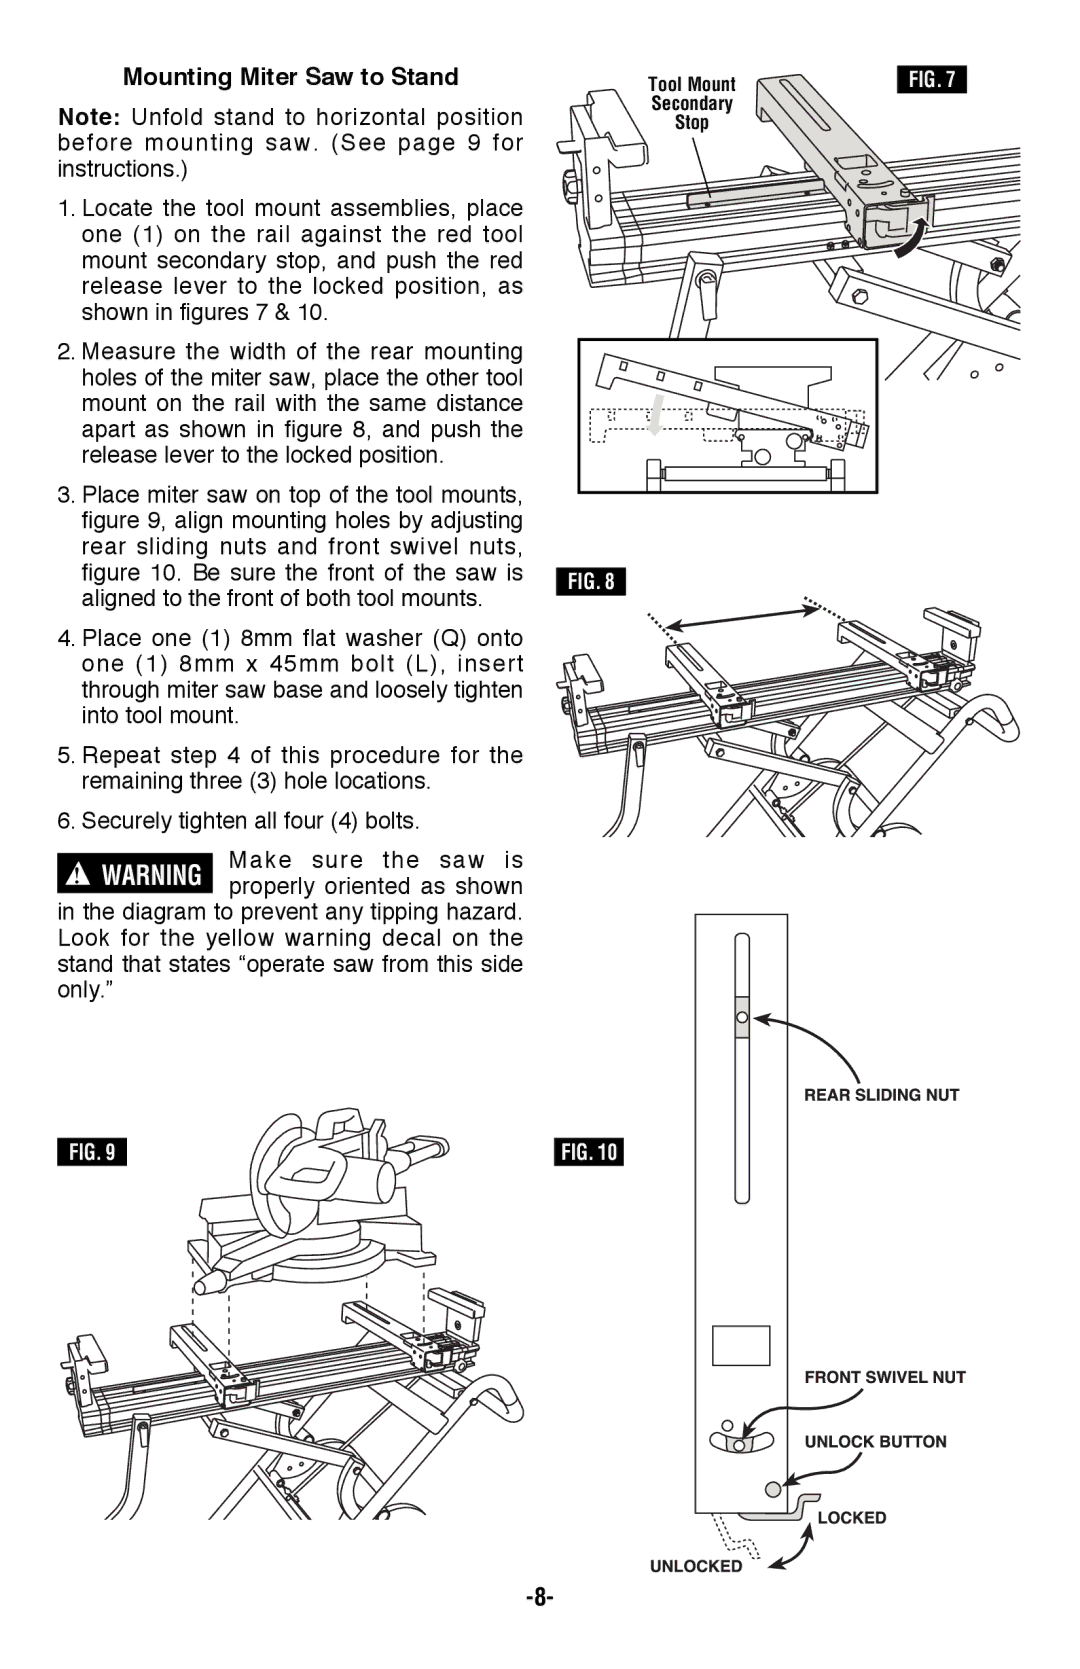
1.Locate the tool mount assemblies, place one (1) on the rail against the red tool mount secondary stop, and push the red release lever to the locked position, as shown in figures 7 & 10.
2.Measure the width of the rear mounting holes of the miter saw, place the other tool mount on the rail with the same distance apart as shown in figure 8, and push the release lever to the locked position.
3.Place miter saw on top of the tool mounts, figure 9, align mounting holes by adjusting rear sliding nuts and front swivel nuts, figure 10. Be sure the front of the saw is aligned to the front of both tool mounts.
4.Place one (1) 8mm flat washer (Q) onto one (1) 8mm x 45mm bolt (L), insert through miter saw base and loosely tighten into tool mount.
5.Repeat step 4 of this procedure for the remaining three (3) hole locations.
6.Securely tighten all four (4) bolts.
| Make sure the saw is | |
! WARNING | ||
properly oriented as shown | ||
|
in the diagram to prevent any tipping hazard. Look for the yellow warning decal on the stand that states “operate saw from this side only.”
FIG. 9
Tool Mount | FIG. 7 |
Secondary |
|
Stop |
|
FIG. 8
FIG. 10