Steps to Installing
Tip: If necessary, use tape to hold the template temporarily in place (see TAPE HERE on the template). Then run your pencil along the entire template edge, except where there is tape.
For ceiling installation, notice the orientation of the Bose® logo on the speaker frame. Make sure it will be oriented as you want it when you position the speaker in the hole you cut. If you need the logo to face in the opposite direction, you can do so by removing the speaker frame, rotating it 180˚ and reattaching it to the speaker. Refer to Figure 21 on page 20.
Cutting the speaker hole
![]() You need a small saw or specialized cutting tool (for example, a keyhole or drywall saw) for this step of the installation.
You need a small saw or specialized cutting tool (for example, a keyhole or drywall saw) for this step of the installation.
Be sure to use the proper equipment and follow all safety precautions as you cut through the wallboard.
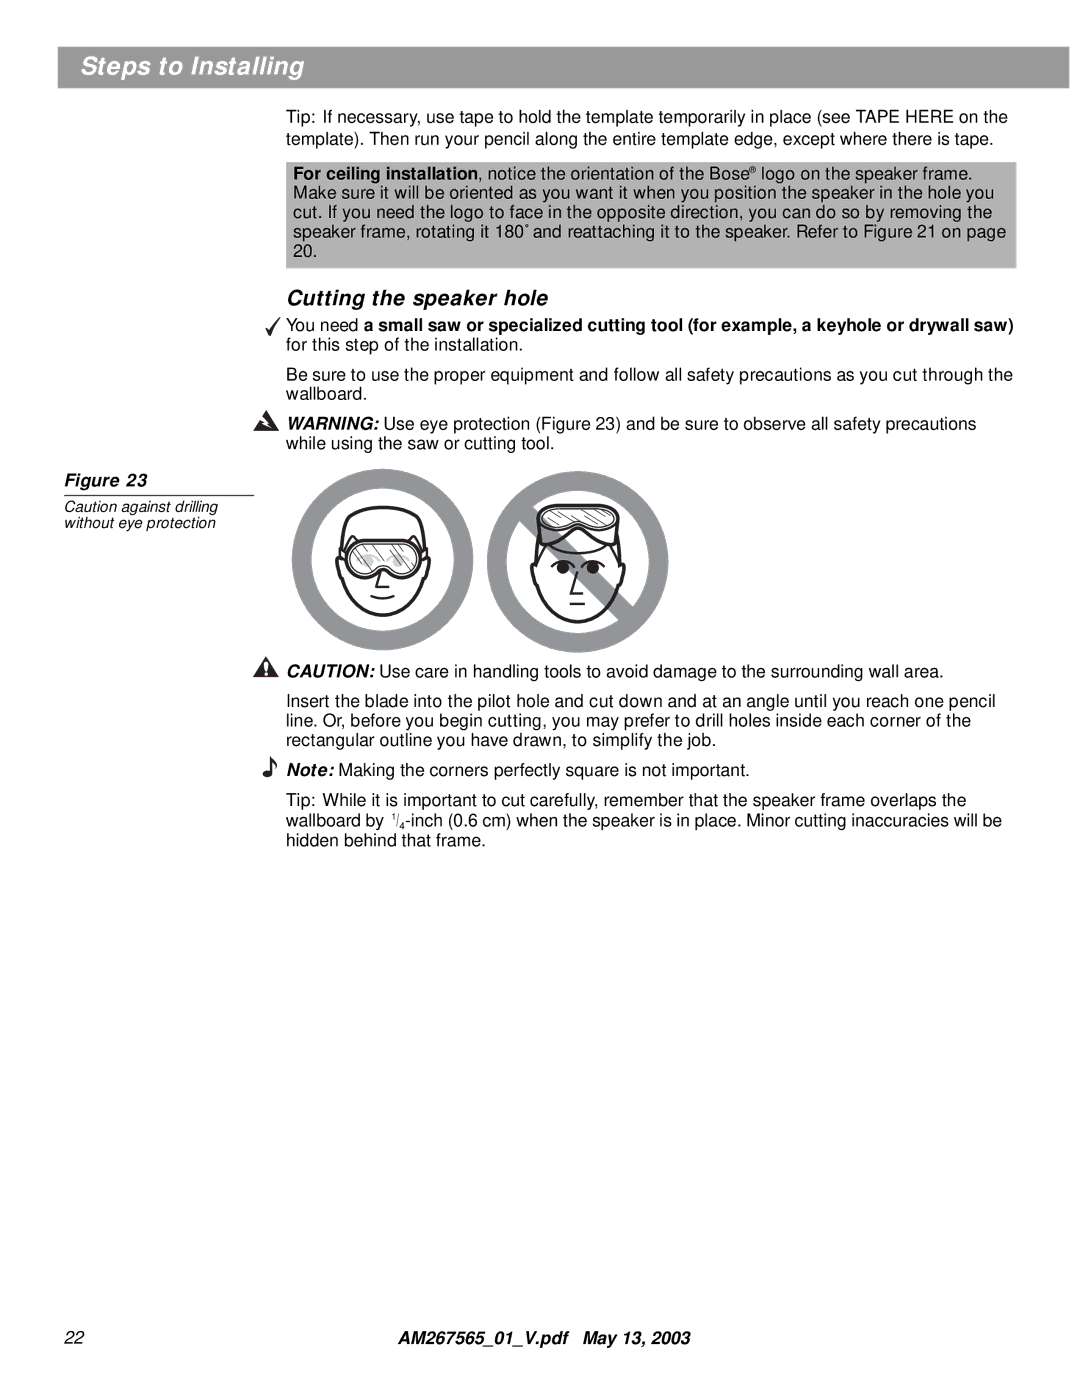
![]() WARNING: Use eye protection (Figure 23) and be sure to observe all safety precautions while using the saw or cutting tool.
WARNING: Use eye protection (Figure 23) and be sure to observe all safety precautions while using the saw or cutting tool.
Figure 23
Caution against drilling without eye protection
![]() CAUTION: Use care in handling tools to avoid damage to the surrounding wall area.
CAUTION: Use care in handling tools to avoid damage to the surrounding wall area.
Insert the blade into the pilot hole and cut down and at an angle until you reach one pencil line. Or, before you begin cutting, you may prefer to drill holes inside each corner of the rectangular outline you have drawn, to simplify the job.
Note: Making the corners perfectly square is not important.
Tip: While it is important to cut carefully, remember that the speaker frame overlaps the wallboard by
22 | AM267565_01_V.pdf May 13, 2003 |
