SETTING UP YOUR WAVE® RADIO III
Unpacking
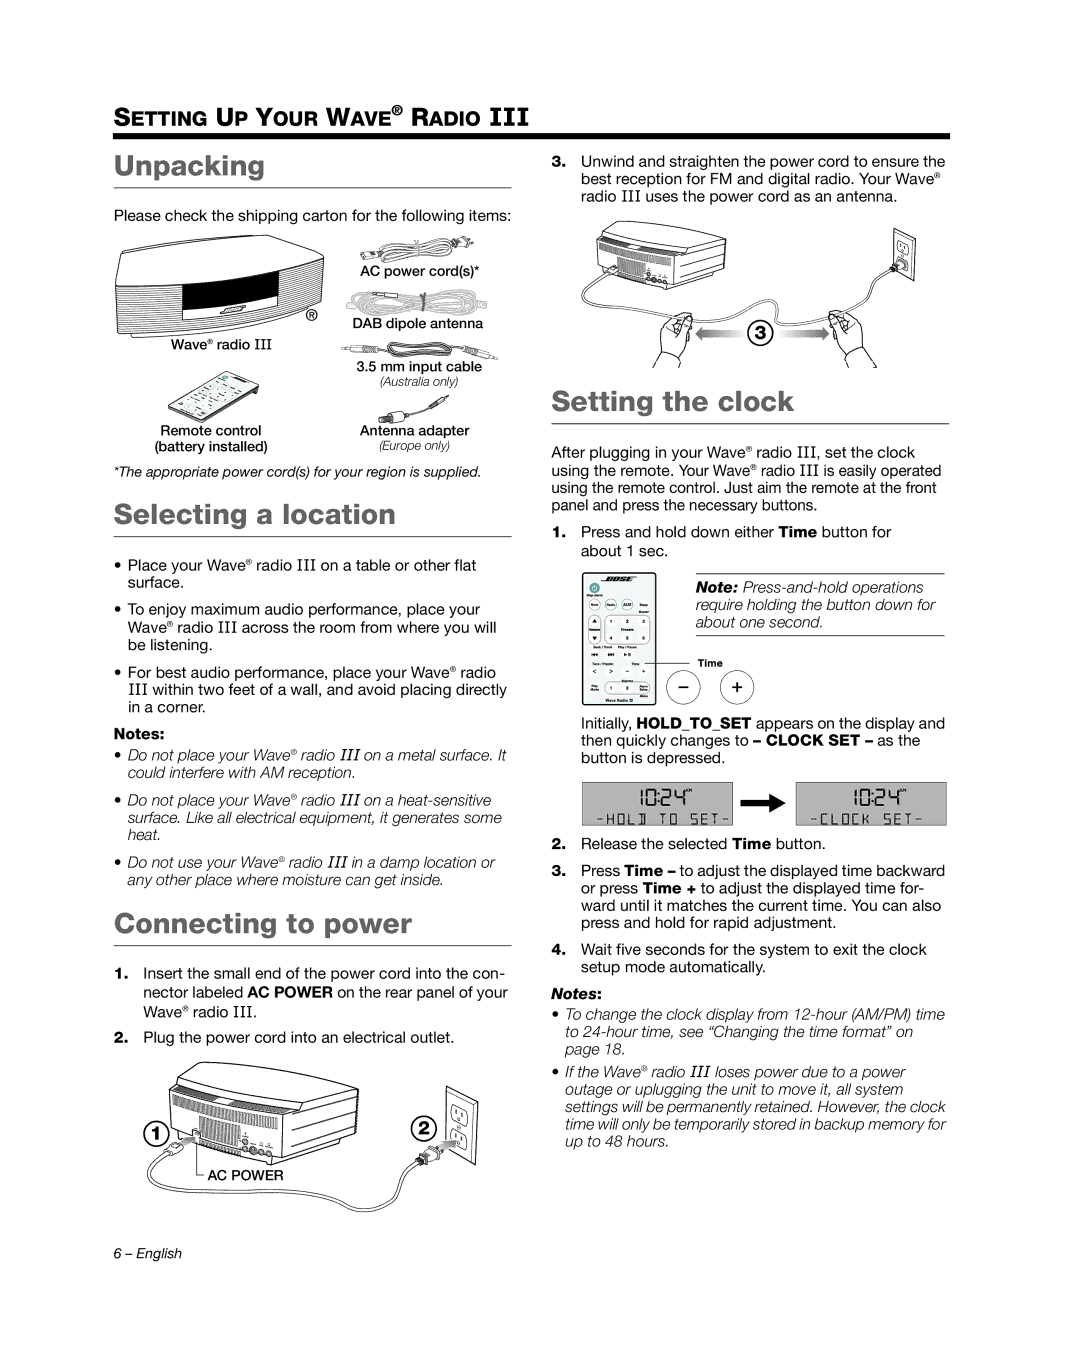
Please check the shipping carton for the following items:
AC power cord(s)*
®DAB dipole antenna
Wave® radio III
| 3.5 mm input cable |
| (Australia only) |
Remote control | Antenna adapter |
(battery installed) | (Europe only) |
*The appropriate power cord(s) for your region is supplied.
Selecting a location
•Place your Wave® radio III on a table or other flat surface.
•To enjoy maximum audio performance, place your Wave® radio III across the room from where you will be listening.
•For best audio performance, place your Wave® radio III within two feet of a wall, and avoid placing directly in a corner.
Notes:
•Do not place your Wave® radio III on a metal surface. It could interfere with AM reception.
•Do not place your Wave® radio III on a
•Do not use your Wave® radio III in a damp location or any other place where moisture can get inside.
Connecting to power
1.Insert the small end of the power cord into the con-
nector labeled AC POWER on the rear panel of your Wave® radio III.
2.Plug the power cord into an electrical outlet.
![]() AC POWER
AC POWER
3.Unwind and straighten the power cord to ensure the
best reception for FM and digital radio. Your Wave® radio III uses the power cord as an antenna.
Setting the clock
After plugging in your Wave® radio III, set the clock using the remote. Your Wave® radio III is easily operated using the remote control. Just aim the remote at the front panel and press the necessary buttons.
1.Press and hold down either Time button for about 1 sec.
Note:
Initially, HOLD_TO_SET appears on the display and then quickly changes to – CLOCK SET – as the
button is depressed.
2.Release the selected Time button.
3.Press Time – to adjust the displayed time backward or press Time + to adjust the displayed time for- ward until it matches the current time. You can also press and hold for rapid adjustment.
4.Wait five seconds for the system to exit the clock setup mode automatically.
Notes:
•To change the clock display from
•If the Wave® radio III loses power due to a power outage or uplugging the unit to move it, all system settings will be permanently retained. However, the clock time will only be temporarily stored in backup memory for up to 48 hours.
6 – English