Installation Guide
4. Wire the new unit as outlined in the Mounting Sleeve Installation instructions.
5. Mount the new unit assembly to the dashboard or center console using the reverse procedure of step 1.
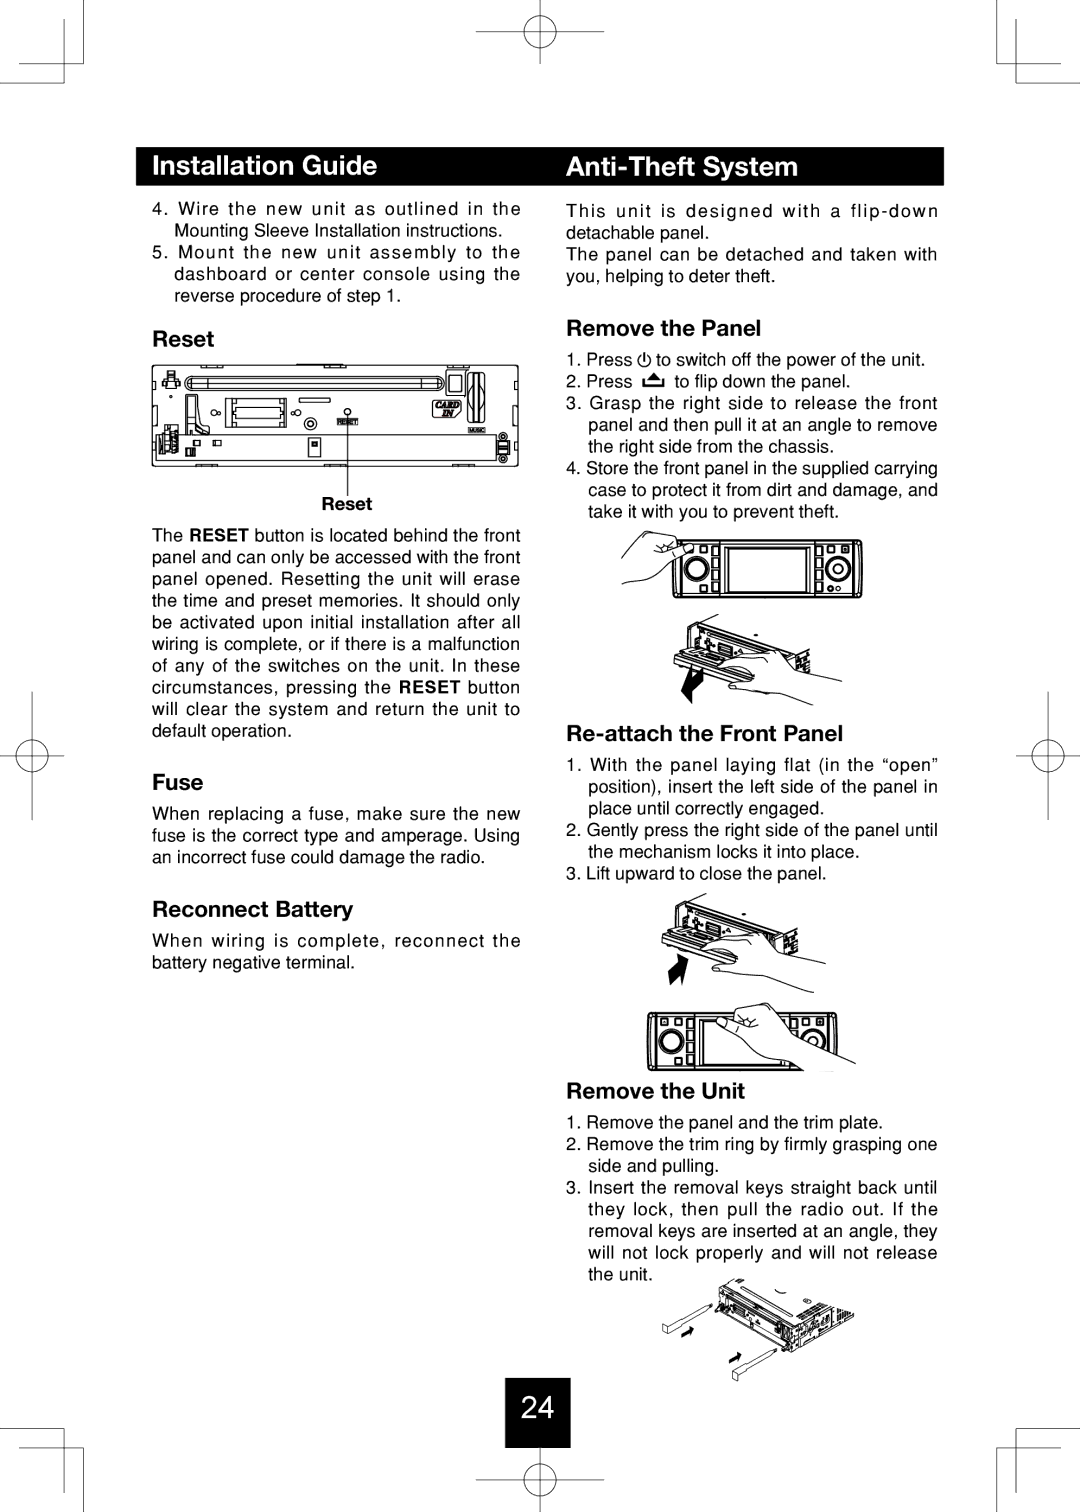
Reset
The RESET button is located behind the front panel and can only be accessed with the front panel opened. Resetting the unit will erase the time and preset memories. It should only be activated upon initial installation after all wiring is complete, or if there is a malfunction of any of the switches on the unit. In these circumstances, pressing the RESET button will clear the system and return the unit to default operation.
Fuse
When replacing a fuse, make sure the new fuse is the correct type and amperage. Using an incorrect fuse could damage the radio.
Reconnect Battery
When wiring is complete, reconnect the battery negative terminal.
Anti-Theft System
This unit is designed with a
The panel can be detached and taken with you, helping to deter theft.
Remove the Panel
1.Press ![]() to switch off the power of the unit.
to switch off the power of the unit.
2.Press ![]() to flip down the panel.
to flip down the panel.
3.Grasp the right side to release the front panel and then pull it at an angle to remove the right side from the chassis.
4.Store the front panel in the supplied carrying case to protect it from dirt and damage, and take it with you to prevent theft.
Re-attach the Front Panel
1.With the panel laying flat (in the “open” position), insert the left side of the panel in place until correctly engaged.
2.Gently press the right side of the panel until the mechanism locks it into place.
3.Lift upward to close the panel.
Remove the Unit
1.Remove the panel and the trim plate.
2.Remove the trim ring by firmly grasping one side and pulling.
3.Insert the removal keys straight back until they lock, then pull the radio out. If the removal keys are inserted at an angle, they will not lock properly and will not release the unit.
24