BGR820 specifications
The Breville BGR820XL Smart Grill is a versatile kitchen appliance designed to elevate your grilling experience. This innovative grill features an array of cutting-edge technologies and characteristics that make it a favored choice among both amateur and professional chefs.One of the standout features of the Breville BGR820XL is its non-stick cooking surface. The grill plates are made from high-quality, durable materials that ensure easy food release, reducing the need for excessive oil or butter. This non-stick technology not only promotes healthier cooking options but also simplifies the cleaning process, as food residue can be wiped away effortlessly.
Another significant aspect of the Breville BGR820 is its adjustable height feature, which allows users to accommodate food items of varying thicknesses. This adaptability ensures that each piece of food is grilled to perfection, whether you're working with thin slices of vegetables or thicker cuts of meat. The grill also incorporates a unique hinge design that maintains even pressure on the food, contributing to consistent cooking results.
Equipped with advanced heating technology, the Breville BGR820XL boasts dual heating elements that provide swift and uniform heat distribution. This means that food is cooked evenly on both sides, reducing the risk of undercooked or overcooked items. The grill also includes a temperature control feature, allowing users to select the ideal cooking temperature for various types of food. This precision ensures that steaks are seared to the desired doneness, while delicate seafood is cooked just right without losing its moisture.
Moreover, the grill includes an integrated drip tray that collects excess fat and grease, promoting healthier cooking and making cleanup hassle-free. The tray is removable and easy to clean, adding to the appliance's user-friendly design.
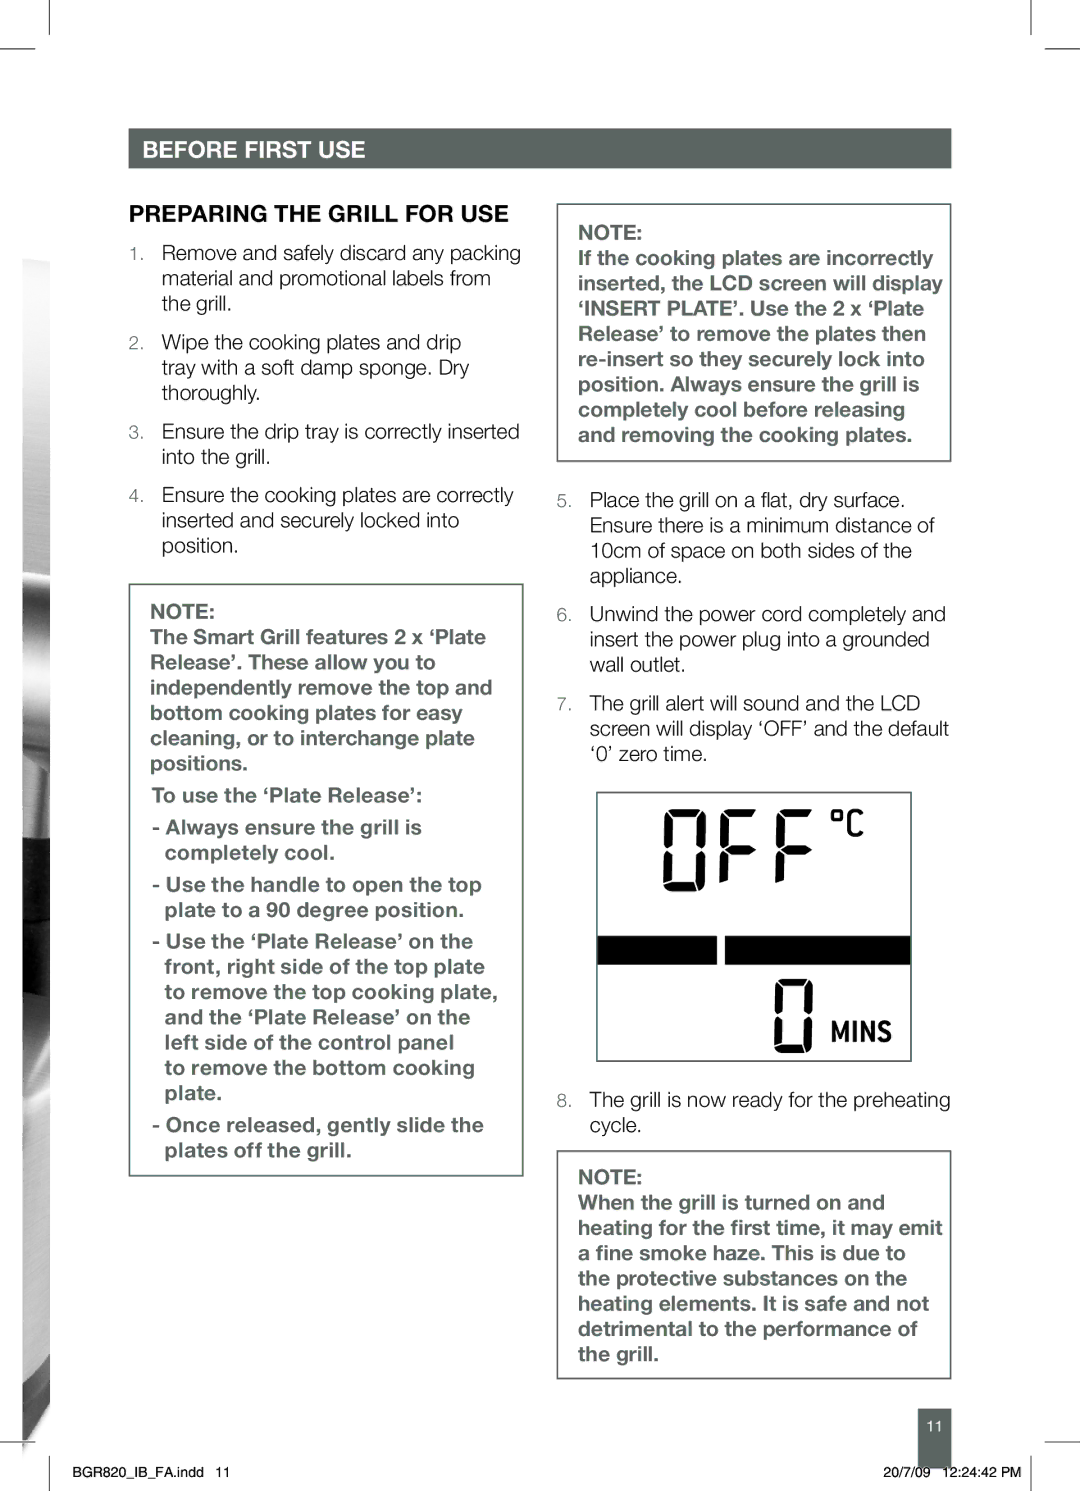
The Breville BGR820XL also features a clever indicator light system that illuminates when the grill is preheating and ready for cooking. This intelligence ensures that you can achieve perfect grill marks without guessing when the grill is at the ideal temperature.
Overall, the Breville BGR820XL Smart Grill combines advanced features, user-friendly design, and versatile cooking capabilities, making it an essential kitchen appliance for anyone looking to enjoy high-quality grilled food at home. Its thoughtful technology and durable construction promise excellent performance and reliability for years to come.