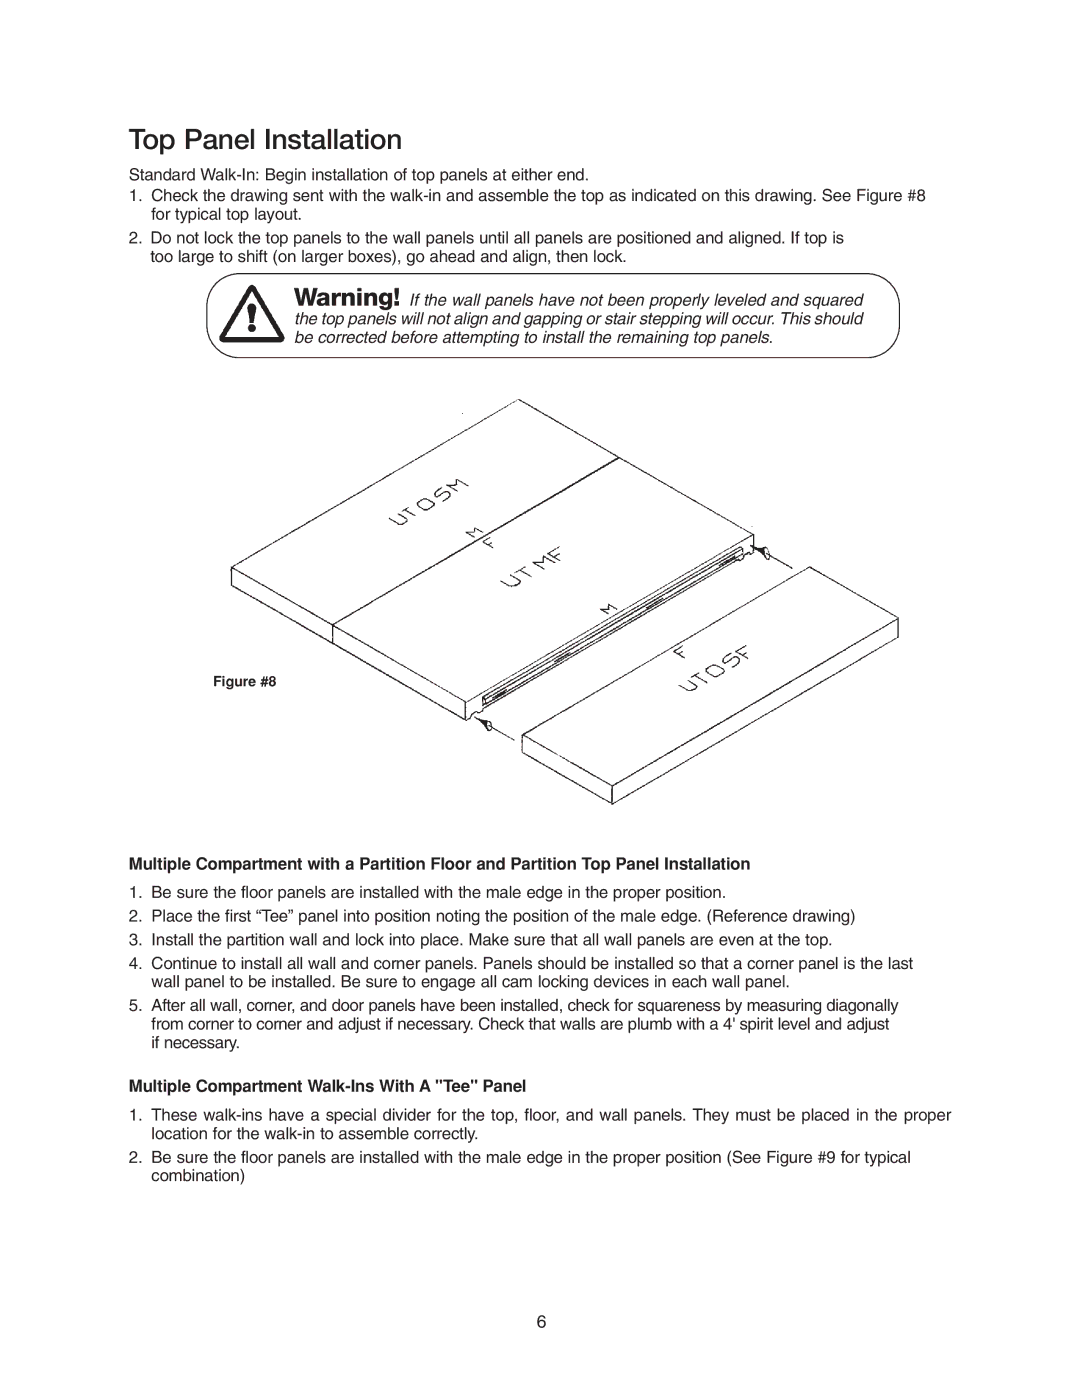
Top Panel Installation
Standard
1.Check the drawing sent with the
2.Do not lock the top panels to the wall panels until all panels are positioned and aligned. If top is too large to shift (on larger boxes), go ahead and align, then lock.
Warning! If the wall panels have not been properly leveled and squared the top panels will not align and gapping or stair stepping will occur. This should be corrected before attempting to install the remaining top panels.
Figure #8
Multiple Compartment with a Partition Floor and Partition Top Panel Installation
1.Be sure the floor panels are installed with the male edge in the proper position.
2.Place the first “Tee” panel into position noting the position of the male edge. (Reference drawing)
3.Install the partition wall and lock into place. Make sure that all wall panels are even at the top.
4.Continue to install all wall and corner panels. Panels should be installed so that a corner panel is the last wall panel to be installed. Be sure to engage all cam locking devices in each wall panel.
5.After all wall, corner, and door panels have been installed, check for squareness by measuring diagonally from corner to corner and adjust if necessary. Check that walls are plumb with a 4' spirit level and adjust if necessary.
Multiple Compartment Walk-Ins With A "Tee" Panel
1.These
2.Be sure the floor panels are installed with the male edge in the proper position (See Figure #9 for typical combination)
6