INITIAL SET-UP
NOTE: The
If necessary, use more than one person when lifting or moving the dispenser.
1.Cut the plastic bands and remove the top box and other packing.
2.Locate and remove the Adapter Tube Kit, Graphic Kit, Drip Tray & Literature Pkg from the packaging and set aside.
3.Set dispenser on the counter where it is to be used. CAUTION: DO NOT LIFT ON THE DOOR.
4.Install the drip tray assembly between the front legs. The magnets will hold the tray in place.
5.Install the Graphic decal in the door.
LOCATING THE DISPENSER
Additional clearance is required on both sides and behind the dispenser to allow for proper air flow and cooling. The
NOTE: In high ambient location where the air temperature around the dispenser could exceed 95°F (35°C), ad- ditional clearance is required on both sides and behind the dispenser to allow for proper air flow and cooling. For these higher temperature locations, the total space required for the
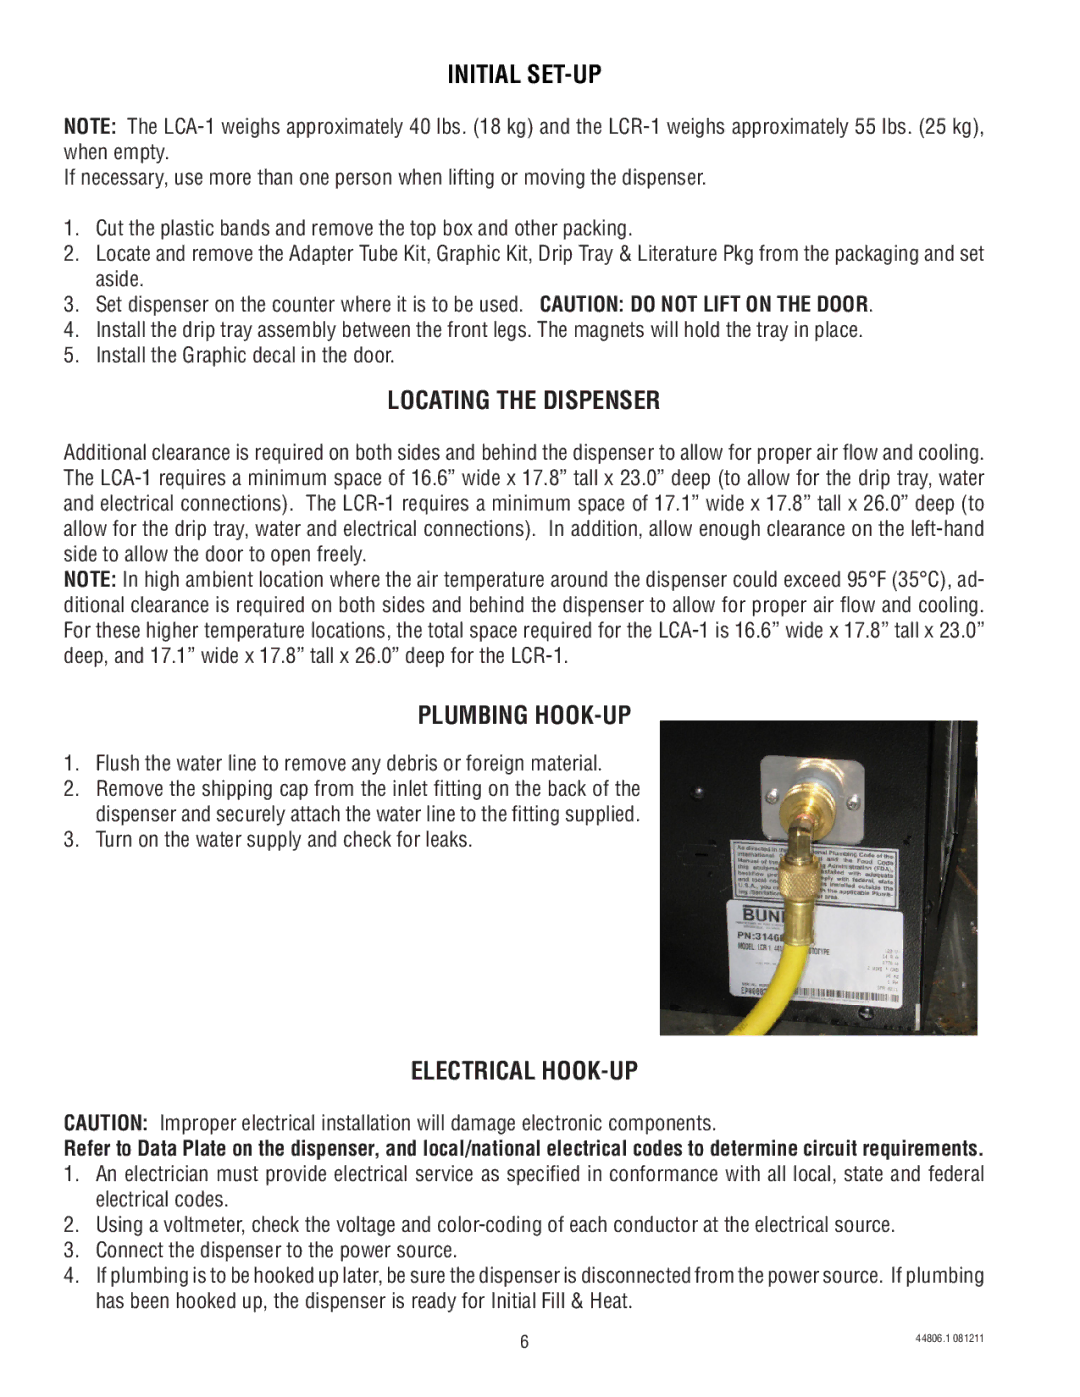
PLUMBING HOOK-UP
1.Flush the water line to remove any debris or foreign material.
2.Remove the shipping cap from the inlet fitting on the back of the dispenser and securely attach the water line to the fitting supplied.
3.Turn on the water supply and check for leaks.
ELECTRICAL HOOK-UP
CAUTION: Improper electrical installation will damage electronic components.
Refer to Data Plate on the dispenser, and local/national electrical codes to determine circuit requirements.
1.An electrician must provide electrical service as specified in conformance with all local, state and federal electrical codes.
2.Using a voltmeter, check the voltage and
3.Connect the dispenser to the power source.
4.If plumbing is to be hooked up later, be sure the dispenser is disconnected from the power source. If plumbing has been hooked up, the dispenser is ready for Initial Fill & Heat.
6 | 44806.1 081211 |
|