Operating Instructions & Parts Manual
Step 2 – Using Your |
| Use whatever material the paint man- | ||||||
| ufacturer recommends for cleaning. | |||||||
HousePainter (Cont.) |
| |||||||
| For overnight storage, submerge the | |||||||
roller with paint. When paint begins |
| |||||||
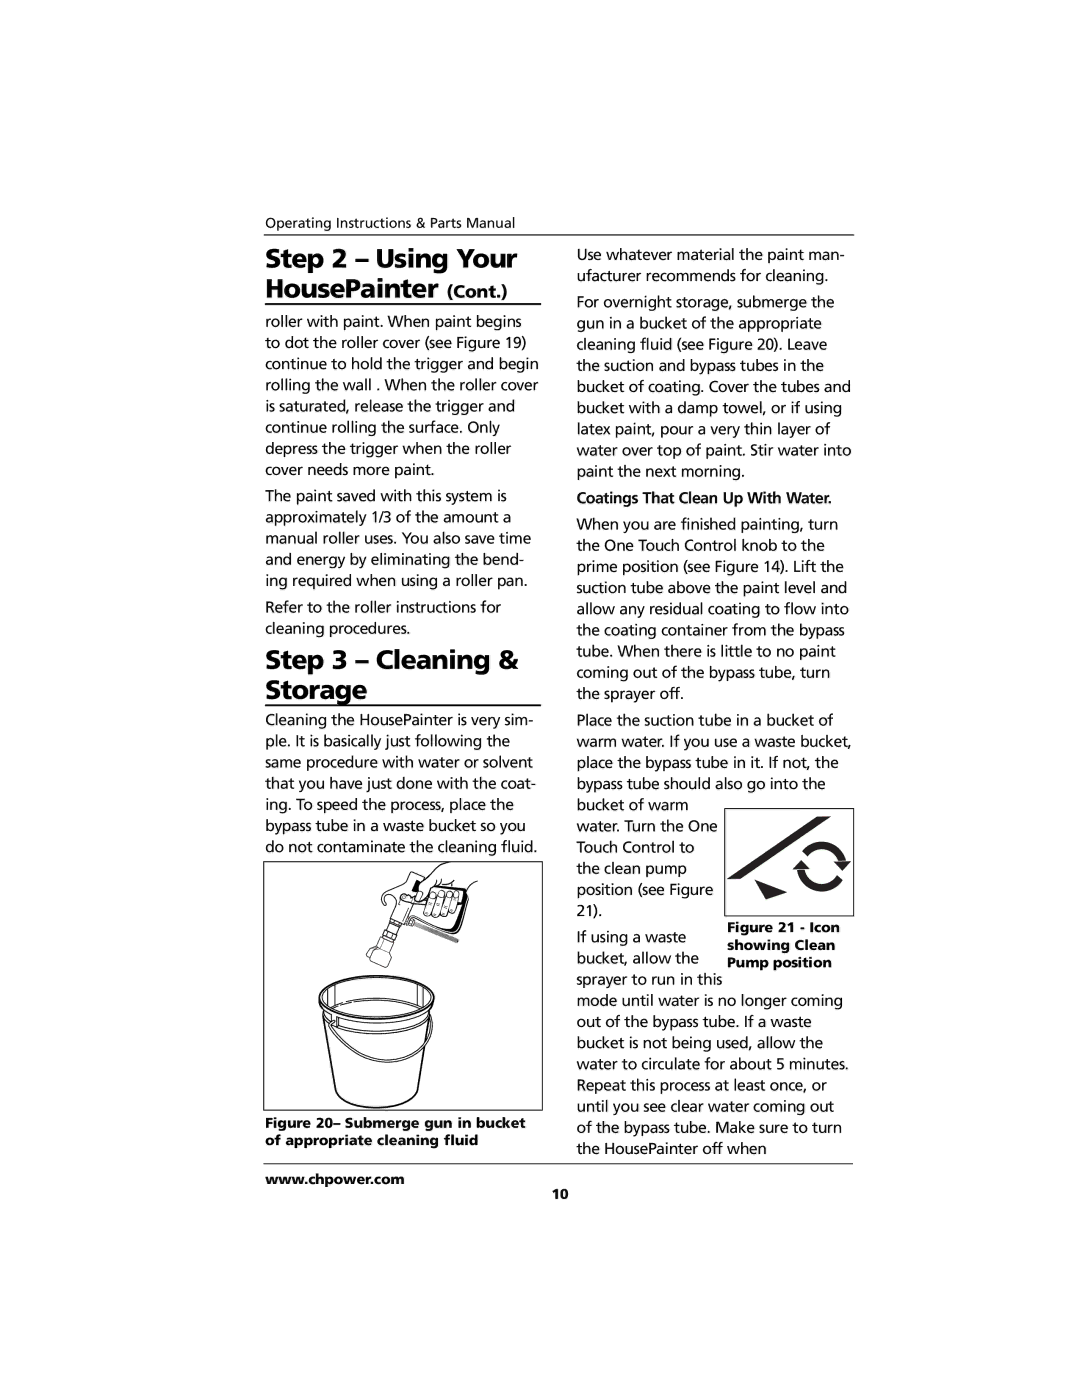
| gun in a bucket of the appropriate | |||||||
to dot the roller cover (see Figure 19) |
| cleaning fluid (see Figure 20). Leave | ||||||
continue to hold the trigger and begin |
| the suction and bypass tubes in the | ||||||
rolling the wall . When the roller cover |
| bucket of coating. Cover the tubes and | ||||||
is saturated, release the trigger and |
| bucket with a damp towel, or if using | ||||||
continue rolling the surface. Only |
| latex paint, pour a very thin layer of | ||||||
depress the trigger when the roller |
| water over top of paint. Stir water into | ||||||
cover needs more paint. |
| paint the next morning. | ||||||
The paint saved with this system is |
| Coatings That Clean Up With Water. | ||||||
approximately 1/3 of the amount a |
| When you are finished painting, turn | ||||||
manual roller uses. You also save time |
| |||||||
| the One Touch Control knob to the | |||||||
and energy by eliminating the bend- |
| |||||||
| prime position (see Figure 14). Lift the | |||||||
ing required when using a roller pan. |
| |||||||
| suction tube above the paint level and | |||||||
|
|
|
|
|
|
| ||
Refer to the roller instructions for |
| allow any residual coating to flow into | ||||||
cleaning procedures. |
| the coating container from the bypass | ||||||
Step 3 – Cleaning & |
| tube. When there is little to no paint | ||||||
| coming out of the bypass tube, turn | |||||||
Storage |
| |||||||
| the sprayer off. |
| ||||||
Cleaning the HousePainter is very sim- |
| Place the suction tube in a bucket of | ||||||
ple. It is basically just following the |
| warm water. If you use a waste bucket, | ||||||
same procedure with water or solvent |
| place the bypass tube in it. If not, the | ||||||
that you have just done with the coat- |
| bypass tube should also go into the | ||||||
ing. To speed the process, place the |
| bucket of warm |
| |||||
bypass tube in a waste bucket so you |
| water. Turn the One |
| |||||
do not contaminate the cleaning fluid. |
| Touch Control to |
| |||||
|
|
|
|
|
|
| the clean pump |
|
|
|
|
|
|
|
|
| |
|
|
|
|
|
|
| position (see Figure |
|
|
|
|
|
|
|
| 21). |
|
|
|
|
|
|
|
| If using a waste | Figure 21 - Icon |
|
|
|
|
|
|
| showing Clean | |
|
|
|
|
|
|
| bucket, allow the | |
|
|
|
|
|
|
| Pump position | |
|
|
|
|
|
|
| sprayer to run in this |
|
|
|
|
|
|
|
| mode until water is no longer coming | |
|
|
|
|
|
|
| out of the bypass tube. If a waste | |
|
|
|
|
|
|
| bucket is not being used, allow the | |
|
|
|
|
|
|
| water to circulate for about 5 minutes. | |
|
|
|
|
|
|
| Repeat this process at least once, or | |
|
|
|
|
|
|
| until you see clear water coming out | |
Figure 20– Submerge gun in bucket |
| |||||||
| of the bypass tube. Make sure to turn | |||||||
of appropriate cleaning fluid |
| the HousePainter off when | ||||||
|
|
|
|
|
|
| ||
|
|
|
|
|
|
|
|
|
|
|
|
|
|
|
|
|
|
www.chpower.com
10
