! WARNING

Operating Instructions and Parts Manual

Assembly - WF1800/

WF1900 (Continued)

Any mismatch could cause the wire to slip, bind or weld poorly.

Contact Tip Markings

Mark

Wire Size


0.80.030”

0.90.035”

Wire Size Chart

Inchesmm

0.0300.8

0.0350.9

1.Verify the unit is off and lift the panel on the welder to expose the wire feed mechanism.

2.Loosen the wire feed tensioning screw on the drive mechanism. This allows initial feeding of the wire into the gun liner by hand.

3.Install the wire spool onto the spindle so that the wire can come off the spool on the end closest to the wire feed guide tube. Do not cut the wire loose yet.

4.Hold the wire and cut the wire end from the spool. Do not allow the wire to unravel. Be sure that the end of the wire is straight and free of burrs.

5.Feed the wire through the wire feed guide tube, over the groove in the drive roll and into the gun liner. Tighten the wire feed tensioning screw so that it is snug. Do not over tighten. Close the wire feed panel.


Pan Head Screws


Roller

Wire Flux


Core

Swing


Arm


Tension

Tension


Screw


Spring


Spindle


Figure 4 - Weld Wire Routing

6.Remove the nozzle by turning counter-clockwise. Then unscrew the contact tip from the end of the welding torch (See Figure 5). Plug the welder into the proper power supply receptacle.

Torch

Contact Tip

Nozzle


Diffuser


Figure 5 - Torch Nozzle


7.Turn on the welder and activate the gun switch until the wire feeds out past the torch end. Turn welder off.

8.Carefully slip the contact tip over the wire and screw it into the torch end. Install the nozzle by turning clockwise. (See Figure 5). Cut the wire off approximately 1/4 inch from the end of the nozzle.

Assembly - WF2000

All welding accessories for the welder are inside the wire feed compartment. Lift and remove wire feed cover to find handle, workclamp, etc.

Handle Assembly

1.Slide handle into plastic ends as shown (Fig. 6).

Figure 6 - Handle Assembly

2.Place handle assembly on welder aligning two holes in plastic ends with threaded holes in welder housing.

3.Fasten screws through handle ends and into cabinet.

WORK CLAMP

1.Loosen hex bolt on work clamp.

2.Insert cord (labeled work on the front panel of the welder) through clamp handle and slide bare wire under the clamp block. Tighten hex bolt making sure bare wire is clamped securely (Fig. 7).

Figure 7 - Work Clamp Assembly

Flux Core Wire Installation

Welding power may be applied to

the output terminals, feed roll, work clamp, gun cable connection and welding wire even when the the gun switch is not activated. Do not touch these parts when the welding machine is on.

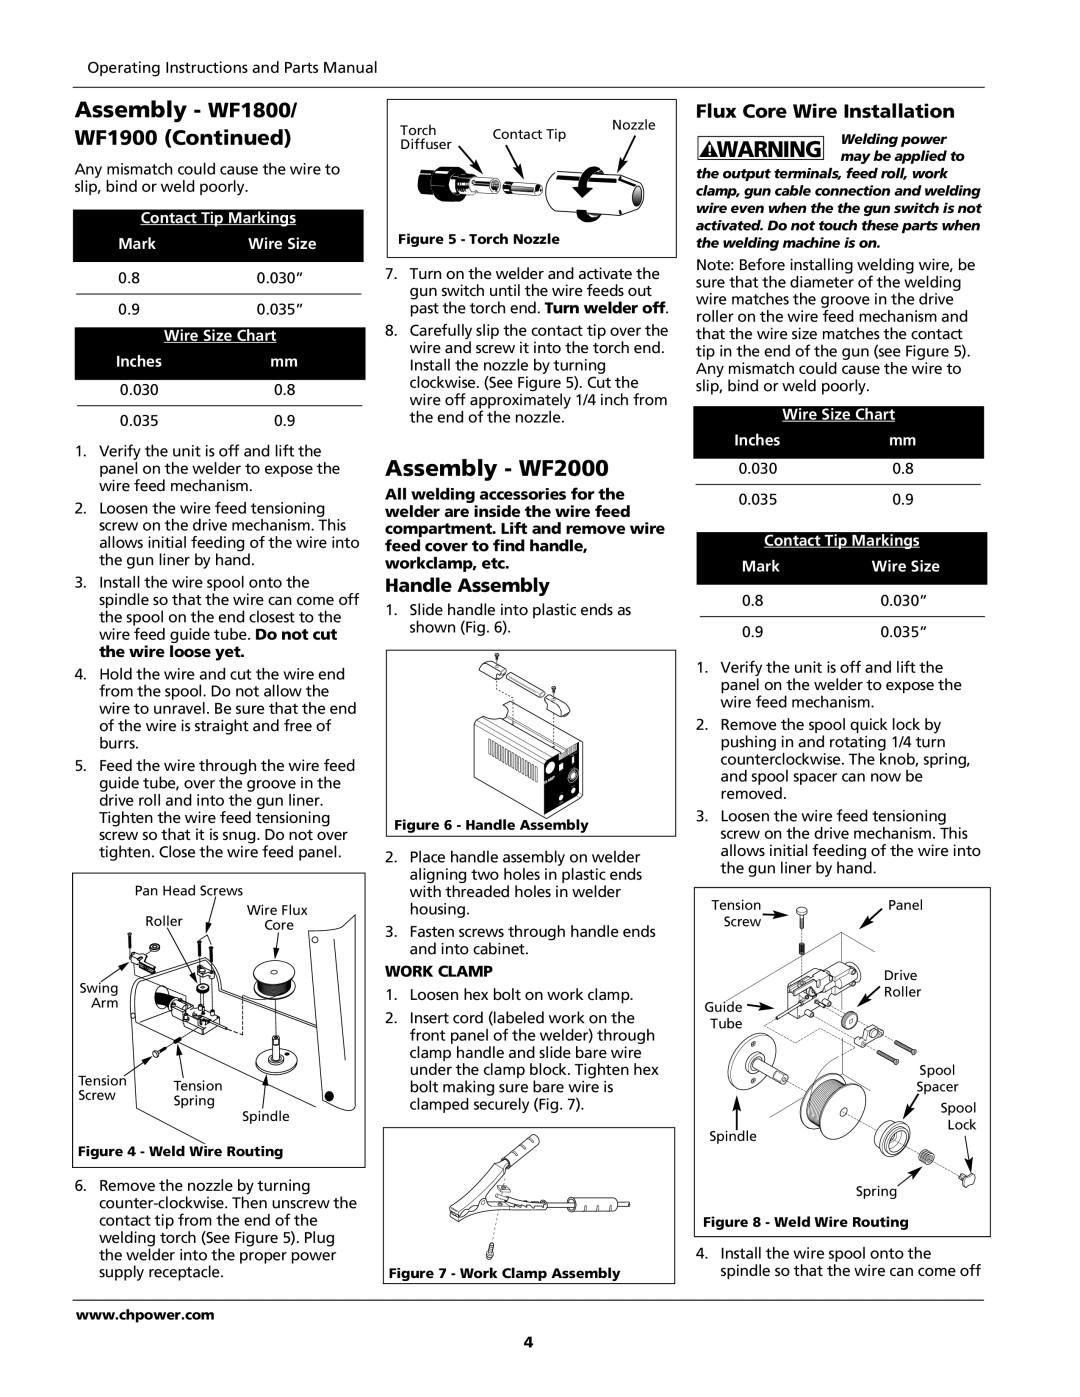
Note: Before installing welding wire, be sure that the diameter of the welding wire matches the groove in the drive roller on the wire feed mechanism and that the wire size matches the contact tip in the end of the gun (see Figure 5). Any mismatch could cause the wire to slip, bind or weld poorly.

Wire Size Chart

Inchesmm

0.0300.8

0.0350.9

Contact Tip Markings

Mark

Wire Size


0.80.030”

0.90.035”

1.Verify the unit is off and lift the panel on the welder to expose the wire feed mechanism.

2.Remove the spool quick lock by pushing in and rotating 1/4 turn counterclockwise. The knob, spring, and spool spacer can now be removed.

3.Loosen the wire feed tensioning screw on the drive mechanism. This allows initial feeding of the wire into the gun liner by hand.

Tension

Panel

Screw


Drive

Guide

Roller


Tube


Spool


Spacer


Spool

Spindle

Lock


Spring

Figure 8 - Weld Wire Routing

4.Install the wire spool onto the spindle so that the wire can come off

www.chpower.com

4

Page 4
Image 4
Campbell Hausfeld operating instructions Assembly WF1800, Assembly WF2000, WF1900, Work Clamp

WF1800, WF1900, WF2000 specifications

The Campbell Hausfeld WF2000, WF1900, and WF1800 are exceptional models in the realm of air compressors, tailored for various applications ranging from home projects to professional tasks. Each model retains a unique set of features while sharing a commitment to performance and reliability, making them popular choices among DIY enthusiasts and seasoned professionals alike.

Starting with the WF2000, this model is a powerful air compressor designed to handle demanding tasks. Boasting a 2-horsepower motor, it delivers up to 7.0 CFM at 40 PSI, which ensures quick recovery times for various pneumatic tools. The WF2000 features a durable oil-lubricated design, contributing to a longer lifespan and reduced wear. Additionally, its low noise design operates at a quieter level, providing a more pleasant working environment. The 4-gallon capacity tank offers substantial air storage, making it efficient for extended use.

Next in line is the WF1900, which offers a balance of performance and portability. This model utilizes a direct drive, oil-free pump system that not only allows for easy maintenance but also offers the convenience of instant startup and less noise compared to oil-lubricated counterparts. The WF1900 is equipped with a 1.5-horsepower motor and delivers 5.4 CFM at 90 PSI, catering well to nailers, staplers, and other light to medium-duty tools. With a compact design and a weight of under 50 pounds, it emphasizes mobility, making it ideal for various job sites or home use.

Finally, the WF1800 rounds out the trio with a focus on user-friendly features. It delivers an impressive performance with a 1.8-horsepower motor, reaching 6.2 CFM at 40 PSI. Like the WF1900, it features an oil-free pump, ensuring minimal maintenance while enabling continuous operation. The 3-gallon tank supports a wide range of applications, from inflating tires to powering airbrushes. Notably, the WF1800 comes equipped with a convenient handle for easy transport, making it a versatile solution for both indoor and outdoor projects.

In summary, the Campbell Hausfeld WF2000, WF1900, and WF1800 each provide distinct advantages tailored to their intended users. From high-capacity performance to portability and user-friendly operation, these air compressors exemplify the qualities of reliability and efficiency, making them indispensable tools in any workshop. The commitment to innovation and robust design further cements Campbell Hausfeld's reputation as a leader in the air compressor market, ensuring their products meet the needs of all users.