Operating Instructions & Parts Manual | Model WS2100 |
|
|
Please read and save these instructions. Read carefully before attempting to assemble, install, operate or maintain the product described. Protect yourself and others by observing all safety information. Failure to comply with instructions could result in personal injury and/or property damage! Retain instructions for future reference.
BUILT TO LAST
Arcitech™
Inverter Technology
Arc Welder
Description
The future of welding has arrived! The Campbell Hausfeld Arcitech™ arc welder uses inverter technology to eliminate the mass and weight of traditional transformer welders, giving you amazing power in a tiny portable package. This
The Campbell Hausfeld Arcitech™ welder runs on 115 Volt – 20 Amp single phase input power. It is equipped with infinite amperage control to accurately select the proper current needed for various welding
3
2 | 1 |
|
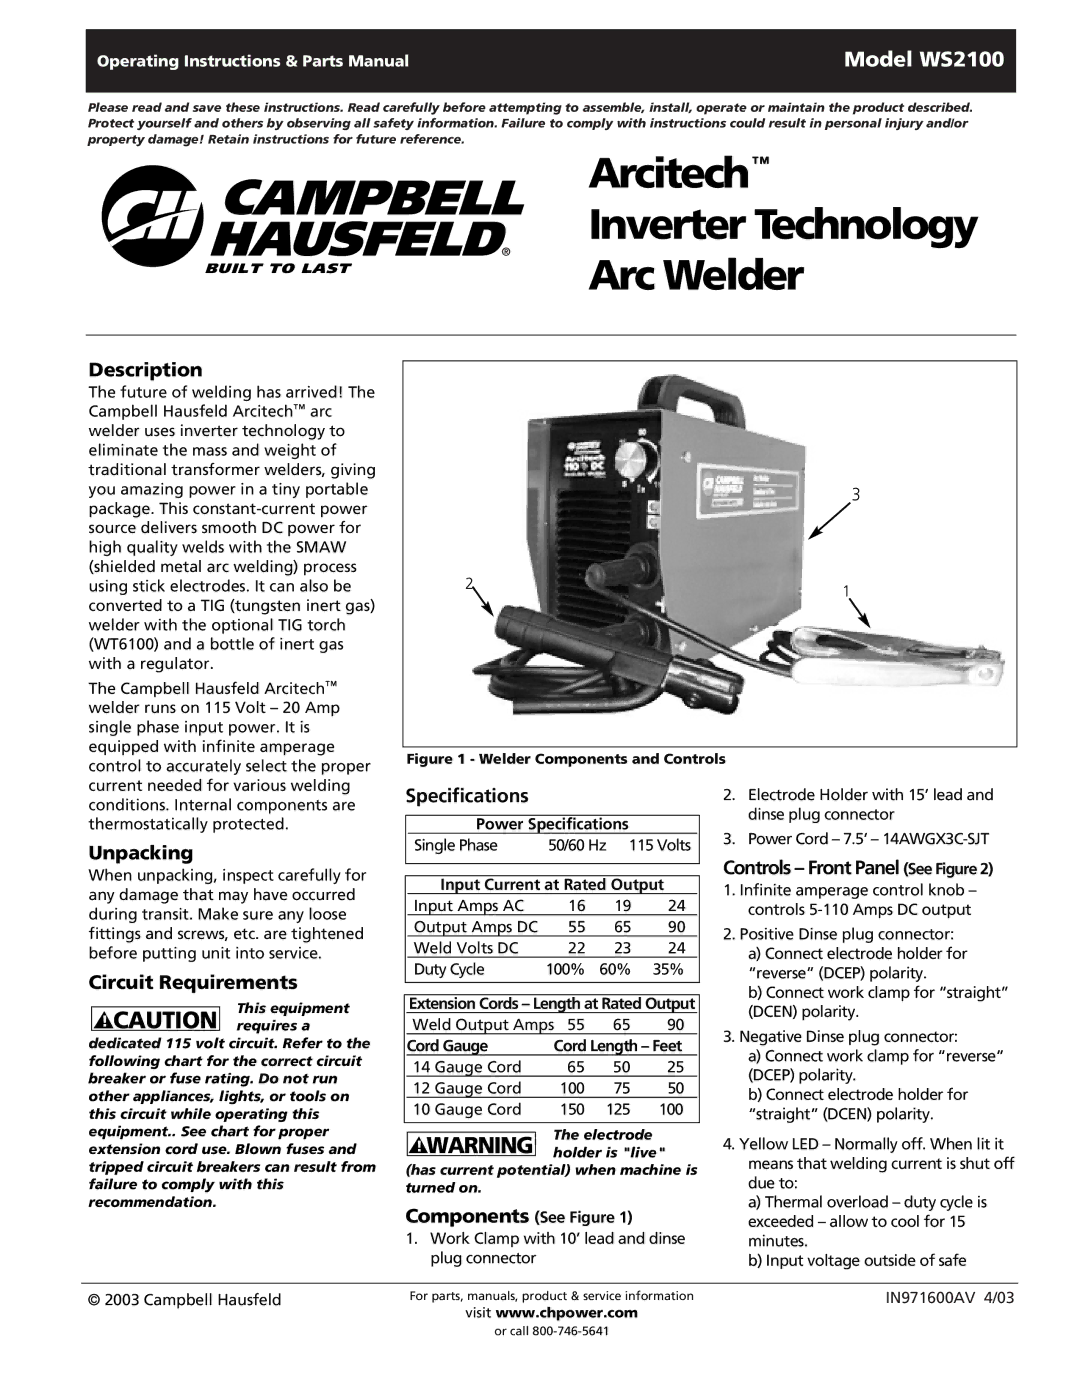
Figure 1 - Welder Components and Controls
conditions. Internal components are thermostatically protected.
Unpacking
When unpacking, inspect carefully for any damage that may have occurred during transit. Make sure any loose fittings and screws, etc. are tightened before putting unit into service.
Circuit Requirements
This equipment
! CAUTION requires a dedicated 115 volt circuit. Refer to the following chart for the correct circuit breaker or fuse rating. Do not run other appliances, lights, or tools on this circuit while operating this equipment.. See chart for proper extension cord use. Blown fuses and tripped circuit breakers can result from failure to comply with this recommendation.
Specifications
Power Specifications
Single Phase | 50/60 Hz 115 Volts | ||
| |||
|
|
|
|
Input Current at Rated Output | |||
Input Amps AC | 16 | 19 | 24 |
Output Amps DC | 55 | 65 | 90 |
Weld Volts DC | 22 | 23 | 24 |
Duty Cycle | 100% | 60% | 35% |
|
|
|
|
Extension Cords – Length at Rated Output
Weld Output Amps 55 | 65 | 90 | |
Cord Gauge | Cord Length – Feet | ||
14 Gauge Cord | 65 | 50 | 25 |
12 Gauge Cord | 100 | 75 | 50 |
10 Gauge Cord | 150 | 125 | 100 |
The electrode
! WARNING holder is "live" (has current potential) when machine is turned on.
Components (See Figure 1)
1.Work Clamp with 10’ lead and dinse plug connector
2.Electrode Holder with 15’ lead and dinse plug connector
3.Power Cord – 7.5’ –
Controls – Front Panel (See Figure 2)
1.Infinite amperage control knob – controls
2.Positive Dinse plug connector:
a)Connect electrode holder for “reverse” (DCEP) polarity.
b)Connect work clamp for “straight” (DCEN) polarity.
3.Negative Dinse plug connector:
a)Connect work clamp for “reverse” (DCEP) polarity.
b)Connect electrode holder for “straight” (DCEN) polarity.
4.Yellow LED – Normally off. When lit it means that welding current is shut off due to:
a)Thermal overload – duty cycle is exceeded – allow to cool for 15 minutes.
b)Input voltage outside of safe
© 2003 Campbell Hausfeld | For parts, manuals, product & service information | IN971600AV 4/03 |
visit www.chpower.com
or call
