Troubleshooting List of Messages Appendix
Viewing Images on a TV set
Main Features
Use of genuine Canon accessories is recommended
PowerShot A540 PowerShot A530
Continuous Shooting
Table of Contents
Playback/Erasing
Index Functions Available in Each Shooting Mode
Please Read
Warranty Limitations
Test Shots
Please see the Basic Guide p to change the language setting
Safety Precautions
Language Setting
Video Format
Doing so can damage your eyesight
Do not handle the power cord if your hands are wet
Equipment
Soft, absorbent cloth
Battery
Others
Flash
Do not touch the surface of the flash after taking several
Avoid Strong Magnetic Fields
Avoid Condensation Related Problems
Preventing Malfunctions
If Condensation Forms Inside the Camera
Before Using the Camera The Components Guide
Front View
Before Using the Camera The Components Guide
Back View
Operation Panel
Before Using the Camera Basic Operations
Using the LCD Monitor
Display mode changes as follows with each press
Night Display
Shooting Information Shooting Mode
Information Displayed on the LCD Monitor
Playback Information Playback Mode
Standard
Detailed
Following information may also be displayed with some images
Using the Viewfinder
Histogram Function
Lower Indicator
Indicators
Upper Indicator
Green Ready to shoot
Shooting Mode
Power Saving Function
Power saving function settings can be changed p
Playback Mode
Menus and Settings
FUNC. Menu
Rec., Play, Print, Set up and My Camera Menus
Rec. Menu
Icons shown below are the default settings
Menu List
Menu Item Reference
Print Menu
Play Menu
Menu Item Options Reference
Set up Menu
Basic Guide p
NTSC*/ PAL
My Camera Menu
Set up Menu Reset All
Select OK and press
Formatting Memory Cards
Set up Menu Format
Low Level Format
Changing the Recording Pixels and Compression Still Images
FUNC. Menu * Recording Pixels Compression
Approximate Values for Compression Settings
Approximate Values for Recording Pixels
Rec. Menu Digital Zoom On
Using the Digital Zoom
Press the zoom lever toward and shoot
Shoot
FUNC. Menu * Drive Mode
To Cancel Continuous Shooting
Recommended Memory Card
Postcard Date Imprint Mode
FUNC. Menu * Postcard
Embedding the Date in the Image Data
Rec. Menu Date Stamp Date/ Date & Time
To Cancel the Self-Timer
Using the Self-Timer
Settings cannot be set for , , and modes
Follow procedure 1 to display
Changing the Delay Time and Number of Shots
Change Delay/Shots
Standard
Fast Frame Rate PowerShot A540 only
Movie Shooting
Compact
Select a movie mode using the or button
#PowerShot A530 FUNC. Menu * Recording Pixels
#PowerShot A540 FUNC. Menu * Recording Pixels Frame Rate
Changing Recording Pixels and Frame Rates Movies
#PowerShot A530
#PowerShot A540
Recording Pixels and Frame Rates
Use the or button to select a shooting direction
Shooting Panoramic Images Stitch Assist
Shoot the first image in the sequence
Repeat the procedure for additional images
Program AE
Shutter Speed Display
Setting the Shutter Speed
PowerShot A540
Seconds
Setting the Aperture
Aperture Value Display
Manually Setting the Shutter Speed and Aperture
Wide Angle
Aperture Value Shutter Speed
Maximum
Telephoto
Rec. Menu AiAF On/Off
Selecting an AF Frame
Off
Shooting with the Focus Lock
Focus lock can be used in any shooting mode
Shooting Hard-to-Focus Subjects
Shooting with the AF Lock
Re-aim the camera to compose the shot as desired and shoot
Shooting in Manual Focus Mode
To Release the AF Lock
Press the or button and adjust the focus
To Cancel the Manual Focus
Metering Methods
Switching between Metering Modes
FUNC. Menu * Evaluative
Adjusting the Exposure Compensation
To Cancel the Exposure Compensation
White Balance Settings
Adjusting the Tone White Balance
FUNC. Menu * Auto
FUNC. Menu * Auto Custom
Using the Custom White Balance
Custom
Aim the camera at a piece of white paper or cloth and press
FUNC. Menu * My Colors Off
Shooting in a My Colors Mode
My Colors Settings
Mode
Custom Color
Setting the Camera to a Custom Color Mode
This completes the setting
Altered color will display
Changing the Color
Press to complete the setting, then shoot
Shooting in the Color Accent Mode
Still image or button Movie or button
Shooting in the Color Swap Mode
Press to comlete the setting, then shoot
Only one color can be specified
Rec. Menu Save Original On/ Off
When Save Original is Set to On
Changing the Save Method for the Original Image
If On is selected, the two images will be numbered
Rec. Menu Flash Adjust Auto/ Manual
Adjusting the ISO Speed
Switching between Flash Adjustment Settings
Mode, is not available
+/- Flash
Compensating the Flash Adjustment / Flash Output
Turn on the LCD monitor FUNC. Menu +/- Flash/ Flash Output
Flash Exposure
Setting the Auto Rotate Function
Set up Menu Auto Rotate On/ Off
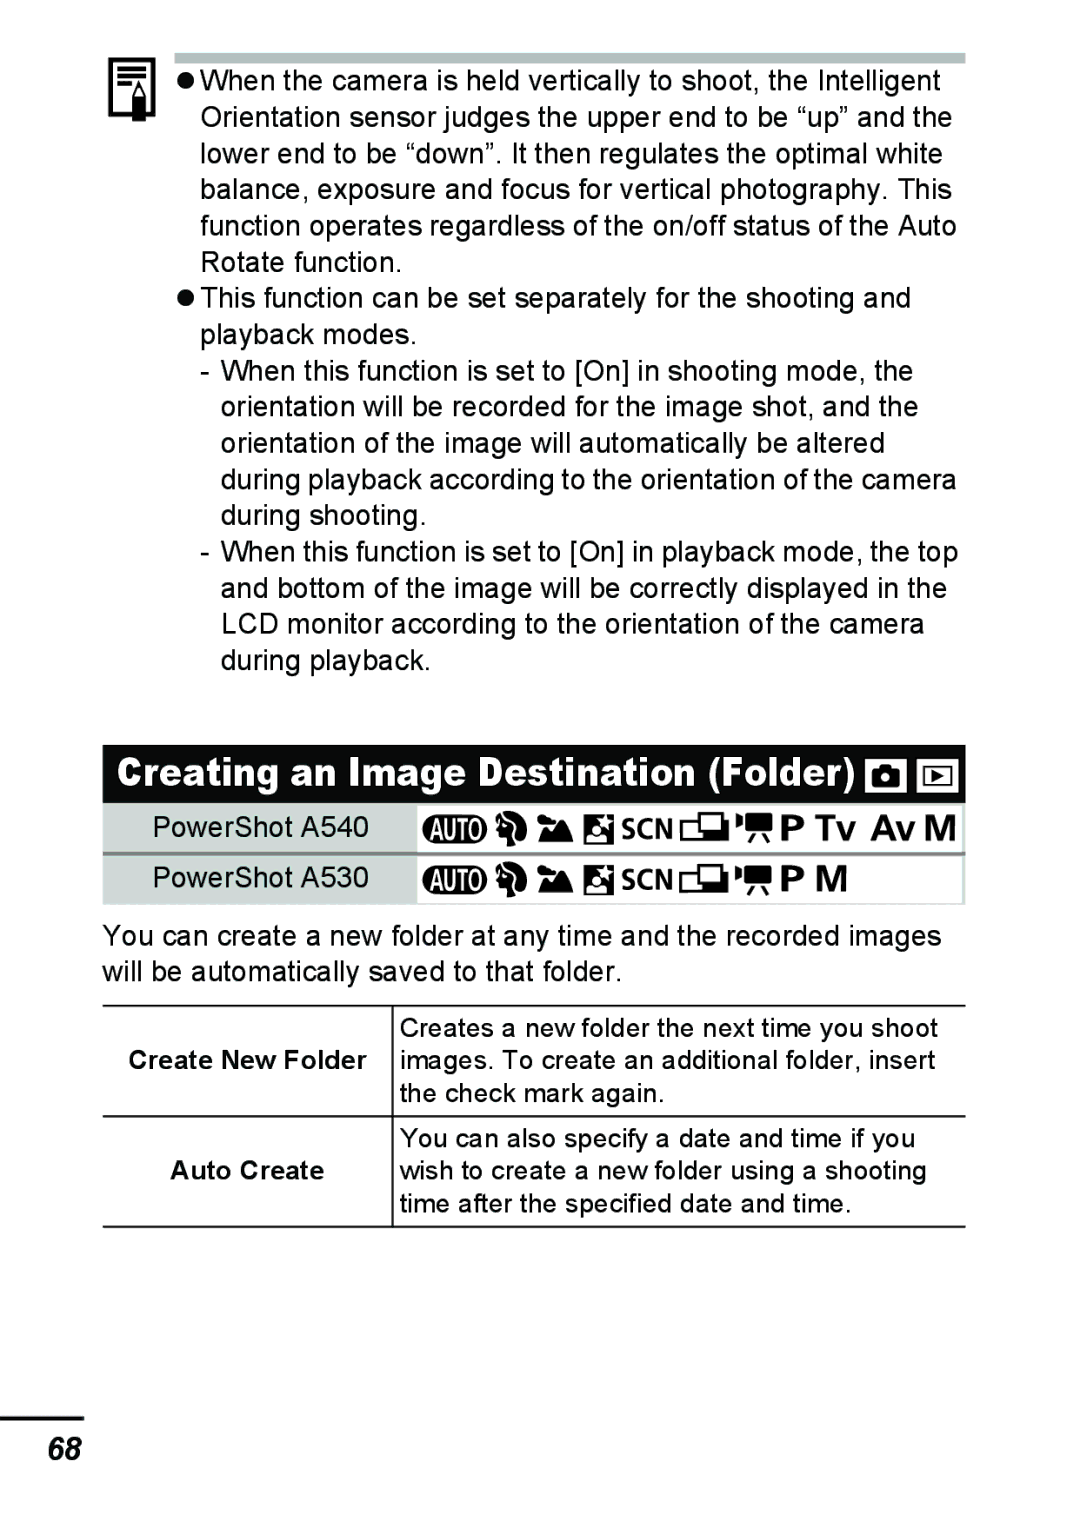
Creating an Image Destination Folder
Creating a Folder the Next Time You Shoot
Set up Menu Create Folder
Use the or button to check mark Create New Folder
Set up Menu File Numbering Continuous/ Auto Reset
Resetting the File Number
File Number Reset Function
Auto Reset
File and Folder Numbers
Press the zoom lever toward
To Cancel the Magnified Display
Magnifying Images
Use the , , or button to move around the image
To Return to Single Image Playback
Switching between Sets of Nine Images
Viewing Images in Sets of Nine Index Playback
Playback/Erasing
Single image playback mode, press the button
Camera will switch to jump search mode
Jumping to Images
Press the Menu button
Display a movie and press
Viewing Movies
Operating the Movie Control Panel
Select Play and press
Select Save and press
Editing Movies
Movie editing panel and the movie editing bar will display
Select New File or Overwrite and press
Play Menu
Rotating Images in the Display
Images can be rotated clockwise 90 or 270 in the display
Select Record and press
Attaching Sound Memos to Images
Sound memo control panel will display
Automated Playback Auto Play
Sound Memo Panel
Protecting Images
Use the or button to select an image to protect and press
Erasing All Images
Protected images cannot be erased with this function
Single Images
Setting the Dpof Print Settings
Print Settings/Transfer Settings
Print Menu Select Images & Qty
Use the or button to select images for printing
Selection methods differ for the Print Type settings p
All the Images on a Memory Card
Print Menu Select All Images
Standard Prints one image per Index
Setting the Print Style
Print Menu Print Settings
Reduced size in an index format
Setting the Dpof Transfer Settings
Use the or Button to
Selecting Reset cancels all transfer order settings
Select Order and press
Select an image to transfer Press
Viewing Images on a TV set
Camera will not operate
When the power is turned on
Camera
Sounds come from the camera interior
LCD monitor
Camera will not record
Shooting
Noise displays./Subject’s movements are irregular
Image Seen in Viewfinder vs. Recorded Image
Image is blurred or out of focus
Subject in recorded image is too dark
Image contains noise
White dots appear on the image
Recording images to memory card takes a long time
Eyes appear red
Continuous shooting slows down
Lens will not retract
Lower the recording pixels or the frame rate* p
Shooting Movies
Zoom does not operate
Use a high-speed memory card SDC-512MSH, etc
Movies cannot be edited
Playback
Cannot play back
Movies do not play back correctly
TV monitor output
Battery
If using Canon AA-size NiMH batteries
Batteries consumed quickly
Cannot print
Set up menu, select
Printing with a direct print compatible printer
Camera and printer are
Busy
Memory card error
Naming error
No memory card
100
101
Battery Handling Precautions
Battery Handling
Battery Charge
102
Never use batteries that look like this
103
Batteries may be short circuited
Appendix
104
Handling the Memory Card
SD Memory Card Write Protect Tab
Do not use or store memory cards in the following locations
Formatting
105
Using the Power Kits Sold Separately
107
Using the AC Adapter Kit ACK800
108
#Tele-converter TC-DC52A
#Wide Converter WC-DC52
109
#Close-up lens 250D 52mm
Shooting area during macro mode
Attaching a Lens
#Conversion Lens Adapter LA-DC52F
111
High-Power Flash HF-DC1
Using an Externally Mounted Flash Sold Separately
112
113
Usage in Cold Temperatures Less than 0C/32F
#Batteries
Charge becomes Severely Limited
Replacing the Date Battery
114
115
Lens
Camera Care and Maintenance
Camera Body
Viewfinder and LCD Monitor
PowerShot A540/A530
Specifications
117
118
119
120
121
Shooting date, to the first image in each
122
Battery Capacity
Test Conditions
123
Memory Cards and Estimated Capacities
Card included with the camera
124
Movie
125
Image Data Sizes Estimated
126
MultiMediaCard
NiMH Battery NB-3AH
127
SD Memory Card
128
Battery Charger CB-5AH/CB-5AHE
Compact Power Adapter CA-PS800
Included with the separately sold AC Adapter Kit ACK800
Wide Converter WC-DC52 Sold Separately
129
Tele-converter TC-DC52A Sold Separately
Close-up Lens 250D 52 mm Sold Separately
130
Conversion Lens Adapter LA-DC52F Sold Separately
Index
131
132
27, Basic
133
Disclaimer
Trademark Acknowledgments
Functions Available in Each Shooting Mode
135
136
CEL-SF4Z210