Sdhc logo is a trademark
Battery Charger CB-2LY
Trademark Acknowledgments
Disclaimer
Checking the Package Contents
Read This First
Shoot
What Do You Want to Do?
Shoot various other scenes
Save
View
Shoot/View Movies
Print
Table of Contents
Getting More Out
Using Playback and Other
101
Conventions Used in this Guide
Conventions Used in this Guide
129 Useful Information 139
Do not trigger the flash in close proximity to human eyes
Safety Precautions
Use only recommended power sources
Camera
Safety Precautions
Battery, Battery Charger
Other Warnings
Do not sit in a chair with the camera in your pocket
Keep the battery out of the reach of pets
Page
Attaching the Strap/Holding the Camera
Getting Started
Page
About the Waterproof Seals
Remove the battery
Charging the Battery
Remove the cover Insert the battery
Charge the battery
Using the battery and charger effectively
Battery Charge Indicator
Approximate Number of Shots That Can Be Taken
Insert the memory card
Inserting the Battery and Memory Card
Check the card’s write-protect tab
Open the cover
Remove the memory card
Removing the Battery and Memory Card
Inserting the Battery and Memory Card
Close the cover
Compatible Memory ards
What is the write-protect tab?
Approximate Number of Shots per Memory Card
Can you check the number of shots that can be taken?
Set the date and time
Setting the Date and Time
Make the setting
Turn on the camera
Select Date/Time in the 3 tab
Date/Time battery
Changing the Date and Time
Display the menus
What if the clock appears when the m button is pressed?
Setting the Display Language
Set the playback mode
Display the settings screen
Select Format
Formatting Memory Cards
Format the memory card
Does the length of the shutter sound change?
Pressing the Shutter Button
Press halfway lightly to the first stop
Press fully to the second stop
Taking Pictures
Select the ƒ mode
Check to Make Sure the Covers are Closed
What if
Compose the shot
Focus
Shoot
Scene Icons
Select an image
Select the playback mode
Viewing Images
Erasing Images
Printing Images
Printing Images
Items to Prepare
Erase the image
Select an image to print
Turn on the printer Turn on the camera
Press the 1 button to turn on the camera. X will appear
Shooting Movies
Select the X mode
Press the shutter button halfway to focus
Memory Card Shooting Time
Stop shooting
Estimated Shooting Times
Shooting Movies
You can view your movies on the screen
Viewing Movies
Select a movie
Play the movie
Macintosh
Transferring Images to a Computer
System Requirements
Windows
Computer
Install the software
Preparations
Connect the camera to
Open CameraWindow
Transferring Images to a Computer
Press the 1 button to turn on the camera
Accessory Kits *5
Accessories
Supplied with Camera
Use of genuine Canon accessories is recommended
Accessories
Other Accessories
Separately Sold Accessories
Power Supplies
Battery charger can also be used when abroad
Learning More
Shooting / E Movie Button
Components Guide
Shooting Playback
Playback Button
Components Guide
Shooting Information Display
Switching the Display
You can change the display using the l button
Information Displayed on the Screen
Information Displayed on the Screen
Playback Detailed Information Display
Histogram during Playback
Indicator
Display in Dark Conditions during Shooting
Overexposure Warning during Playback
Select a menu item
Select a shooting mode
FUNC. Menu Basic Operations
Display the FUNC. menu
Press the qr buttons to select an option
Menu Basic Operations
Display the menu
Select a tab
Adjusting the Volume
Changing the Sound Settings
Muting Sounds
Select LCD Brightness
Changing the Screen Brightness
With the n Button
With the l Button
Are there functions that cannot be reset?
Returning the Camera to Default Settings
Select Reset All
Reset the settings
Perform the low level format
Low Level Memory Card Formatting
About low level formatting
Power Saving during Playback
Power Saving during Shooting
Clock Functions
Page
Shooting in Special Conditions and Commonly Used Functions
Shoot Take portraits Portrait
Select the shooting mode
Select the desired shooting mode
Shooting in Various Conditions
Shoot sunsets Sunset
Take snapshots at night Night Snapshot
VTake shots of kids and pets Kids&Pets
Take indoor shots Indoor
Take shots of foliage Foliage
Take shots of people at the beach Beach
Shoot underwater Underwater
Take shots of aquatic life in an aquarium Aquarium
Recording pixels are set to 1600 × 1200 pixels, p
Shoot using high ISO speed ISO3200
You can shoot with the flash turned off
What if the indicator blinks orange and a flashing appears?
Turning the Flash Off
Press the r button Select
Zoom Factors at which Images Deteriorate
Zooming in More Closely on Subjects Digital Zoom
Press the i button
Press the i button again
Combinations that Cause Image Deterioration
Accept the setting
Digital Tele-Converter
Select Digital Zoom
Select Date Stamp
Inserting the Date and Time
To restore the original setting, select in Step
Using the Self-Timer
Press the p button Select Ò
Join the subjects and look at the camera
Using the Face Self-Timer
Compose the shot and press the shutter button halfway
Press the shutter button fully
Page
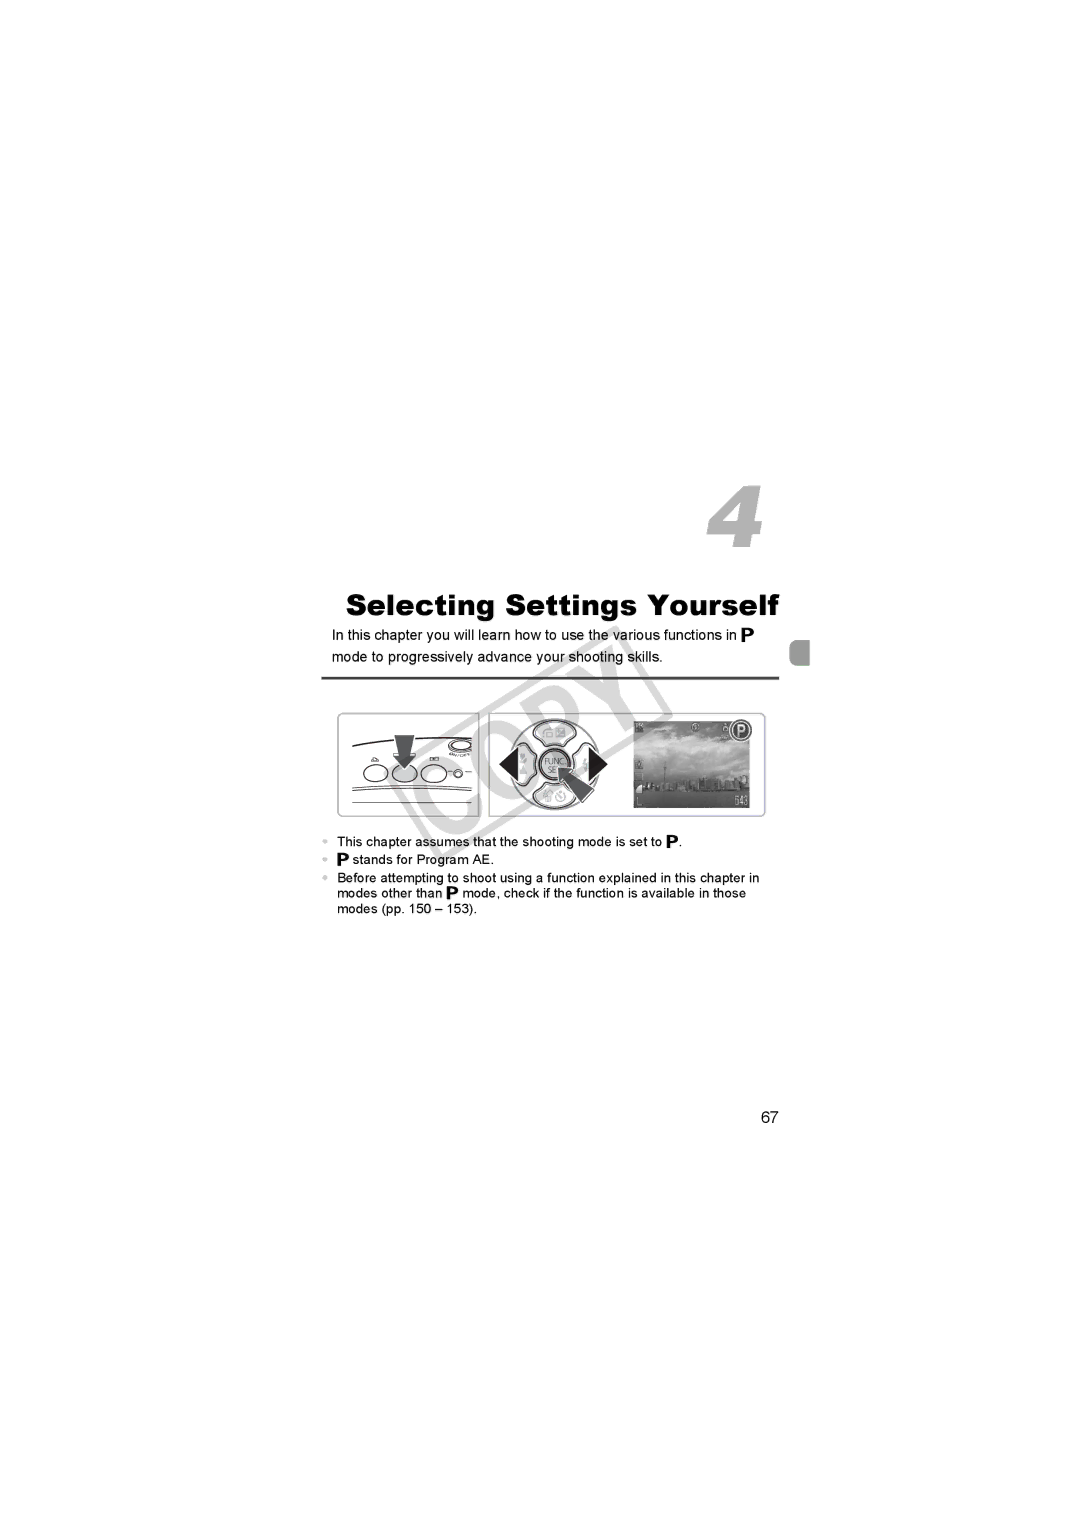
Selecting Settings Yourself
Select h
Adjust the settings according to your purposes pp Shoot
Shooting in Program AE
Turning the Flash On
Select e
Using Î
Shooting Close-ups Macro
Shooting Far Away Subjects Infinity
Select the image quality
Changing the Recording Pixels
Changing the Image Quality Compression Ratio
Select the recording pixels
Compression Ratio
Approximate Values for Recording Pixels and Image Quality
Approximate Values for Paper Size
Changing the Image Quality Compression Ratio
Select the exposure compensation
Adjusting the Brightness Exposure Compensation
Select the drive mode
Continuous Shooting
Changing theISOspeed
Changing the ISO Speed
Select the ISO speed
Approximate Values for ISO Speed
After pressing the m button, press
Adjusting the White Balance
Custom White Balance
Select the white balance
Select My Colors
Changing the Tone of an Image My Colors
Select Î
Shooting Using the Two Second Self-Timer
Press the l button to accept the setting
Custom Color
Select $
$ Customizing the Self-Timer
Shooting Using a TV Monitor
Select the settings
Recompose
Changing the Composition with the Focus Lock
Ress the shutter button fully
Getting More Out of Your Camera
This chapter assumes that the shooting mode is set to G
Select AF Frame
Changing the AF Frame Mode
Face AiAF
Center
What if the display does not magnify?
Magnifying the Focal Point
Select AF-Point Zoom
Check the focus
Compose the scene and shoot
Shooting with the AF Lock
Shooting with Servo AF
Lock the focus
Fine-tune your focus
Shooting in Manual Focus Mode
Press the q button Select f
Approximate focus
Select the face on which to focus
Set the Face Select mode
Selecting the Person to Focus On Face Select
Register 0 to the c button p
Shooting with the AE Lock
Changing the Metering Mode
Select the metering mode
Setting will display on the screen
Select …
Shooting with the FE Lock
… Shooting with Slow Synchro
Select h p Lock the exposure
Select i-Contrast
@ Making Dark Subjects Appear Brighter i-Contrast
Adjust the setting
Select Flash Settings
Red-Eye Correction
Select Blink Detection
Checking for Shut Eyes
Confirm the exposure
≈ Shooting Long Exposures
Select ≈
Select the shutter speed
Color Accent
Changing the Color and Shooting
Specify the target color
Color Swap
Select Y
Specify the color to be swapped
Specify the range of colors to be swapped
Press the opbuttons to adjust the range of colors affected
Shooting Stitch Assist Images
This chapter assumes that the shooting mode is set to E
Using Various Functions for Shooting Movies
Select a movie mode
Changing the Movie Mode
Changing the Image Quality
Estimated Shooting Time
AE Lock/Exposure Shift
Change the exposure
Image Quality Table
Playback Functions
Other Shooting Functions
Zooming in More Closely on Subjects Digital Zoom p
Press the op buttons and select or
Editing
Set the editing range
Summary for 1 Viewing Movies p
Save the edited movie
Check the edited movie
100
101
Using Playback and Other Functions
Press the g button again
Searching Images Index Display
Images in Sets
Press the g button
Select a target filter
Setting the Conditions
Viewing Images in Filtered Playback
Search by , ,
What if you can’t select a target?
Viewing images using filter playback
Jump by and Images
104
Select Start
Changing Settings
Viewing Slideshows
Select Slideshow
106
Select Images for Playback by Type
Select the playback filter option and press m button
Press the n button
Change the magnification level or location
Press the lbutton, and switch to the focus check display p
Switch frames
Checking the Focus
Select Transition
Magnifying Images
+ Changing Image Transitions
Press the k button
What if the images don’t properly display on the TV?
Viewing Images on a TV
Turn off the camera and TV. Connect the camera to the TV
109
Selecting Images Individually
Erasing All Images
Select the starting image
Select Range
Press the nbutton Erase
Select Select Range
Press the p button to select Erase, then press the m button
Select All Images
Select All Images
112
What if you cannot select Select by Category?
Select by Category
Ress the n button Erase
113
Select Protect
Protecting Images
114
115
Select by ategory
Protect images
Rotect images
Select My Category
Organizing Images by Category My Category
116
Press the p button to select Select and press the m button
Select the setting
117
Follow Steps 2 and 3 on page 111 to select images
118
\ Rotating Images
Select Rotate
Rotate the image
Save the new image
= Resizing Images
Select Resize
Select an image size
Save as a new image and display
Adjust the trimming area
Trimming
Select Trimming
Select a menu option
? Adding Effects with the My Colors Function
121
Erform Steps 4 and 5 on p
122
123
Correcting the Red-Eye Effect
Select Red-Eye Correction
Correct the image
124
Print
Selecting Images for Printing Dpof
Print Settings
Select Print Settings
Adjust the settings
126
Selecting the Number of Copies
Select Select Images & Qty
Set the number of prints
127
Make print settings
Set All Images to Print Once
Select Select All Images
Select Clear All Selections
Clearing All Selections
128
129
Customizing the Camera
130
Turning off the Power Saving Function
Setting the Screen Shut-Off Time
Changing Functions
Select the world time zone
Using the World Clock
Set the home time zone
Set the world time zone
Creating a Folder
Changing the File Number Assignment
132
Turning off Auto Rotate
Creating Folders by Day and Time
133
134
Changing Shooting Functions
Turning off the Red-Eye Reduction Function
Turning off the AF Assist Beam
135
Changing the Image Display Time
Displaying the Overlay
Changing the Image Display Right After Shooting
Registering Functions to the c Button
Changing the IS-Mode Settings
136
Change Sounds
Changing Playback Functions
Changing the Start-up Image or Sound
Selecting the Image that First Displays in Playback
Changing the Start-up Image or Sound
Setting a Recorded Image as the Start-up Screen Image
Changing the Start-up Screen
138
139
Useful Information
140
Using Household Power
Connect the power cord
Turn off the camera Plug the cord into the camera
Changing the Strap
Changing the Strap
141
Changing the Strap
142
Put on a new cover
Changing the Front Cover
Remove the screws
Remove the front cover
Shooting
Troubleshooting
Power
TV output
145
Playback
Shooting movies
146
147
148
149
FUNC. Menu
150
Function
$*1
151
Functions Available in Each Shooting Mode FUNC. Menu
Shooting Menu
Menus
152
U t ≈ w O P Z T Y x v X z
153
Options/Summary Ref.
Set up Menu
154
Menus
Print Menu
Playback Menu
155
156
Handling Precautions
Equipment
Memory Cards
157
Specifications
158
Specifications
About MPEG-4 Licensing
Specifications Battery Pack NB-6L
159
For CA, USA only
160
Index
Numerics
Index
161
Index
162
Canadian Radio Interference Regulations
163
FCC Notice