D10BLU, 3508B001 specifications
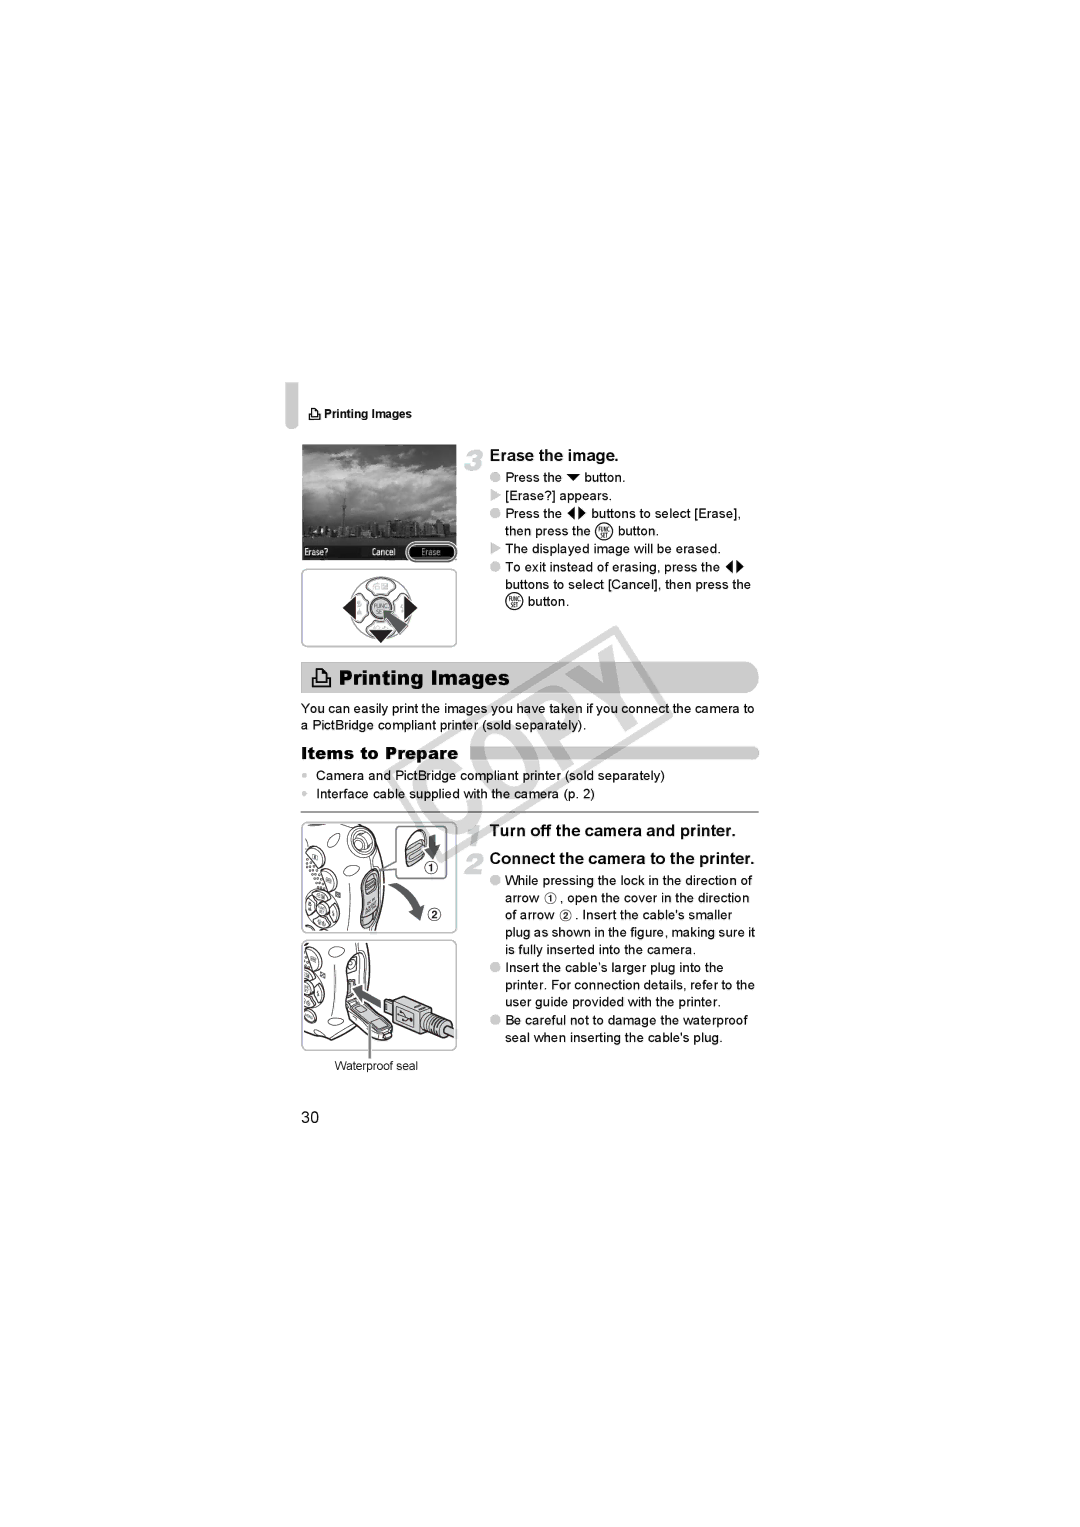
The Canon 3508B001, commonly known as the D10BLU, is an innovative and highly versatile digital camera designed for outdoor enthusiasts and adventure seekers. With its compact design and robust build quality, the D10BLU is perfect for capturing stunning images in a variety of environments, from serene landscapes to action-packed events.One of the standout features of the Canon D10BLU is its rugged construction. This camera is designed to withstand the rigors of outdoor use, boasting an impressive waterproof rating up to 10 meters. This means users can confidently take it while snorkeling or during rainy weather without worrying about water damage. Additionally, the camera is shockproof and can endure drops from heights of around 1.2 meters, making it an ideal companion for hiking, biking, and other adventurous activities.
The D10BLU is equipped with a 12-megapixel sensor, delivering high-resolution images that capture intricate details and vibrant colors. Its 28mm wide-angle lens allows photographers to expand their creativity, perfect for capturing vast landscapes or large group shots. The camera also features a 3x optical zoom, enabling users to zoom in on distant subjects without compromising image quality.
Another key technology in the Canon D10BLU is its advanced image stabilization feature. This capability significantly reduces the effects of camera shake, allowing for clearer images, even in challenging conditions. The ISO range is also impressive, ranging from 80 to 1600, making it suitable for low-light photography without introducing excessive noise.
The camera comes with various shooting modes tailored to different environments and scenes, including underwater, macro, and portrait settings. This versatility aids users in selecting the best mode for their specific photography needs. Furthermore, it has a built-in flash, ensuring adequate lighting for indoor or nighttime conditions.
In terms of usability, the D10BLU features a user-friendly interface with a 2.5-inch LCD screen, making it easy to navigate settings and review images. The battery life is commendable, providing users with extended shooting sessions without the frequent need for recharging.
In conclusion, the Canon 3508B001 D10BLU combines durability with advanced imaging capabilities, making it an excellent choice for those who wish to document their adventures without compromising on quality. Whether exploring the depths of the ocean or trekking through mountainous terrain, this camera is built to perform reliably in various conditions, ensuring that users can capture and cherish their memories for years to come.

