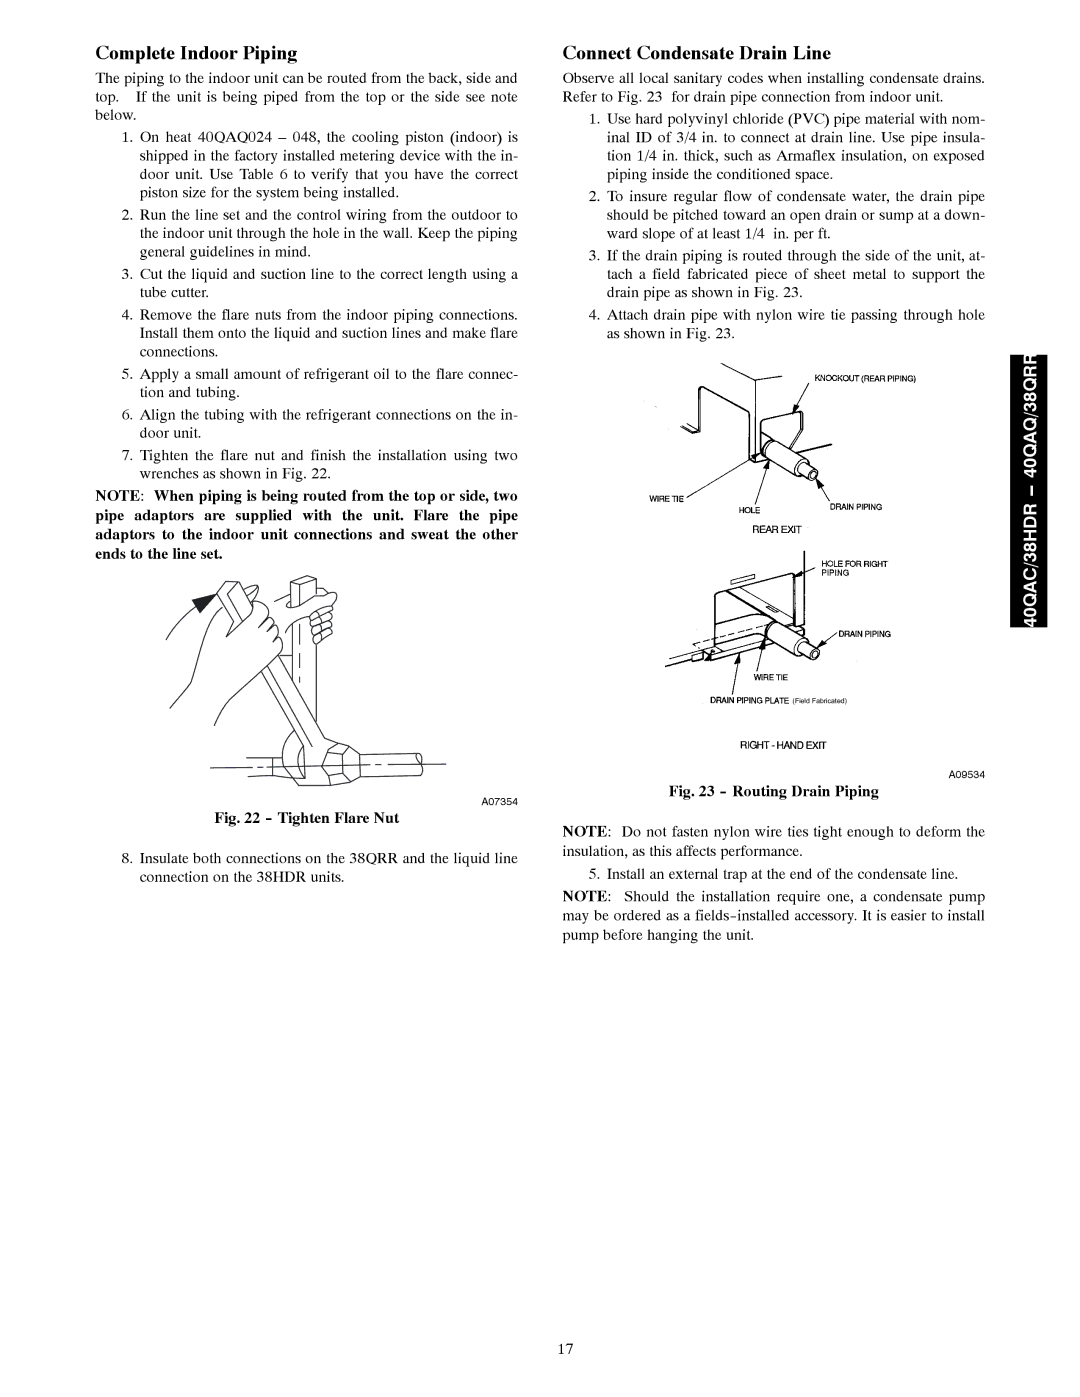
40QAC specifications
The Carrier 40QAC is a standout product in the realm of commercial air conditioning systems. This air-cooled chiller is designed to meet a variety of cooling needs while ensuring energy efficiency and reliability. One of the most notable features of the 40QAC is its advanced scroll compressor technology, which is engineered to provide consistent performance with reduced noise levels. This makes it an ideal choice for applications where minimizing sound pollution is crucial, such as in urban settings or near sensitive environments.In terms of energy efficiency, the 40QAC boasts impressive ratings, with a high coefficient of performance (COP) that helps to lower operational costs and reduce environmental impact. Its design integrates various energy-saving features, including variable speed fans and a robust control system that optimizes performance based on real-time demand. This adaptability allows the chiller to maintain comfort levels while consuming less energy than traditional models.
The 40QAC is equipped with a microprocessor-based control system that simplifies operation and enhances user experience. This intelligent control interface allows operators to monitor performance metrics, adjust settings, and troubleshoot any issues remotely, increasing overall system reliability. The system is also designed to be compatible with building management systems, which facilitates seamless integration into existing infrastructure.
Another prominent characteristic of the Carrier 40QAC is its robust construction. Built with high-quality materials, it offers excellent durability and longevity, even in challenging environmental conditions. The unit also incorporates features to streamline maintenance, such as accessible component layout and easy-to-remove panels, ensuring that downtime for servicing is minimized.
Safety is another critical aspect of the Carrier 40QAC’s design. It’s engineered with numerous safety protocols to protect against overheating, overpressure, and other potential hazards, guaranteeing both system integrity and peace of mind for operators.
Overall, the Carrier 40QAC is a versatile and efficient solution for commercial cooling needs. With its technological advancements, energy-saving features, and robust design, it stands out as a reliable choice for businesses looking to balance performance with sustainability. The 40QAC not only promises efficient cooling but does so while aligning with the growing demand for eco-friendly solutions in today's marketplace.

